Use Katalon plugins for Jenkins integration on Ubuntu
This tutorial walks you through basic steps to run Katalon Studio tests using Katalon plugin for Jenkins on a headless Ubuntu machine i.e. a machine without any display. You can find the plugin on Jenkins here: Katalon.
If you are interested in using Docker images instead, you can refer to our sample project on GitHub: ci-samples.
Install Jenkins on Ubuntu
To install Jenkins, follow the instructions in this Jenkins document: Debian/Ubuntu.
Install Google Chrome
wget -O google-chrome-stable_current_amd64.deb https://dl.google.com/linux/direct/google-chrome-stable_current_amd64.deb
sudo dpkg -i google-chrome-stable_current_amd64.deb
sudo apt -y -f install
Install Xvfb
From Wikipedia:
"Xvfb or X virtual framebuffer is a display server implementing the X11 display server protocol. In contrast to other display servers, Xvfb performs all graphical operations in virtual memory without showing any screen output. From the point of view of the client, it acts exactly like any other X display server, serving requests and sending events and errors as appropriate. However, no output is shown. This virtual server does not require the computer it is running on to have any kind of graphics adapter, a screen or any input device. Only a network layer is necessary."
sudo apt install -y xvfb
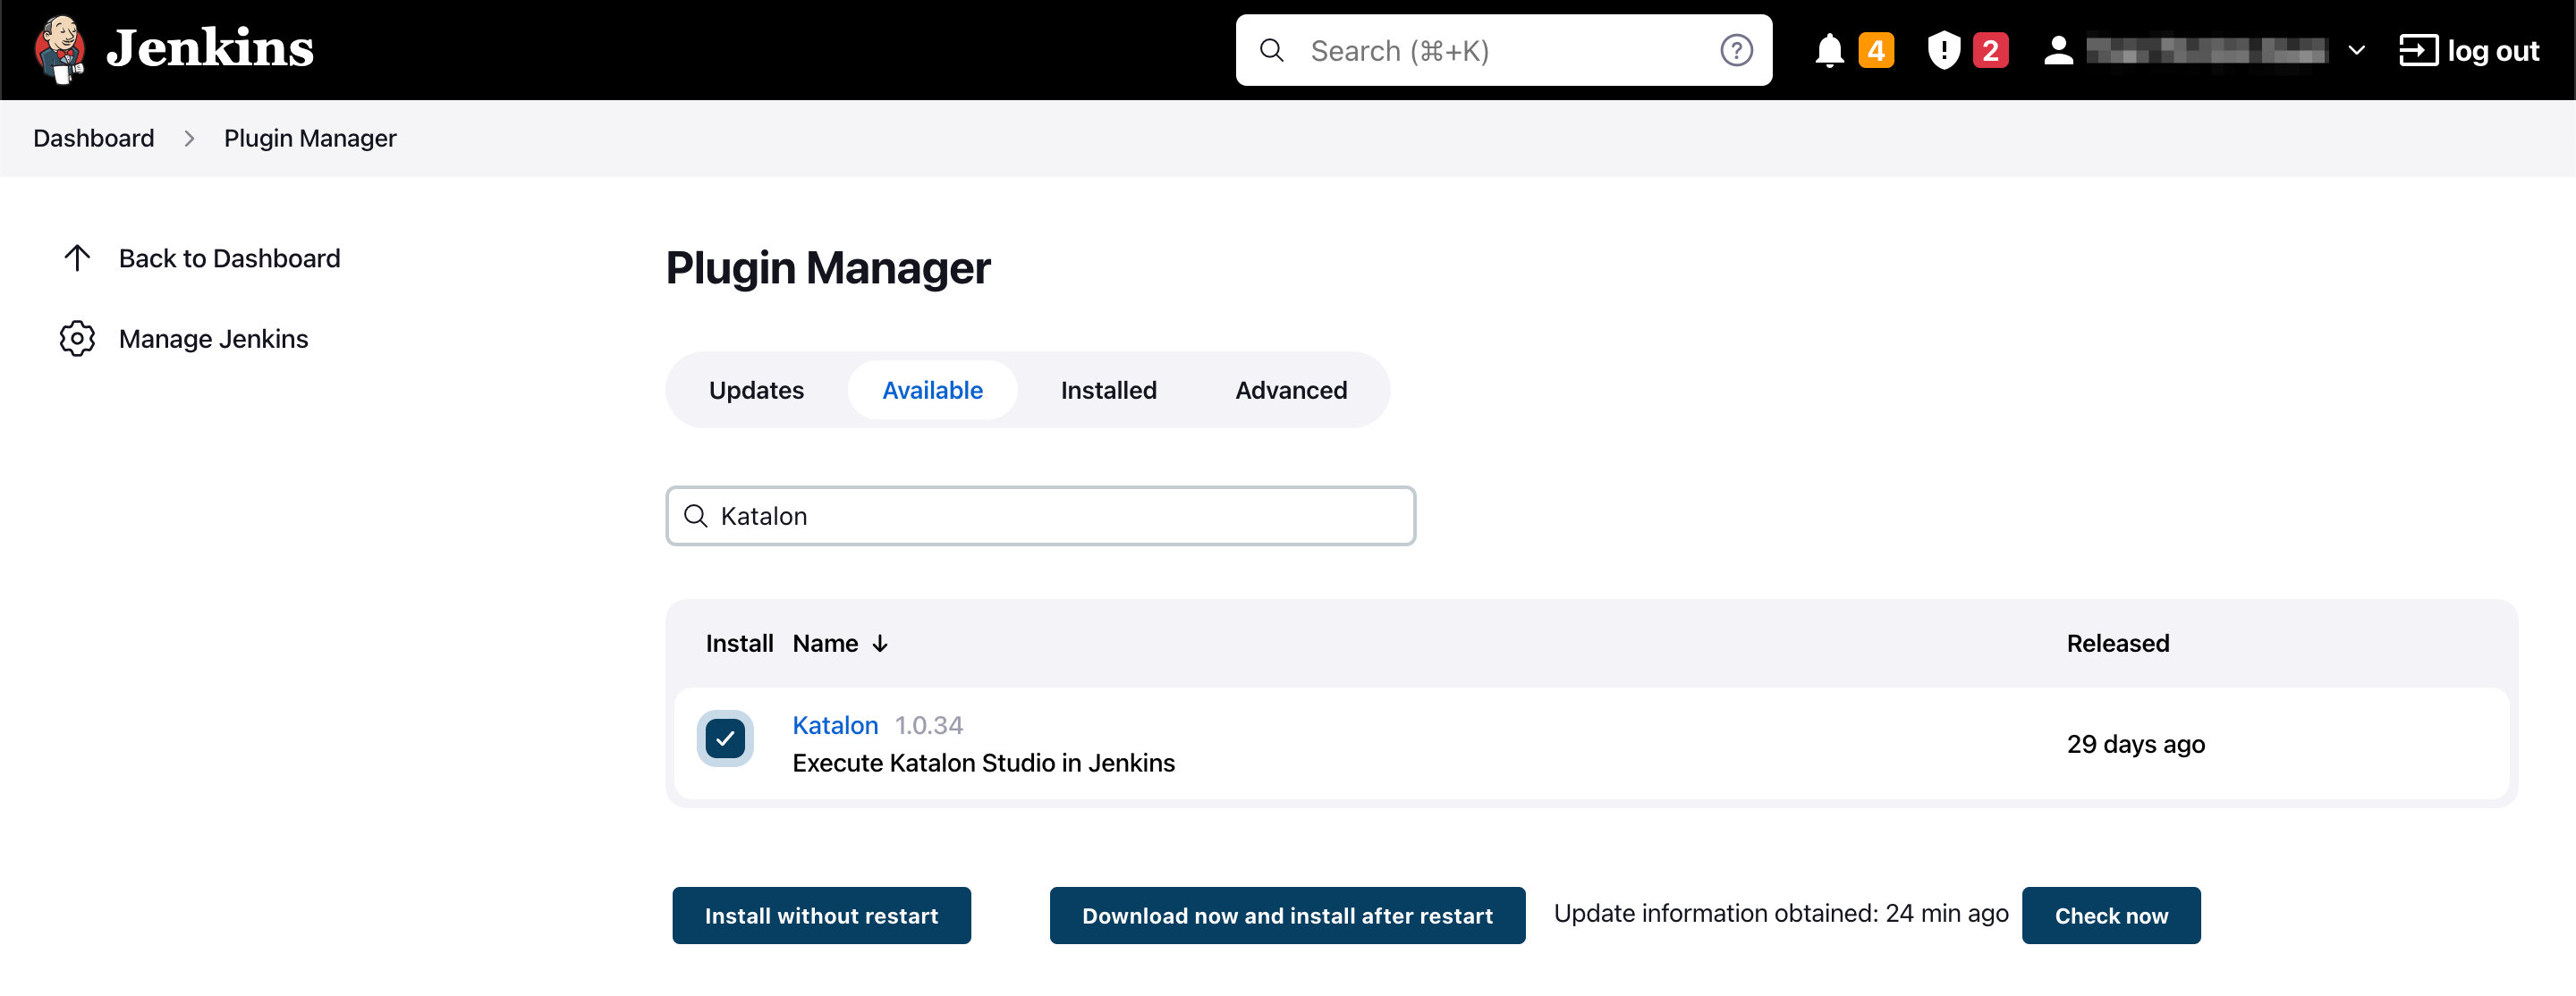
Install the Katalon plugin on Jenkins
Create and configure a new Jenkins project
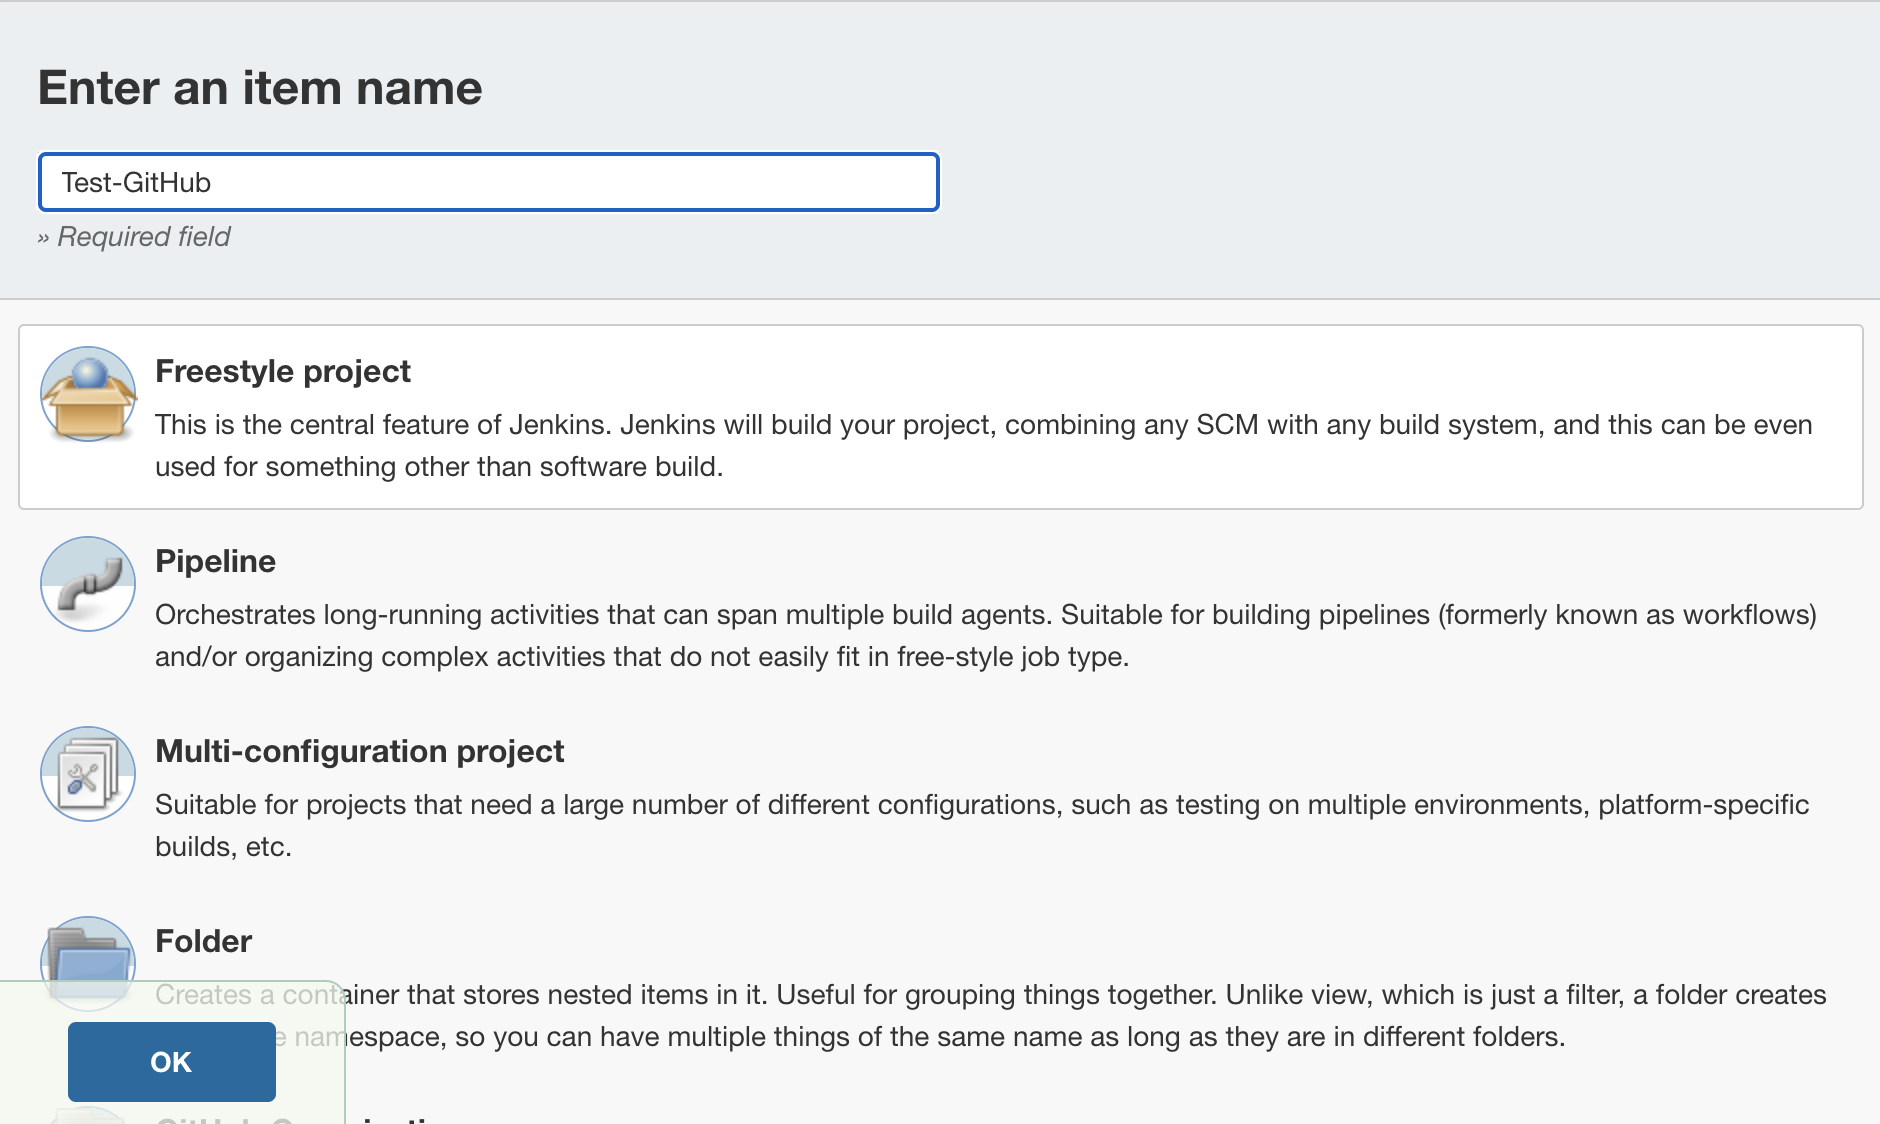
To keep it simple, I will use Freestyle project.

The sample Katalon Studio project can be cloned from Github.

Next, add and configure the build step Execute Katalon Studio tests provided by Katalon plugin for Jenkins.
- Katalon Studio will be downloaded and installed automatically based on the version you specify.
- Leave out
-runModein the arguments list. - If you want to learn more about
xvfb-runconfiguration please see its manual. If you are not sure, only change the resolution1024x768x24and leave other options as-is.


If for some network conditions the Katalon Studio package cannot be downloaded, you can install it manually and specify its location.
me@ubuntu:~$ sudo su
root@ubuntu:~$ su jenkins
jenkins@ubuntu:~$ wget https://github.com/katalon-studio/katalon-studio/releases/download/v5.10.1/Katalon_Studio_Linux_64-5.10.1.tar.gz
jenkins@ubuntu:~$ tar -xzf Katalon_Studio_Linux_64-5.10.1.tar.gz
jenkins@ubuntu:~$ cd Katalon_Studio_Linux_64-5.10.1 && pwd
The last command will print the location you need (/var/lib/jenkins/Katalon_Studio_Linux_64-5.10.1).
Run the Jenkins job
Go to the Jenkins project page (e.g. at http://localhost:8060/jenkins/job/test/ if its name is “test”), click Build Now.
After it is complete, you can find the report in the Last Successful Artifacts section.
Troubleshoot: Unable to init server: Could not connect: Connection refused
When you run your test with Jenkins on Ubuntu using the Katalon plugin, you might encounter the error: "Unable to init server: Could not connect: Connection refused"
java -versionTroubleshooting: java.io.IOException: Permission denied
When you run your test with Jenkins on Ubuntu using the Katalon plugin for Jenkins, you might encounter the error: "java.io.IOException: Permission denied"
This error occurs because Jenkins requires permission to read, write, and execute the Katalon project folders.
$sudo chmod -R 777 <path to your Katalon project folder>
$sudo chmod -R 777 /home/ubuntu/Katalon\ Studio/testingisfun/
