WireMock integration

Note:
  • This workflow is successfully implemented for some of our customers. Please note that the results can vary depending on individual configurations.

WireMock plays a crucial role in service virtualization by allowing users to easily mimic a production API's behavior. This capability is essential for various testing scenarios, including:
  • Building test assets even when the production APIs are not ready or released.
  • Reducing test flakiness by stabilizing interactions with third-party APIs.
  • Simulating edge cases and faults to facilitate unhappy path testing.
This guide demonstrates how to integrate Katalon Studio with WireMock Cloud to create and test mock versions of APIs. For those who prefer a visual walkthrough, a video version of this tutorial is also available here.

Requirements

Set up a mock API

You can create a mock API by configuring WireMock Cloud to proxy traffic to an existing API accessible over the internet and record requests as stubs.

Create your mock API
  1. Log in to your WireMock Cloud dashboard.
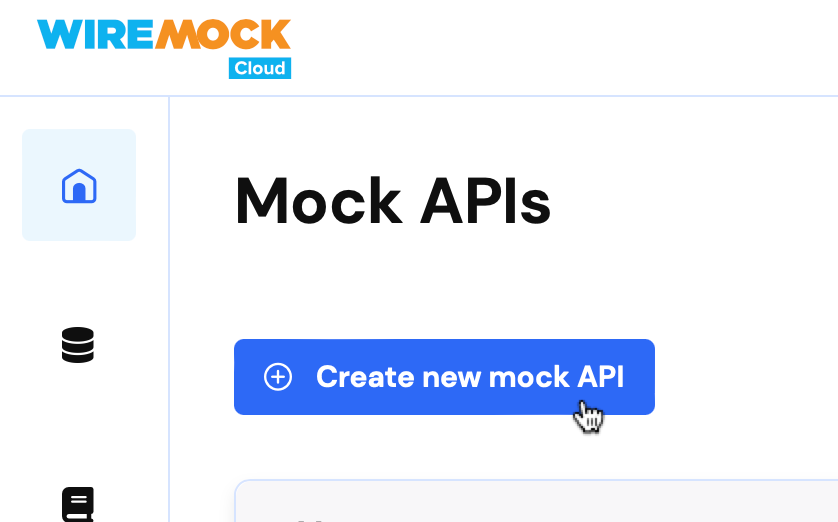
  2. In the home page, click Create new mock API.
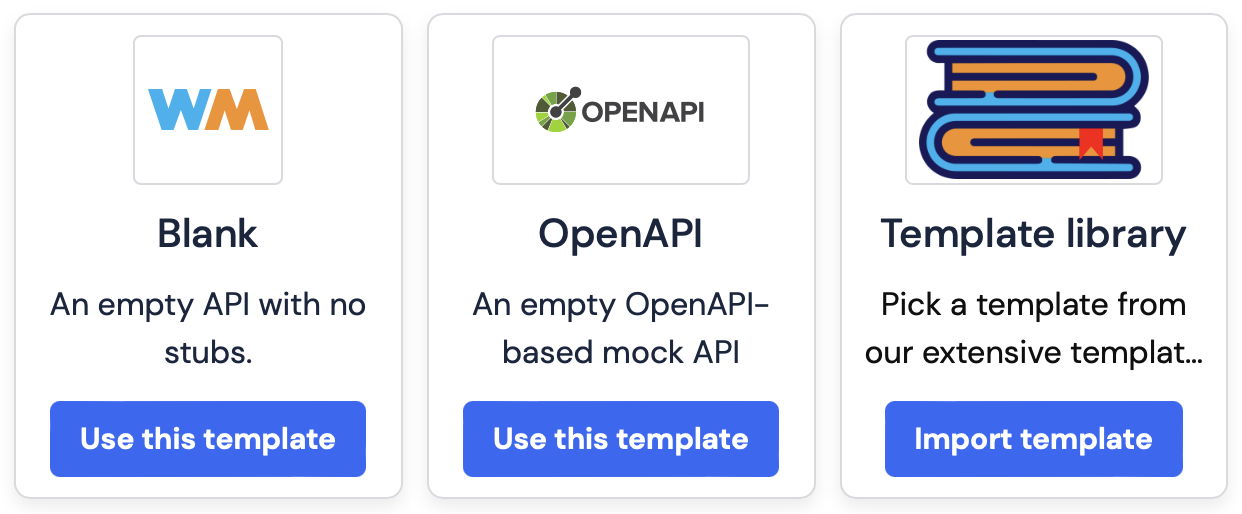
  3. Choose your API types.

    In this example, we use the Blank template.

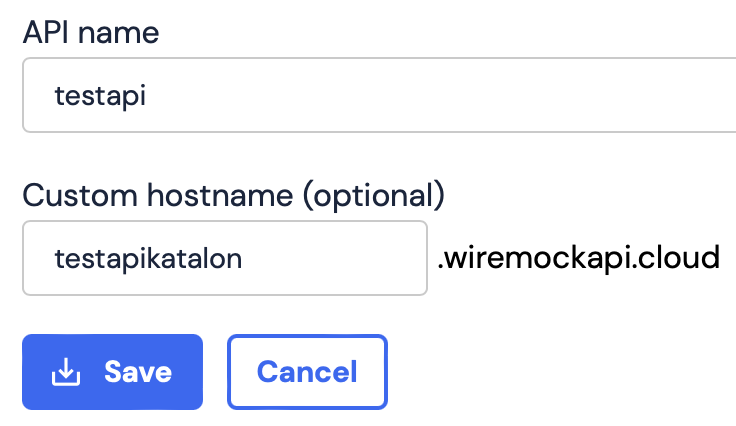
  4. Enter your API name and Custom hostname. Then, click Save.
Record and create a stub
  1. On the Stubs page, hit the Record button.
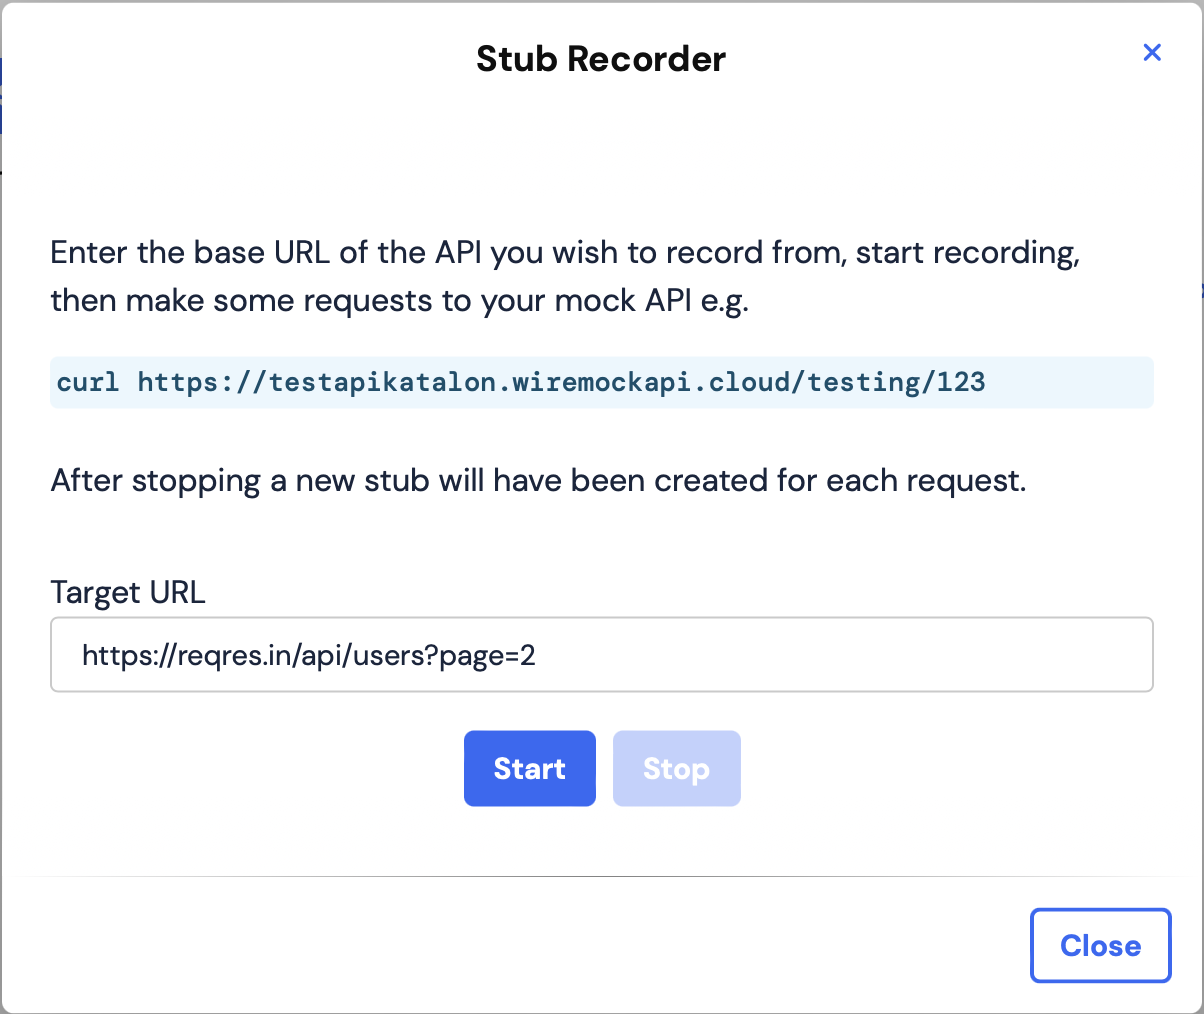
    The Stub Recorder dialog appears.

  2. In Target URL, paste the URL of the API you wish to record from. Then, click Start.
    In this example, we use a hosted REST-API at reqres.in.
  3. Make a request to your mock API by running this command (replace testapikatalon with your subdomain name):
    curl -v https://testapikatalon.wiremockapi.cloud/json

    This request will be proxied through WireMock Cloud, so that a GET request will be made to https://reqres.in/api/json and the result captured.

    After running the command, https://testapikatalon.wiremockapi.cloud/json will become the URL of the mock API.

  4. Hit Stop.
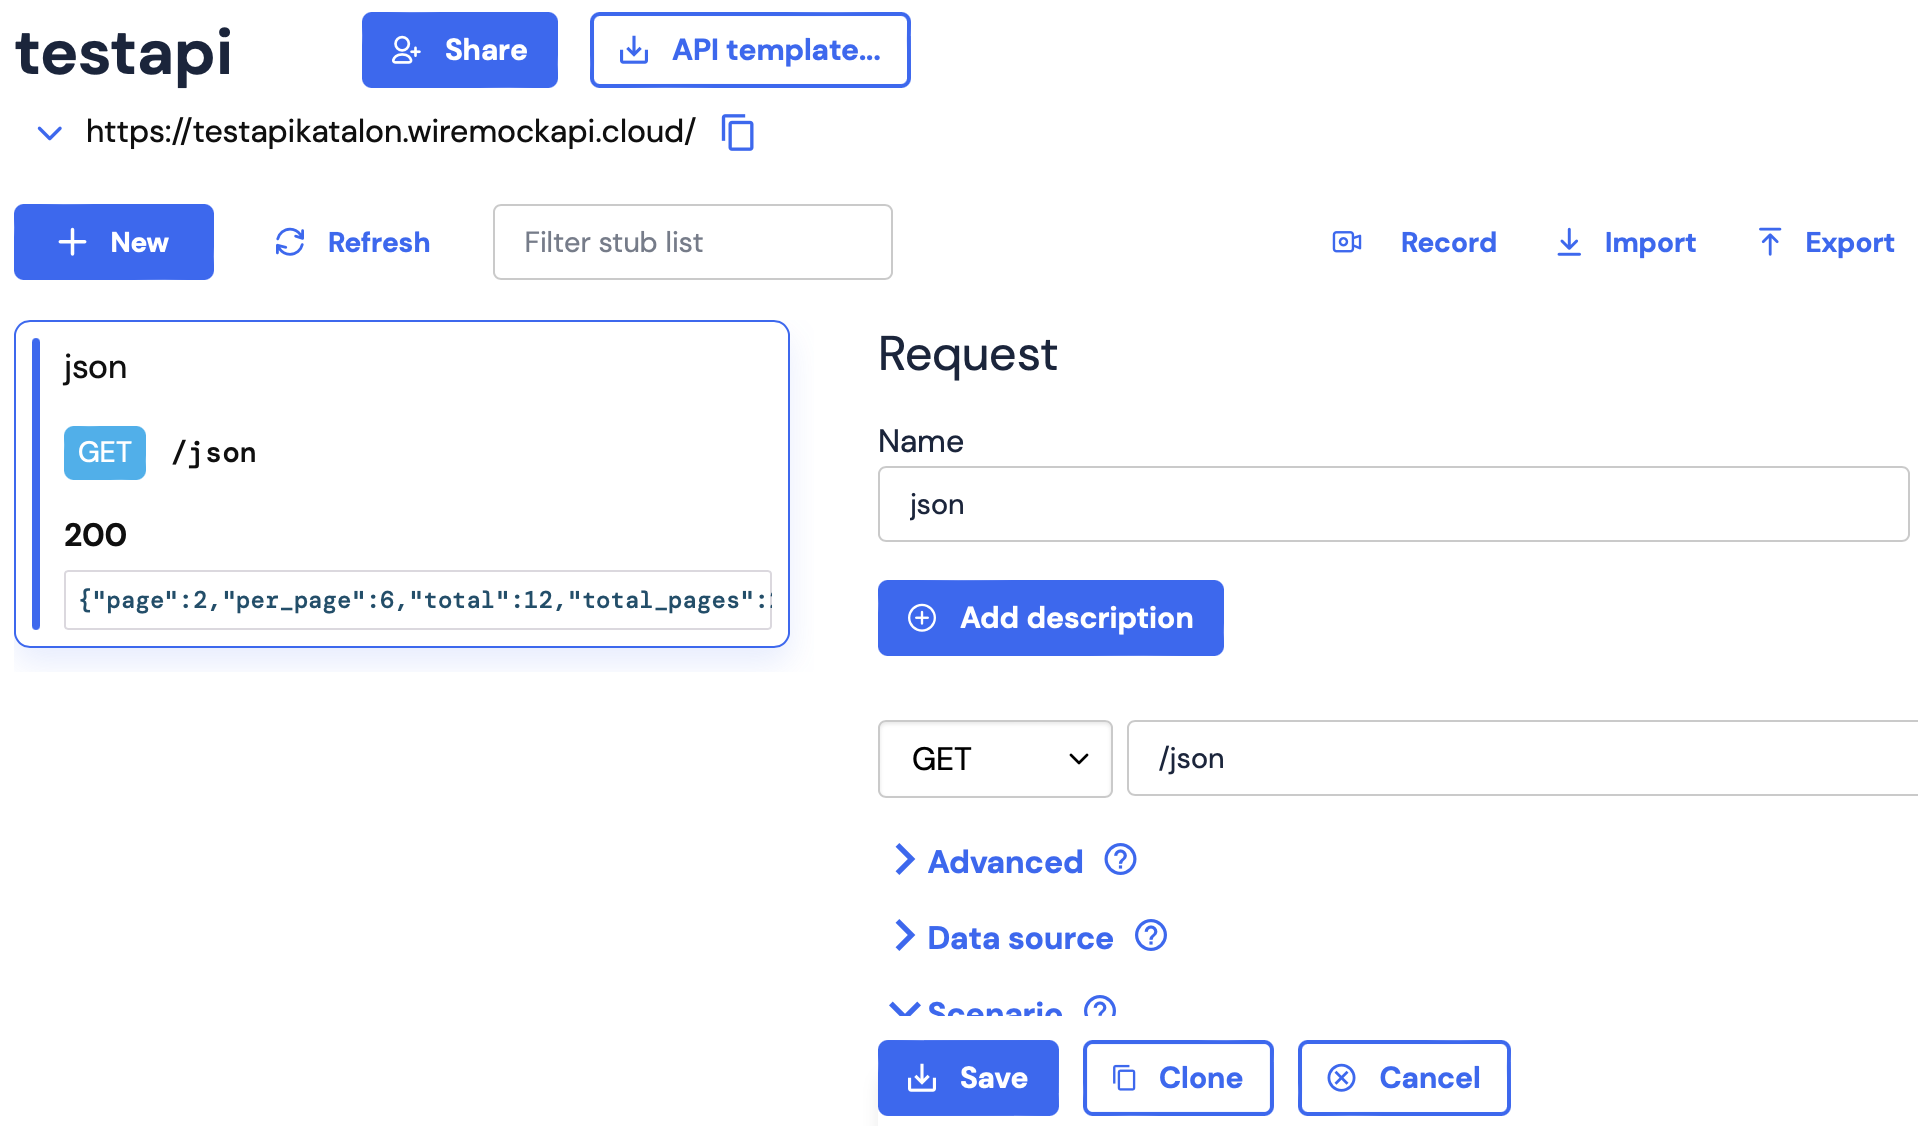
Upon completing these steps with WireMock Cloud's traffic record function, you should see a new stub in the list:

Note: In addition to creating a mock of an existing API, WireMock Cloud offers several methods to set up a mock API. For more information, see WireMock Cloud documentation.

Verify the mock API responses

Next, we will use Katalon Studio to send a GET request to retrieve data from the mock API and verify that the response matches the specified criteria.
Follow these steps to create and test a web service request using a mock API:
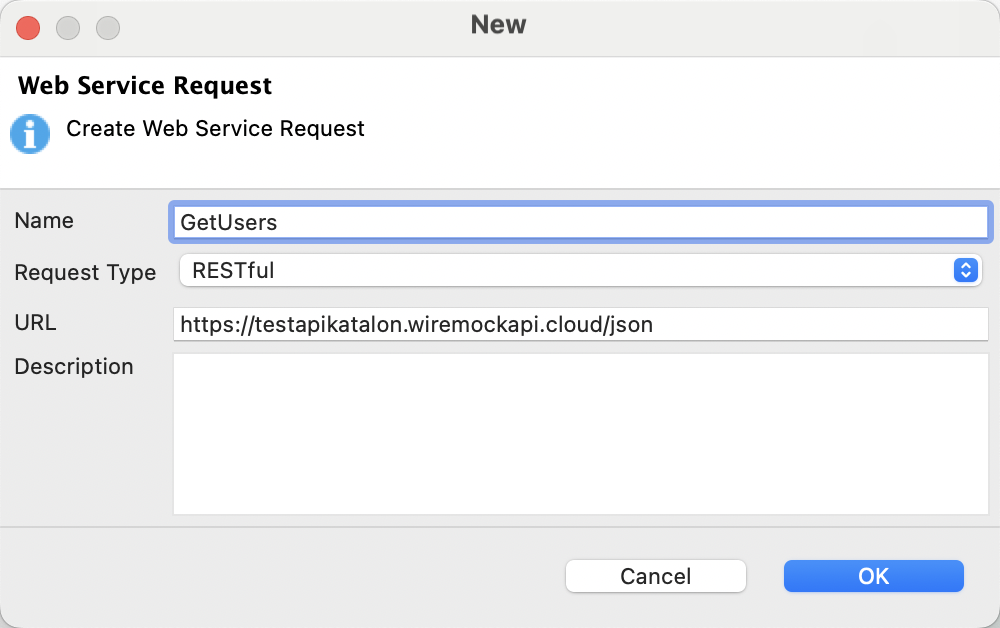
  1. Open Katalon Studio, select File > New > Web Service Request.
  2. In the displayed New Web Service Request dialog, name the request, specify the request type as RESTful, and enter the URL of your mock API.

    Then, click OK.

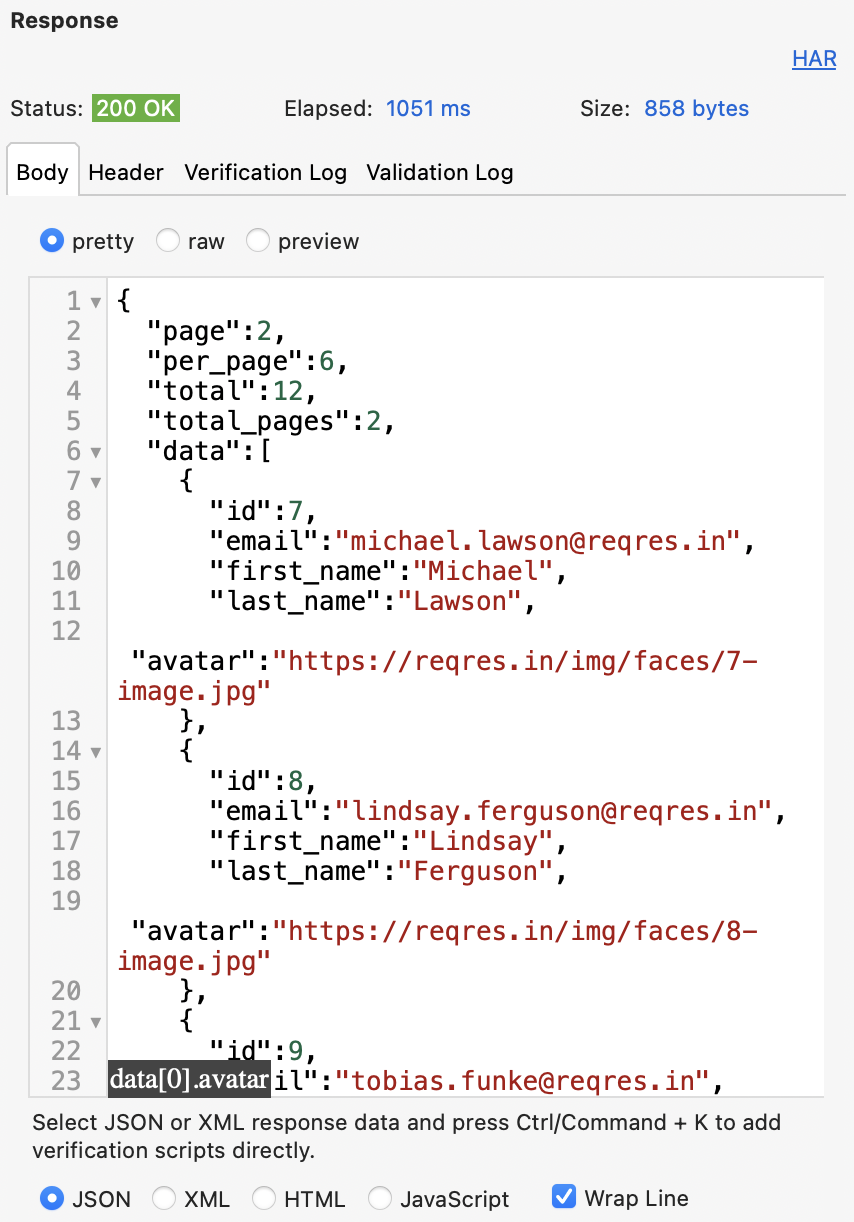
  3. Select GET request and hit the Test Request button.
    Layer 1
    The GET request will return all the details as if it were from the real API, but it is actually from the mock API, which mimics the real API.

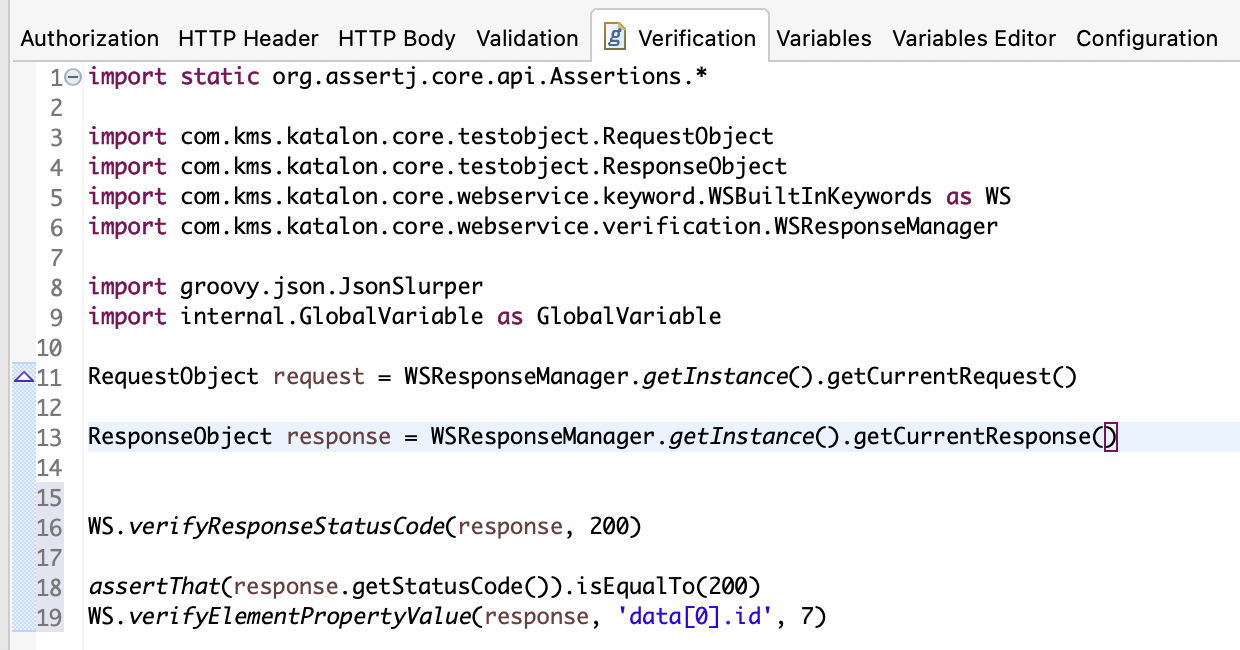
  4. In the same tab, add specific response details in the Verification section.

    For example, check for the status code as 200 and verify that the first ID is 7.

    You can modify and expand the verification as needed to meet your specific testing requirements.

  5. Create a new test case by selecting File > New > Test Case from the main menu.
  6. Add the Send Request And Verify keyword, then double click on the Object cell to select your new web service request.
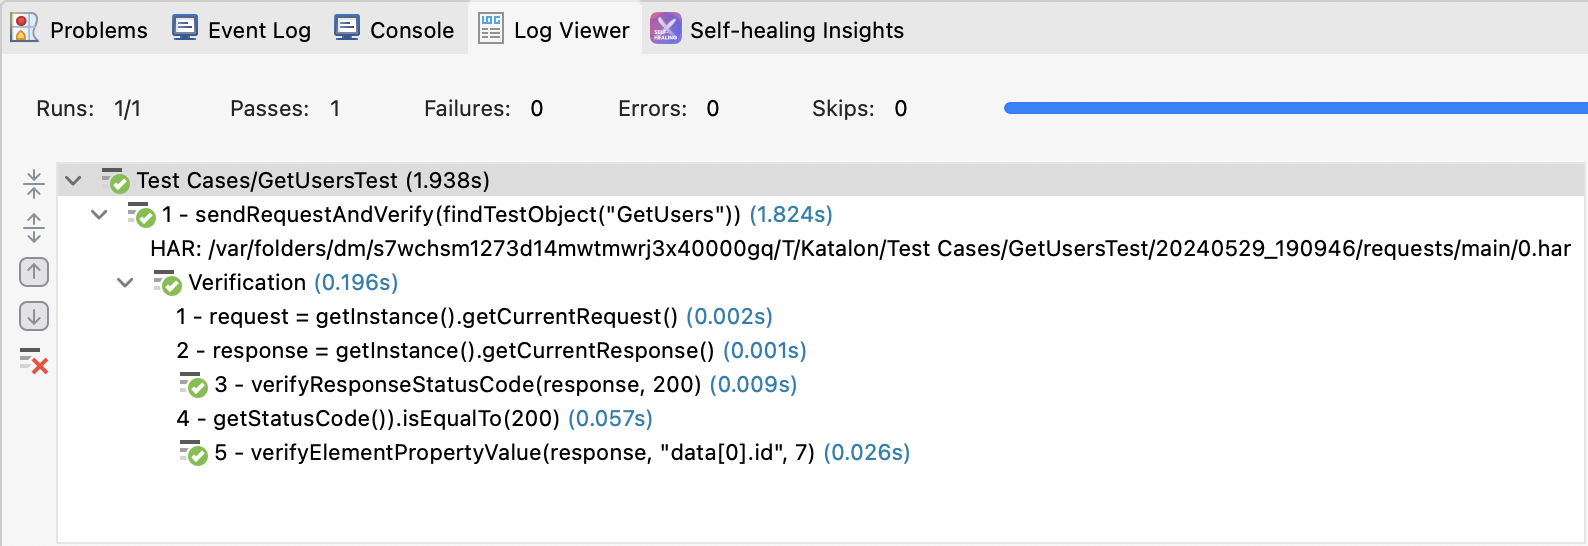
  7. Click Run to execute a test case.
In the Log Viewer, you can see the request is sent, and the response is verified against the specified criteria in the Verification section.

Create a mock endpoint

You can create a new stub within Katalon Studio without needing to use the WireMock Cloud user interface. Simply send a POST request with the desired data to set up the stub in WireMock Cloud.
Follow these steps to create a new stub using Katalon Studio:
  1. Select File > New > Web Service Request.
  2. In the displayed New Web Service Request dialog, name the request, specify the request type as RESTful, and enter the URL for managing stub mappings. Then, click OK.
    Here's how to get the URL:
    1. Go to WireMock Cloud app's home screen, select your created mock API.
    2. Choose Settings on the left sidebar.
    3. Scroll down to see the Usage examples section.

      In this section, the URL for managing stub mappings is provided. In this example, the URL is https://testapikatalon.wiremockapi.cloud/__admin/mappings.

  3. Select POST request.
  4. In the HTTP Header section, add specific Name and Value as shown below:

    You can find the Value of the Authorization in the Usage examples section above.

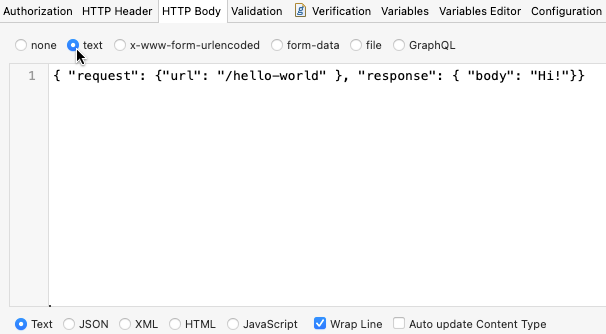
  5. In the HTTP Body section, choose text, then input your stub mapping definition.
    For example, the text { "request": {"url": "/hello-world" }, "response": { "body": "Hi!"}} is a JSON object that defines a stub mapping. This JSON object specifies the request to be matched and the response to be returned by WireMock Cloud.

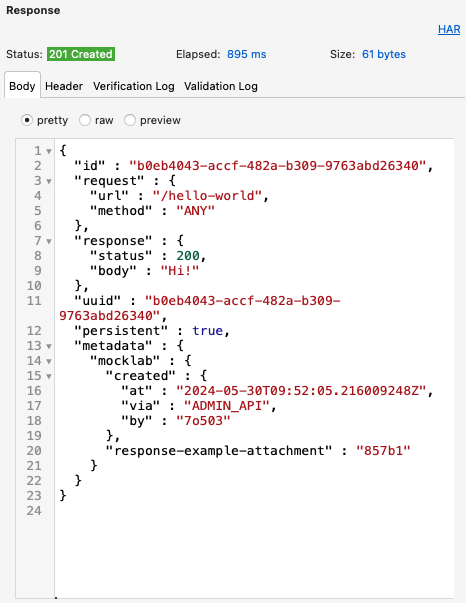
  6. Hit the Test Request button.
    The POST request will create a mock endpoint in WireMock Cloud, allowing remote connection to the WireMock Cloud server from Katalon Studio.

  7. Follow from step 5 of Verify the mock API responses to execute the test.
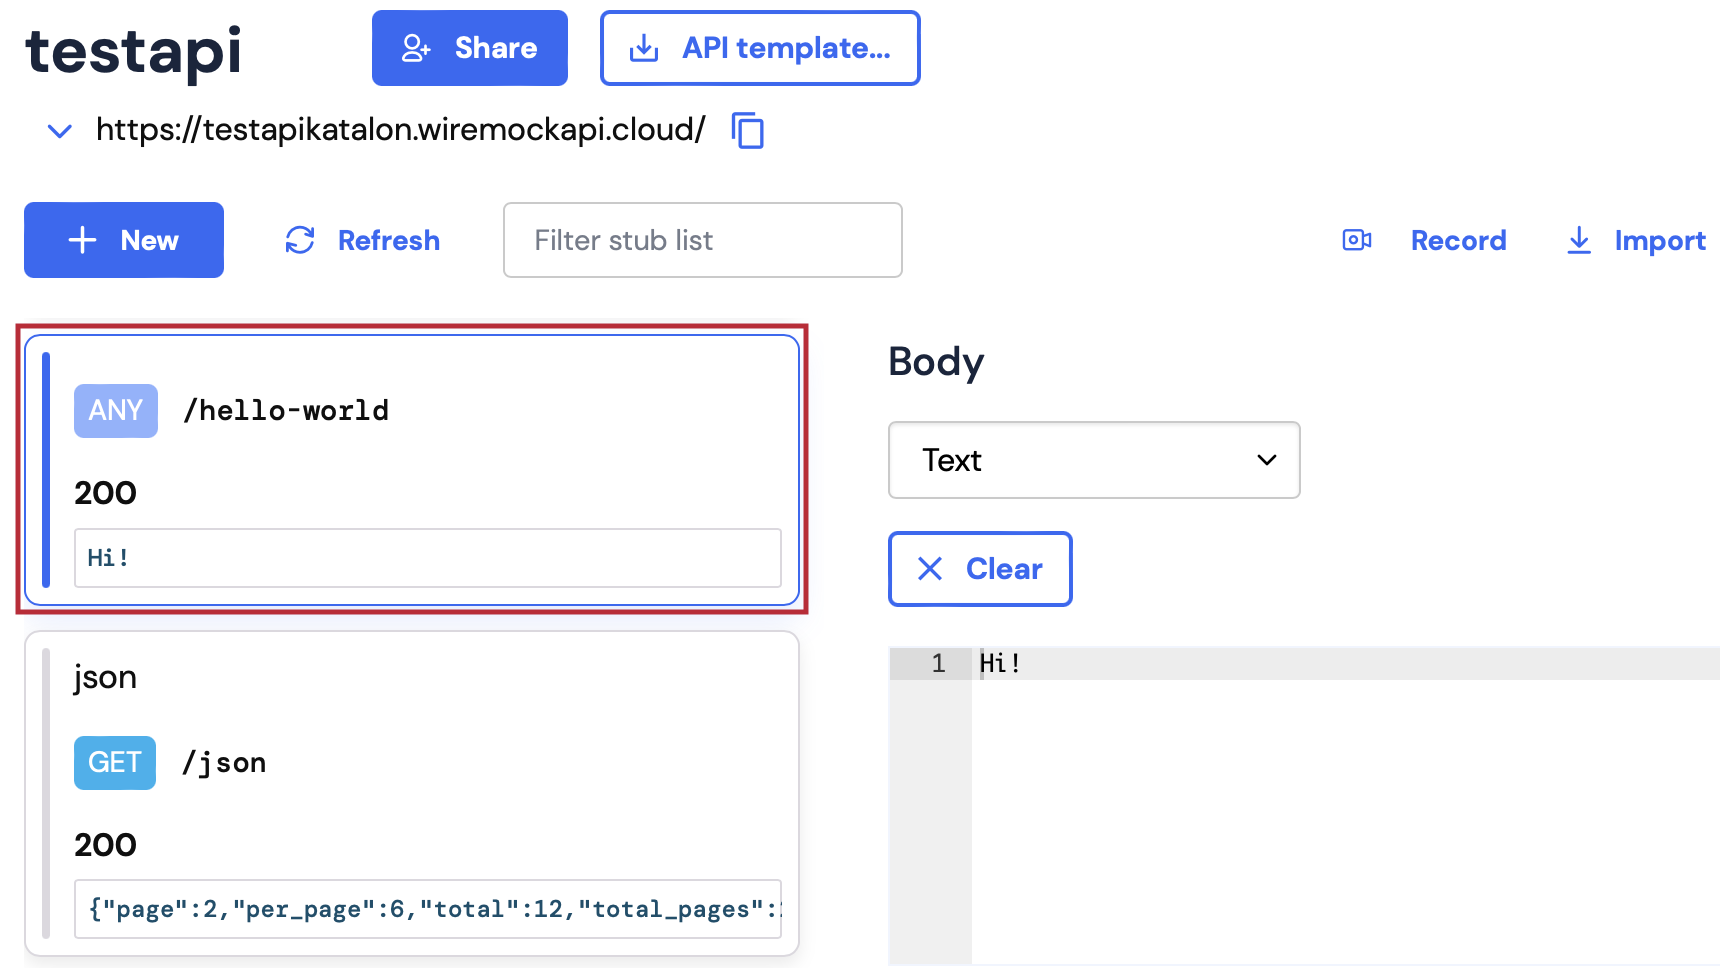
Upon completing these steps, you will see the mock endpoint created in Katalon Studio is now available in WireMock Cloud:

Was this page helpful?