Mobile Recorder utility
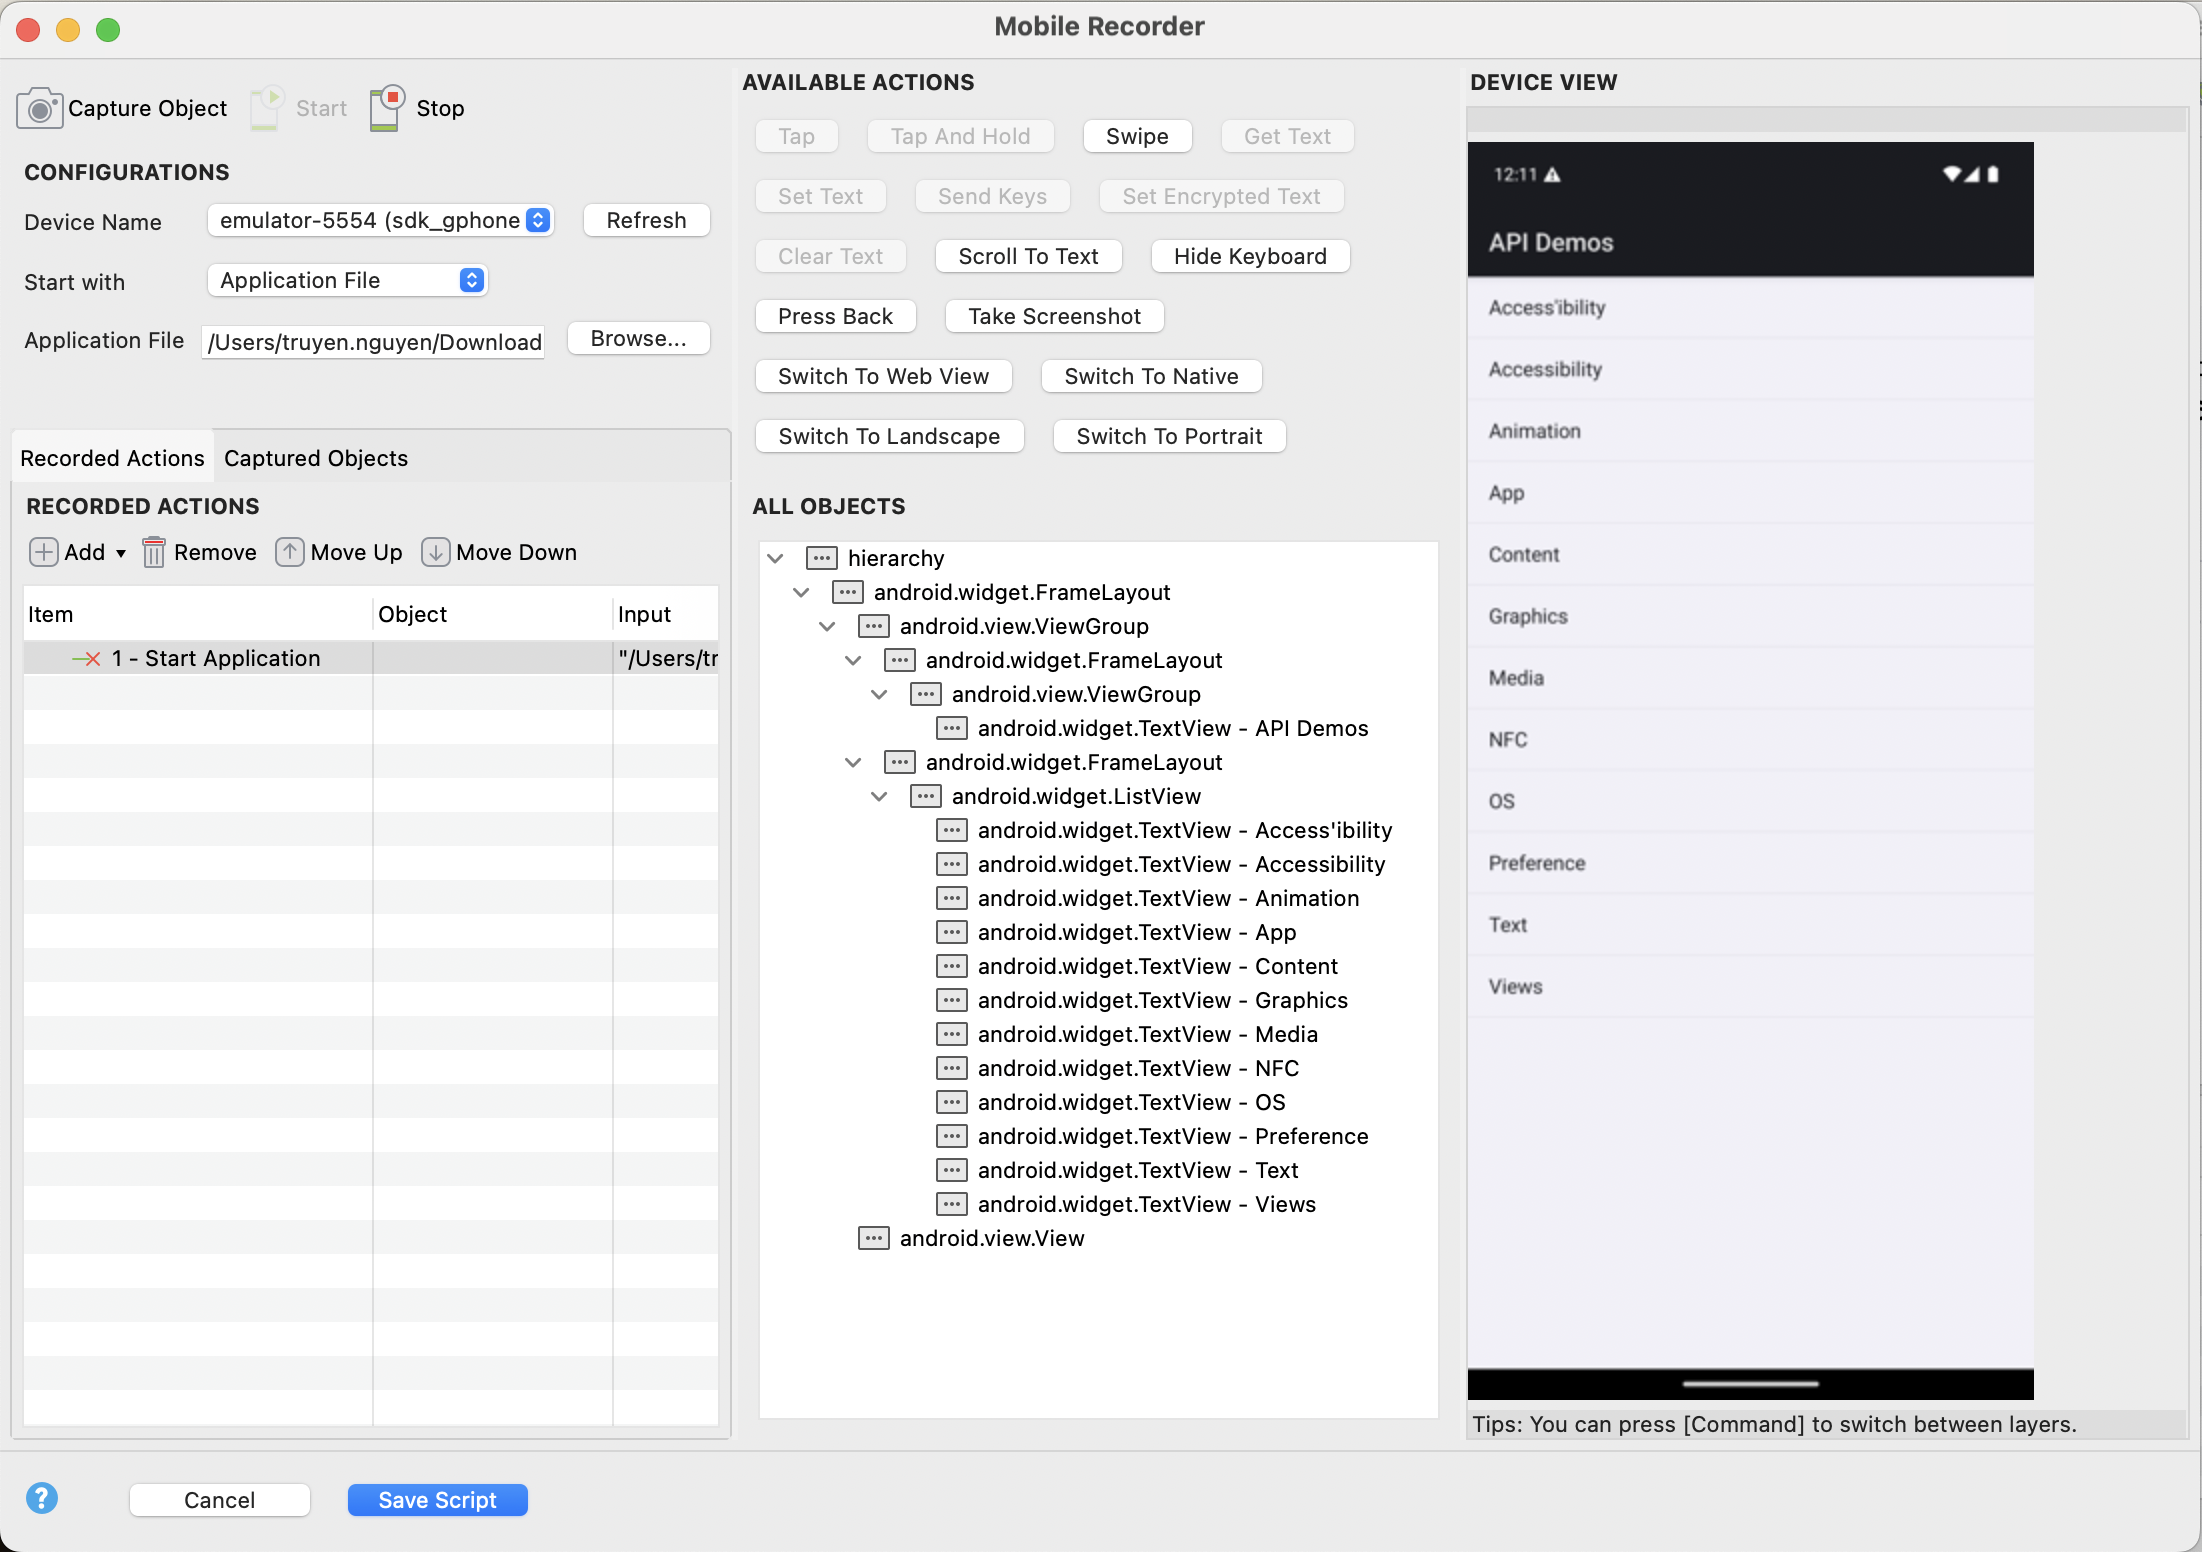
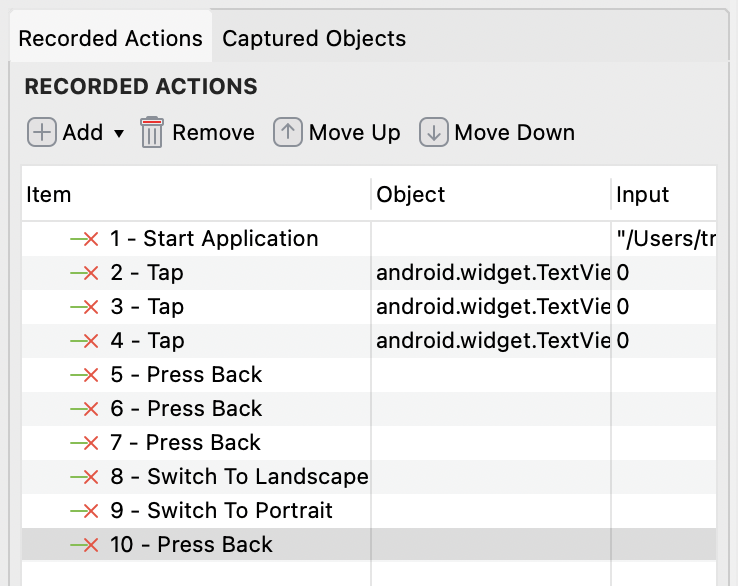
The Mobile Recorder utility in Katalon Studio allows you to create automated test cases for mobile applications. You perform actions on the application under test (AUT) as a user, and the recorder captures these actions to generate test cases.
Device types
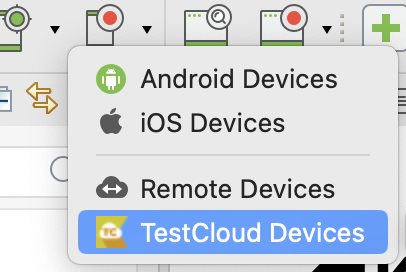
Katalon Studio provides three recording options for mobile test automation. Each option has distinct advantages, disadvantages, and prerequisites.
| Device types | Pros | Cons | Prerequisites |
|---|---|---|---|
| Local devices | Direct control, no subscription needed. | Complex mobile device setup process with occasional bugs. | For Android: For iOS: |
| Remote devices | Access to a wide range of real devices for thorough testing, useful for cross-platform compatibility. | Requirements of remote servers and management of network connections, potential latency issues | See: |
| TestCloud devices | Access to multiple devices and configurations, no hardware needed, simple setup for users with minimal to no coding experience. | Slower interaction and execution times compared to local devices. | Subscription to TestCloud Mobile Native App testing. See TestCloud overview. |
Record a mobile application
This section shows you how to create a test case with the Record Mobile function, from starting a session to configuring specific test actions on your chosen mobile device.
Use Mobile Recorder on TestCloud devices
From Katalon Studio version 9.5.0 onwards, you can use TestCloud mobile devices for recording and playback. This feature removes the need for complex local setups and makes it easier for users with minimal coding experience to conduct mobile testing.
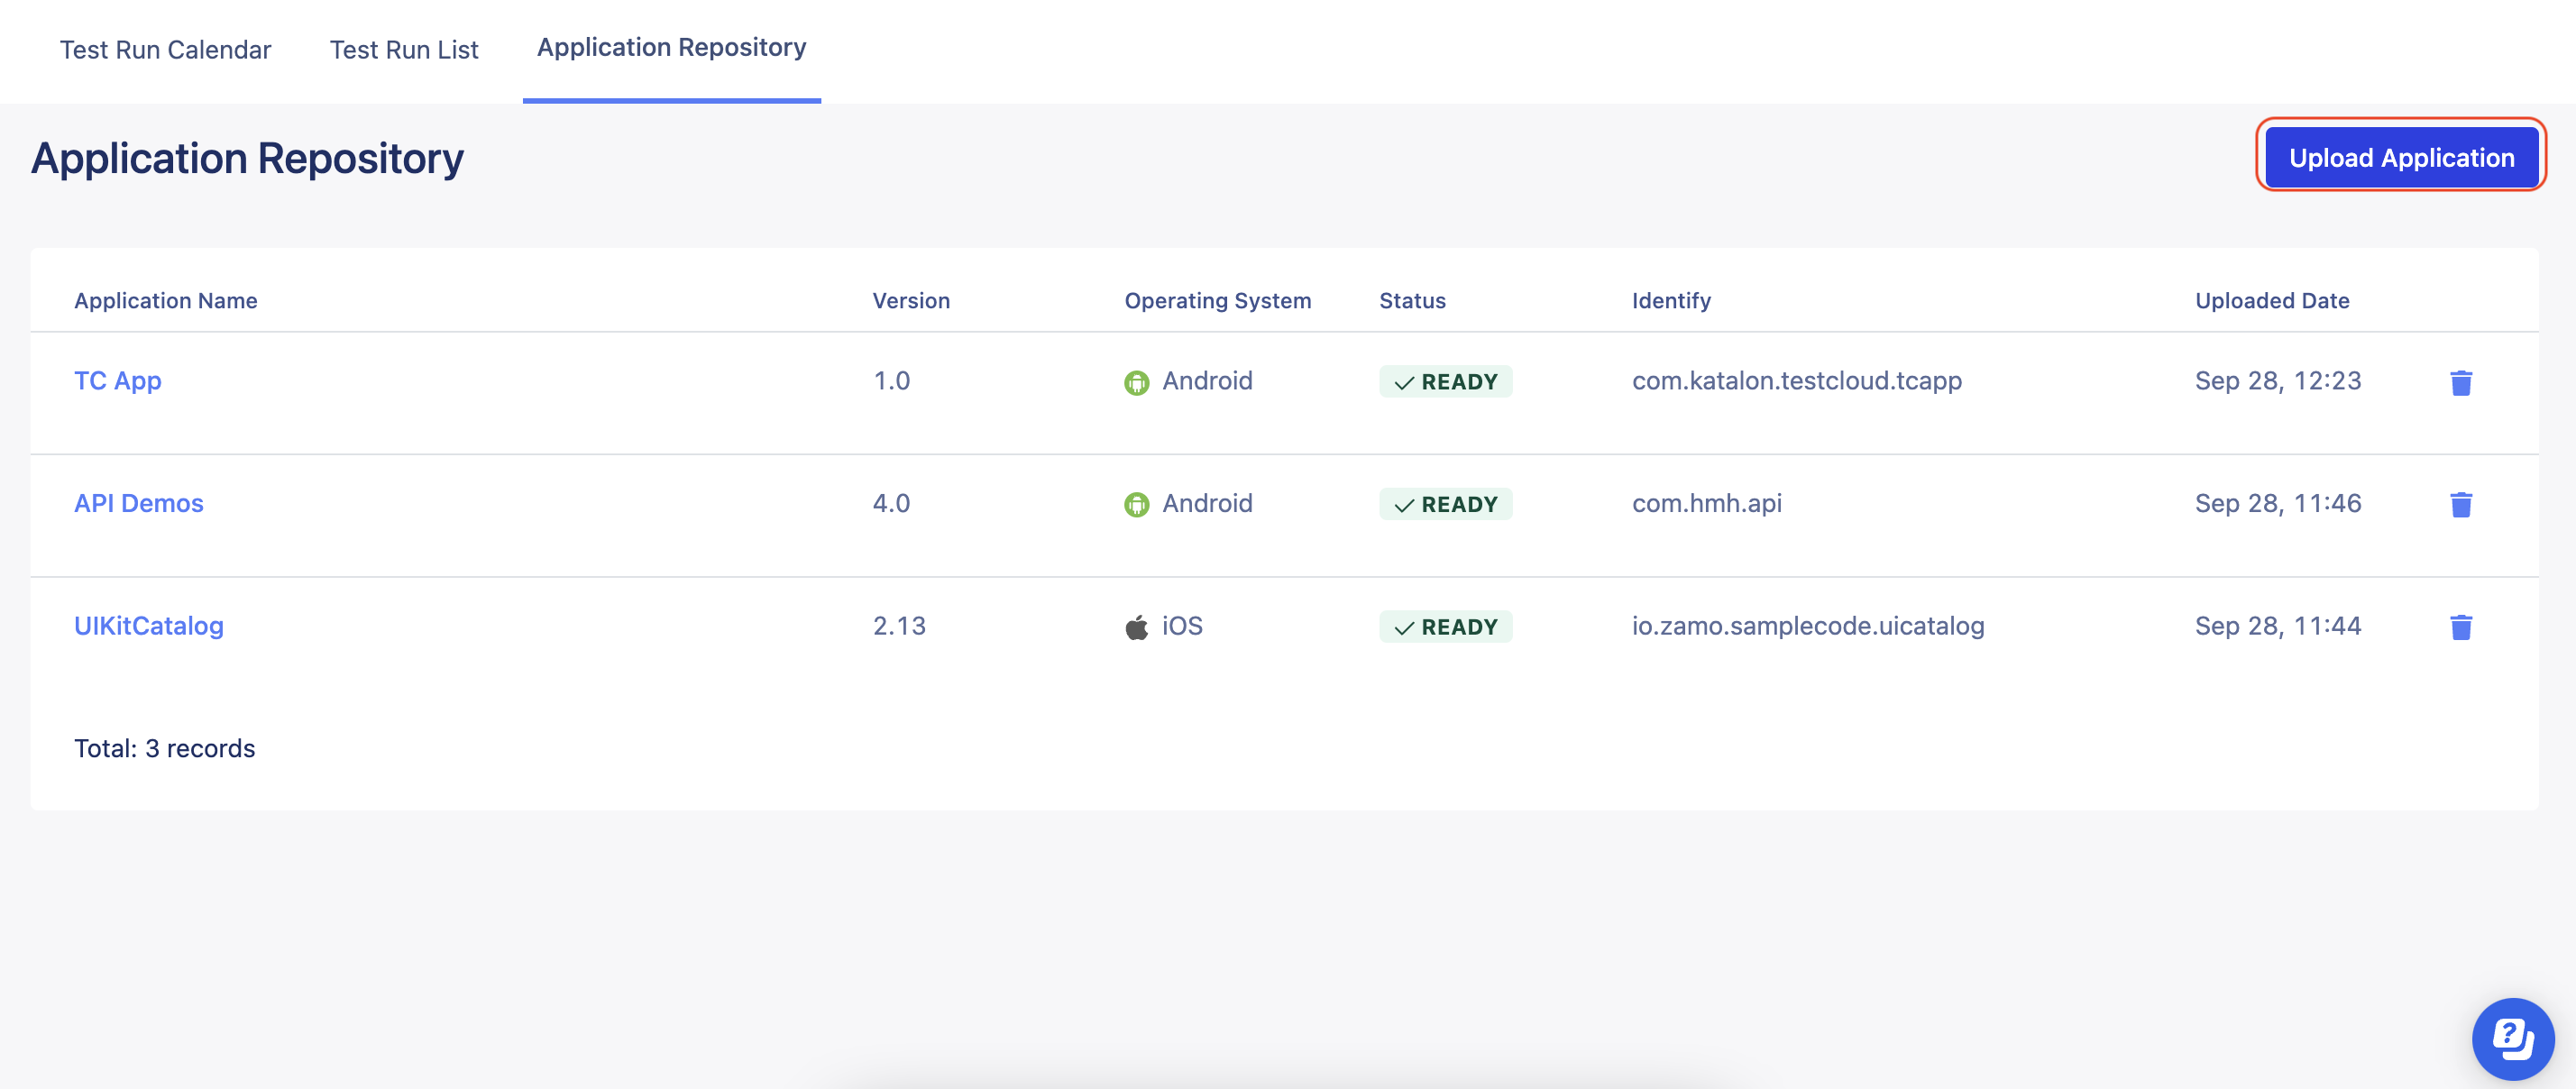
You just need to upload your application file to TestOps and directly record objects on a TestCloud device.
Here's a demo video of using mobile recorder on TestCloud devices:
Requirements
- Katalon Studio Enterprise (KSE) version 9.5.0 onwards.
- A TestCloud Mobile Native App testing subscription.
TestCloud integration enabled. See Integrate TestCloud with Katalon Studio.
Upload a mobile app to TestOps
TestCloud allows you to perform automated tests on mobile native applications. You can upload a mobile application and local Katalon Studio tests to TestOps, then use TestCloud to orchestrate test executions without having to set up local emulators or simulators.
An active Katalon TestCloud subscription or trial.
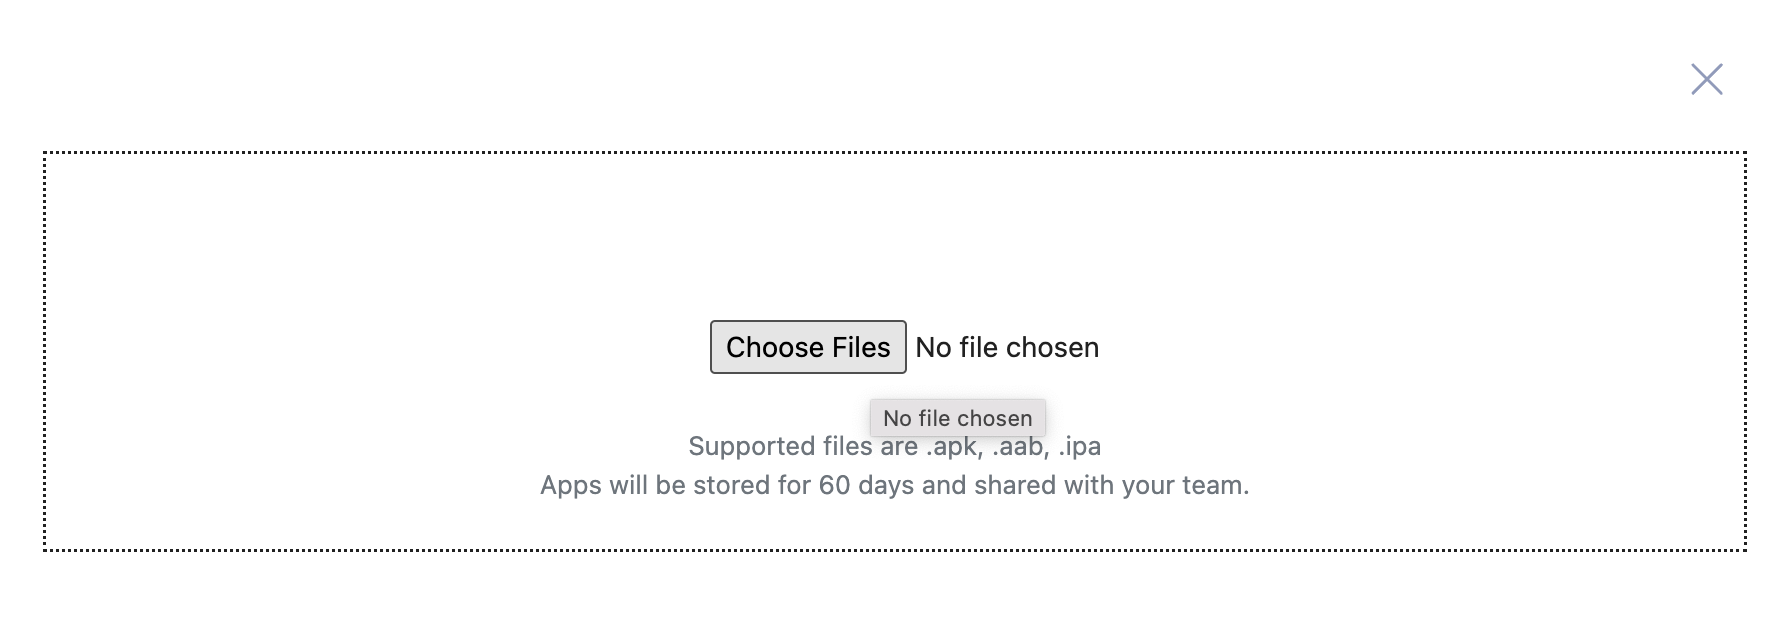
A mobile application file in .apk or .aab format (for Android), or in .ipa format (for iOS).
A mobile test project configured in TestOps.
- To set up a sample project for iOS application testing, see Open the sample iOS test project.
- To set up a sample project for Android application testing, see Open the sample Android test project.
For Android hybrid mobile applications, follow the configurations in this document: Capture elements in hybrid Android apps.
Follow these steps to upload a mobile application to TestOps.
Record objects on a TestCloud device
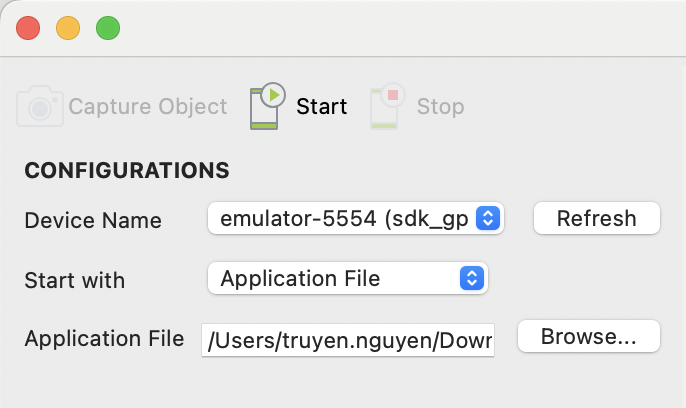
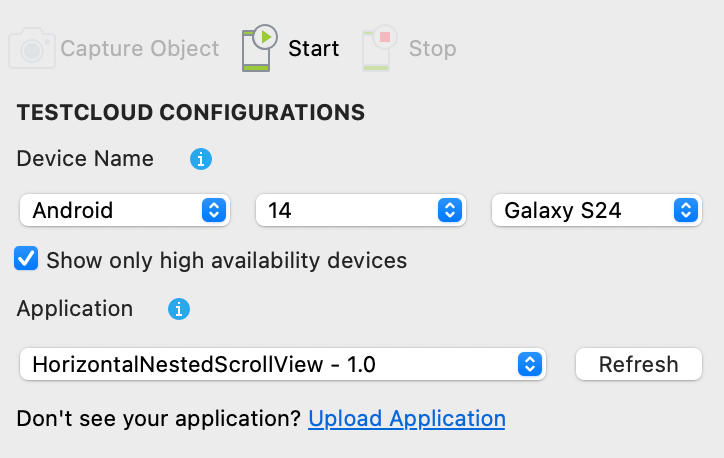
To begin capturing objects on a TestCloud device, follow these steps:
Available Actions
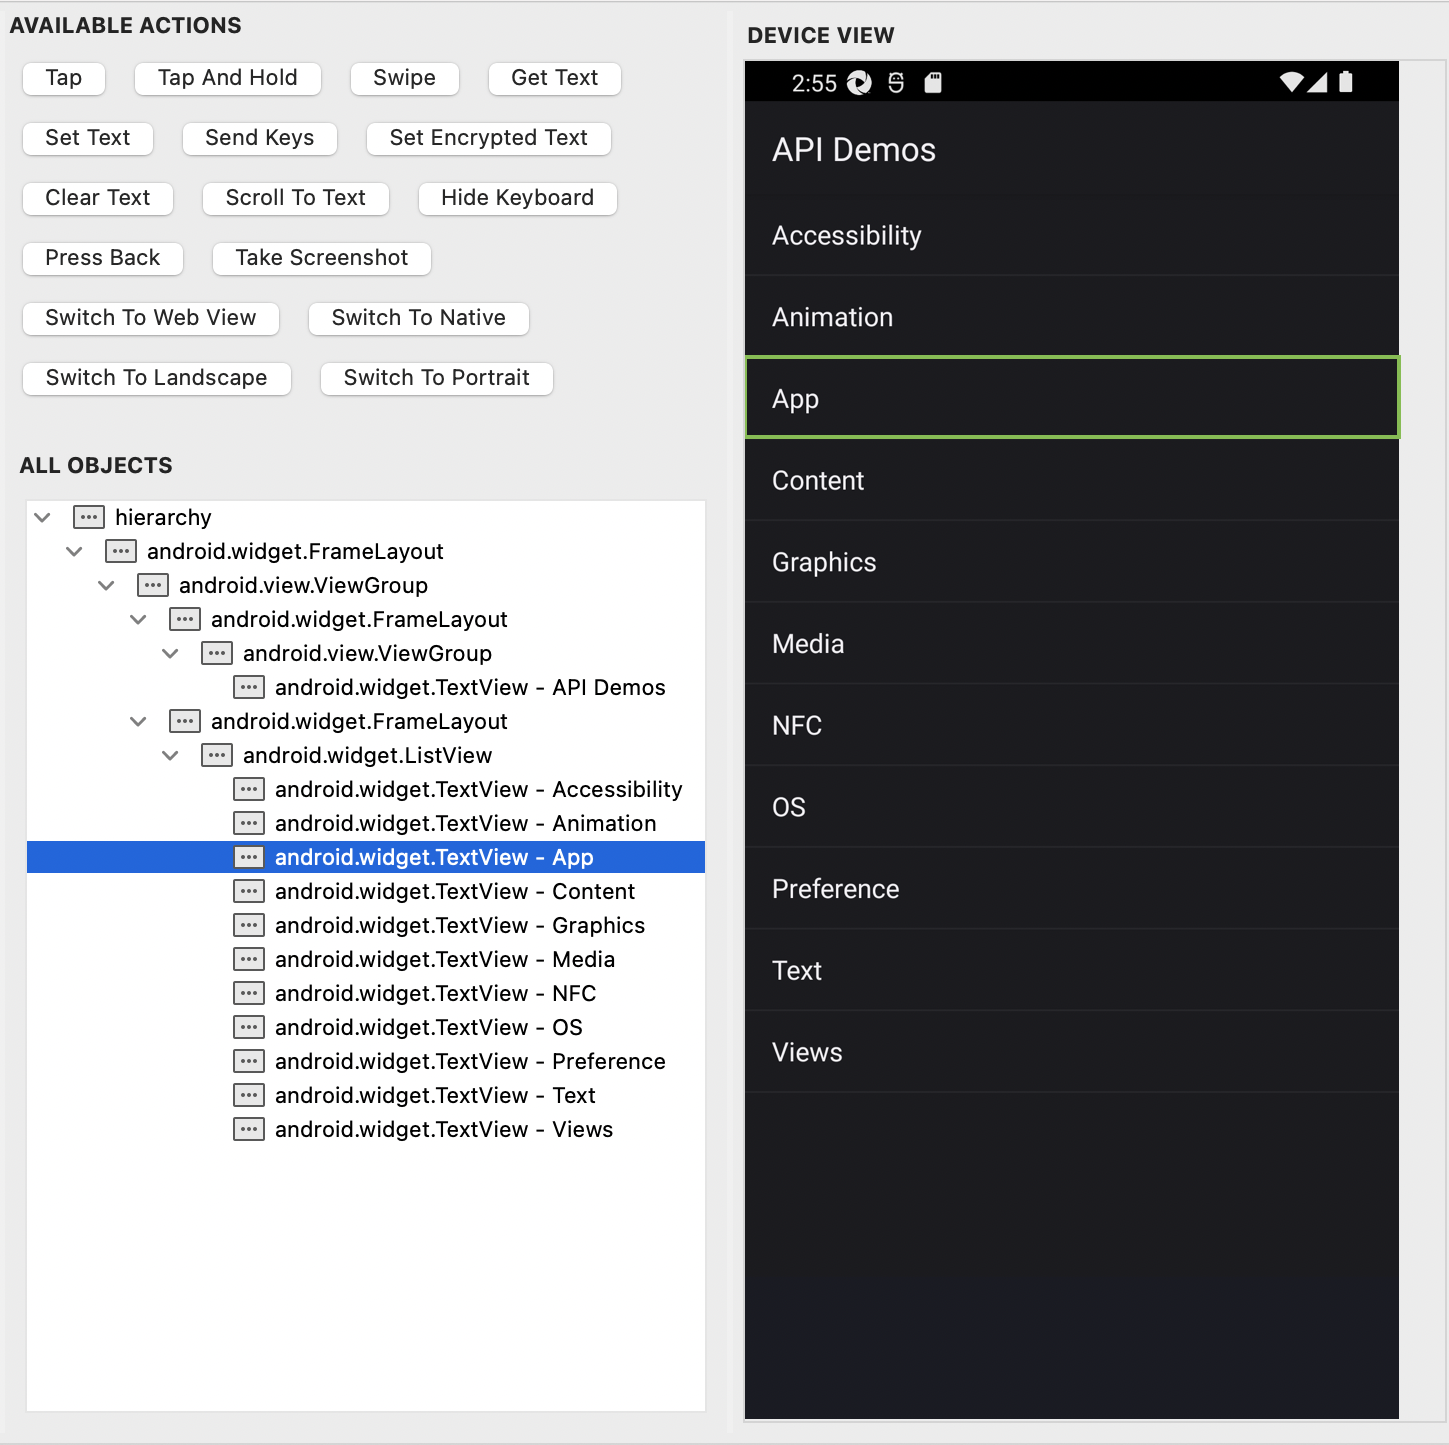
Available Actions contains multiple mobile action buttons that can be performed on the AUT.

There are two types of actions:
- Object action: Require selecting an object in Device View or All Objects to perform the action. After selecting, you can see which actions are enabled for that object.
Application action: Do not require selecting an object to perform.
| Available Actions | Description |
|---|---|
| Tap | Tap on a mobile element. |
| Tap And Hold | Tap and hold on a mobile element for a duration. |
| Swipe | Simulate swiping fingers on the mobile device. |
| Get Text | Get the text of a mobile element. |
| Set Text | Set the text on a mobile element. It also clears the previous value of the mobile element. |
| Send Keys | Simulates keystroke events on the specified element, as though you typed the value key-by-key. |
| Set Encrypted Text | Enter an encrypted text in an input field and clear the existing value of the input field. To encrypt a raw text, from the main menu, Help > Encrypt Text. |
| Clear Text | Clear text of a mobile element. |
| Scroll To Text | Scroll to an element which contains the given text. |
| Hide Keyboard | Hide the keyboard if it is showing. |
| Press Back (Available on Android only) | Simulate pressing back button on a mobile device. |
| Take Screenshot | Take a screenshot of the current device screen. |
| Switch To Web View | Switch the current device to web view context. |
| Switch To Native | Switch the current device driver to native context. |
| Switch To Landscape | Switch the current mode of the device to landscape mode. |
| Switch To Portrait | Switch the current mode of the device to portrait mode. |
Validate UI elements
Besides the available actions, you can right-click on any element in Device View or All Objects to access the context menu.
Then, you can capture the selected object or add Verify and Wait keywords as test steps.
The selected verification action is recorded in Recorded Actions table. You might need to double-click on Input field to add necessary values to some keywords.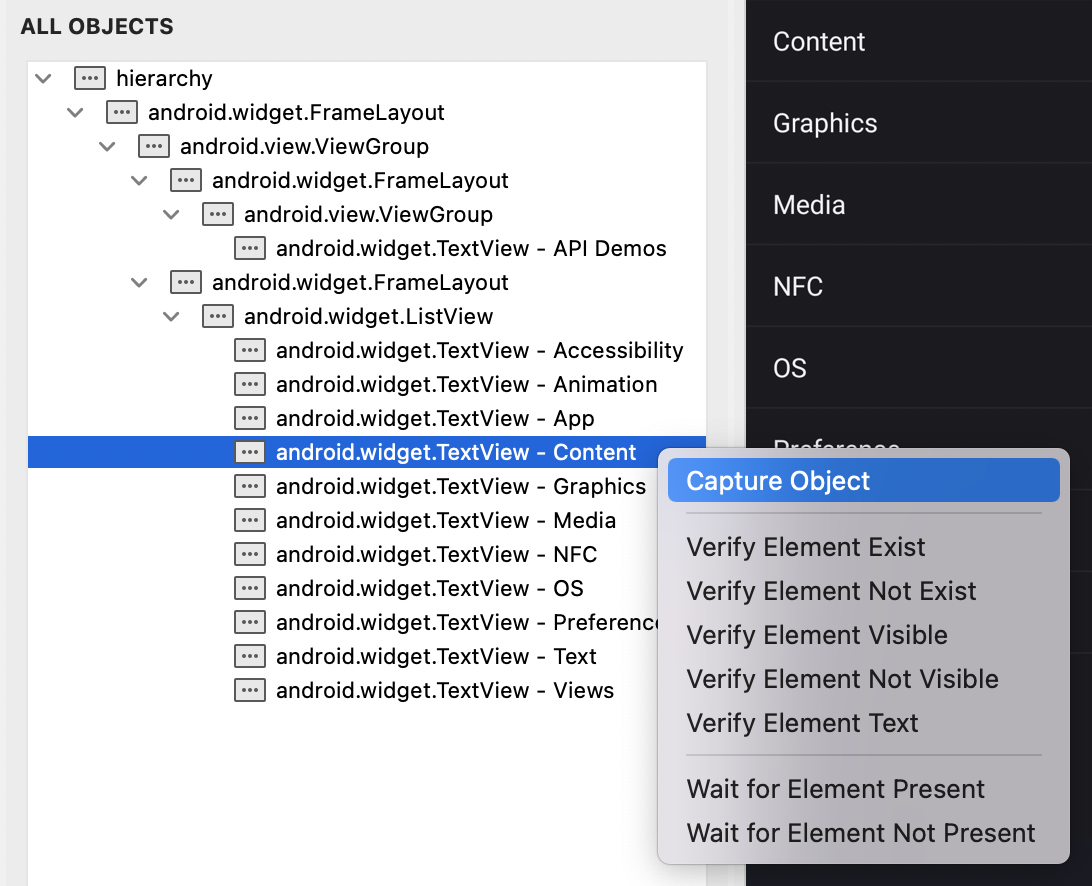
| Option | Description |
|---|---|
| Capture Object | Used for capturing an object. |
| Verify Element Exist | Verify if a mobile element is present. |
| Verify Element Not Exist | Verify if a mobile element is NOT present. |
| Verify Element Visible | Verify if a mobile element is visible. |
| Verify Element Not Visible | Verify if a mobile element is NOT visible. |
| Verify Element Checked | Verify if a mobile element is checked. Applicable to:
|
| Verify Element Not Checked | Verify if a mobile element is not checked. Applicable to:
|
| Verify Element Text | Verify the text of an element. After adding this keyword, you need to get text and parse it in the Input. |
| Wait for Element Present | Wait for the given mobile element to present within the given time (in seconds). |
| Wait for Element Not Present | Wait for the given element to NOT be present within the given time (in seconds). |
Configure object tree display
You can configure the display of the object tree in Project Settings > Test Design > Mobile.
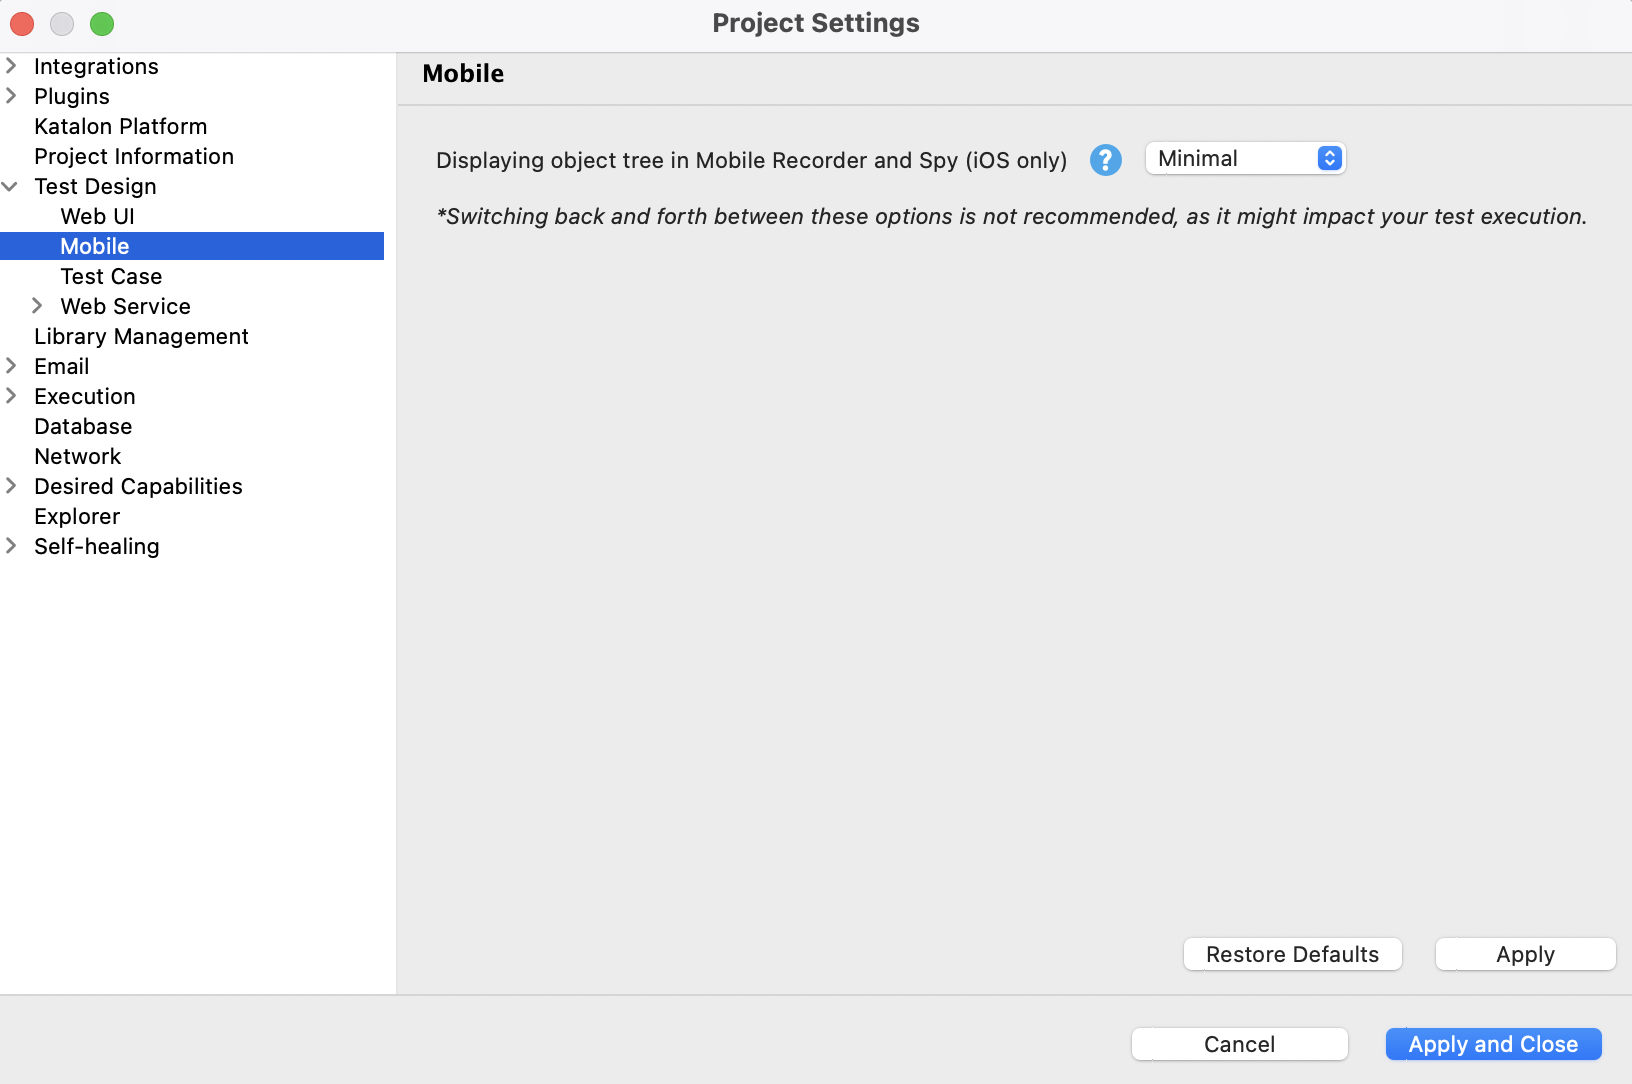
| Option | Description |
|---|---|
| Minimal |
|
| Full |
|
