Single Sign-On Configurations
Katalon TestOps offers users the Ultimate Plan to manage logins with Single Sign-On (SSO) for a more personalized and secure connection. This guide shows how to set up SSO for your enterprise connection.
You must be an Owner or Admin of your Organization.
You need to subscribe to Katalon TestOps Ultimate plan. See: Katalon Plans.
You need to configure a Subdomain. Refer the following topic for further information: Configure a Subdomain for an Organization.
Configure an identity provider (IdP)
To configure SSO in Katalon TestOps, you need to generate metadata by setting up an identity provider (IdP).
To set up the IdP, input the bellow values into your IdP settings. Refer to the guidelines provided by the specific platform or IdP service you are integrating with for detailed instructions.
- Single sign-on SSO URL:
https://login.katalon.com/realms/katalon/broker/{custom-domain}/endpoint - SP Entity ID:
https://login.katalon.com/realms/katalon/broker/{custom-domain}/endpoint - Attribute statement:
Email
The values for the above configurations are case-sensitive.
{custom-domain}is your Custom domain that you have configured. See: Subdomain Configurations.
Metadata of the IdP is usually represented in the form of an XML file and typically provided by the IdP itself. Your metadata is then automatically encrypted in the Katalon database.
Configure Single Sign-On
You have configured an identity provider for SSO in Katalon TestOps, see above: Configure identity provider.
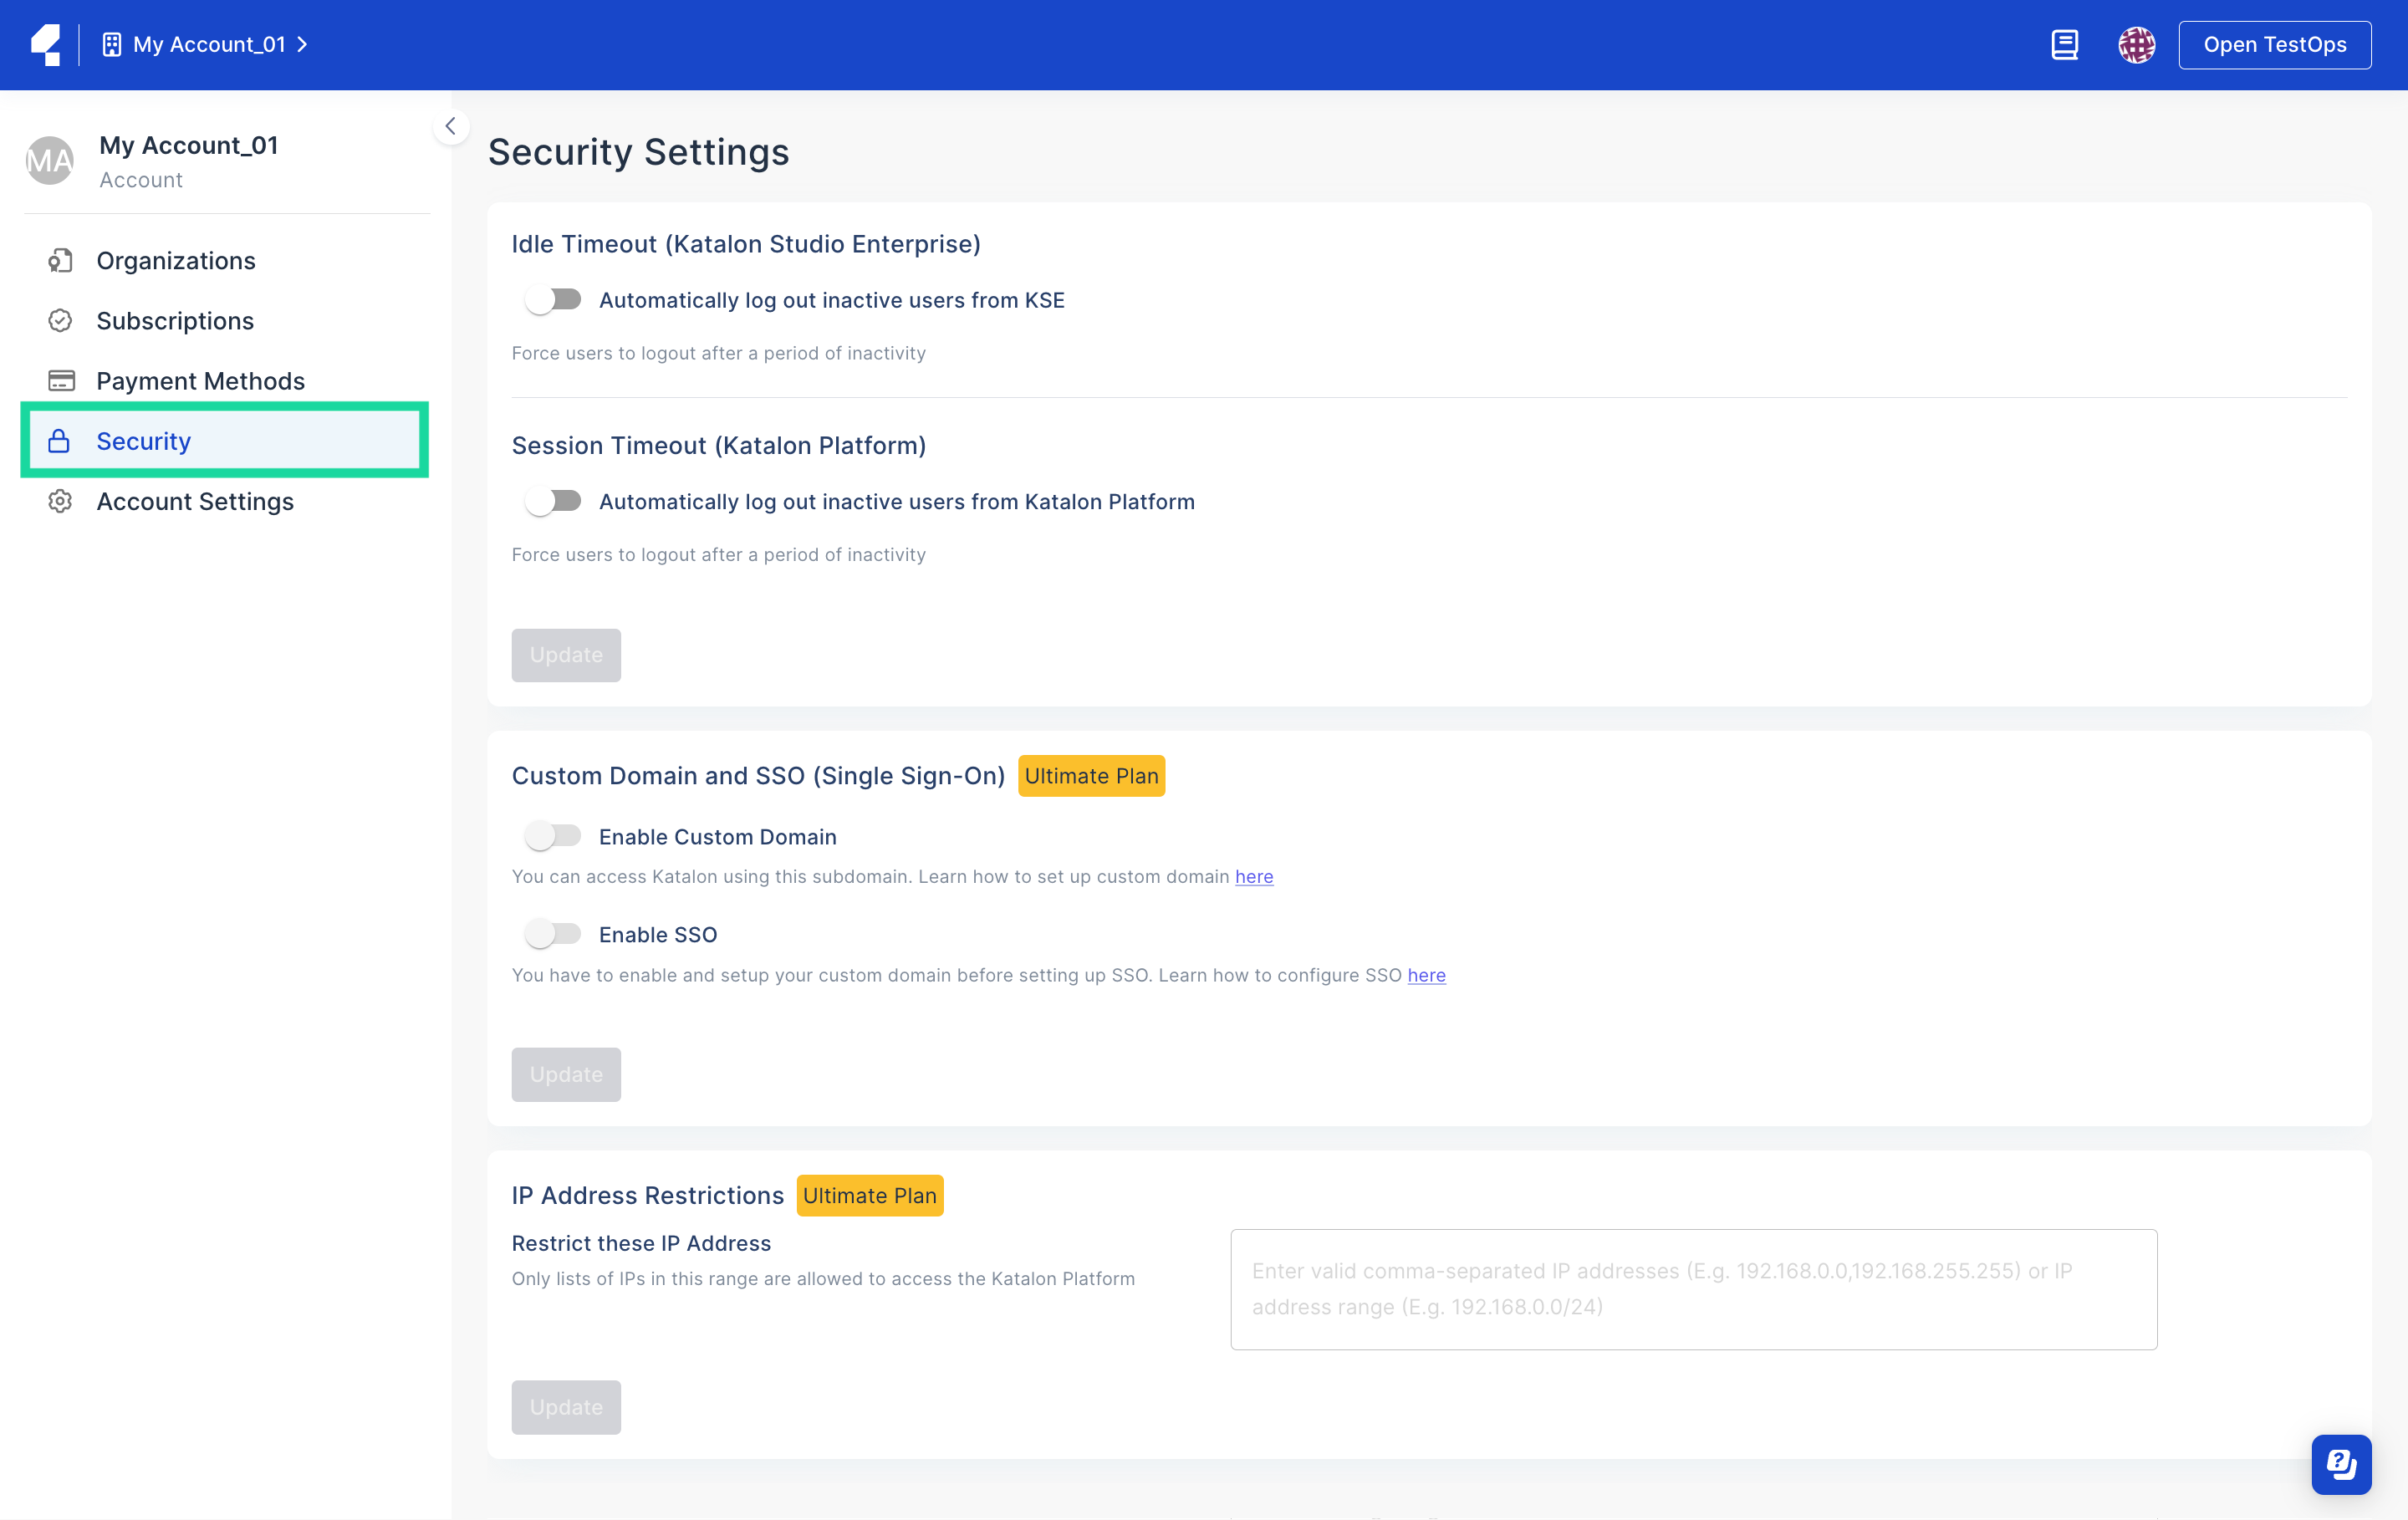
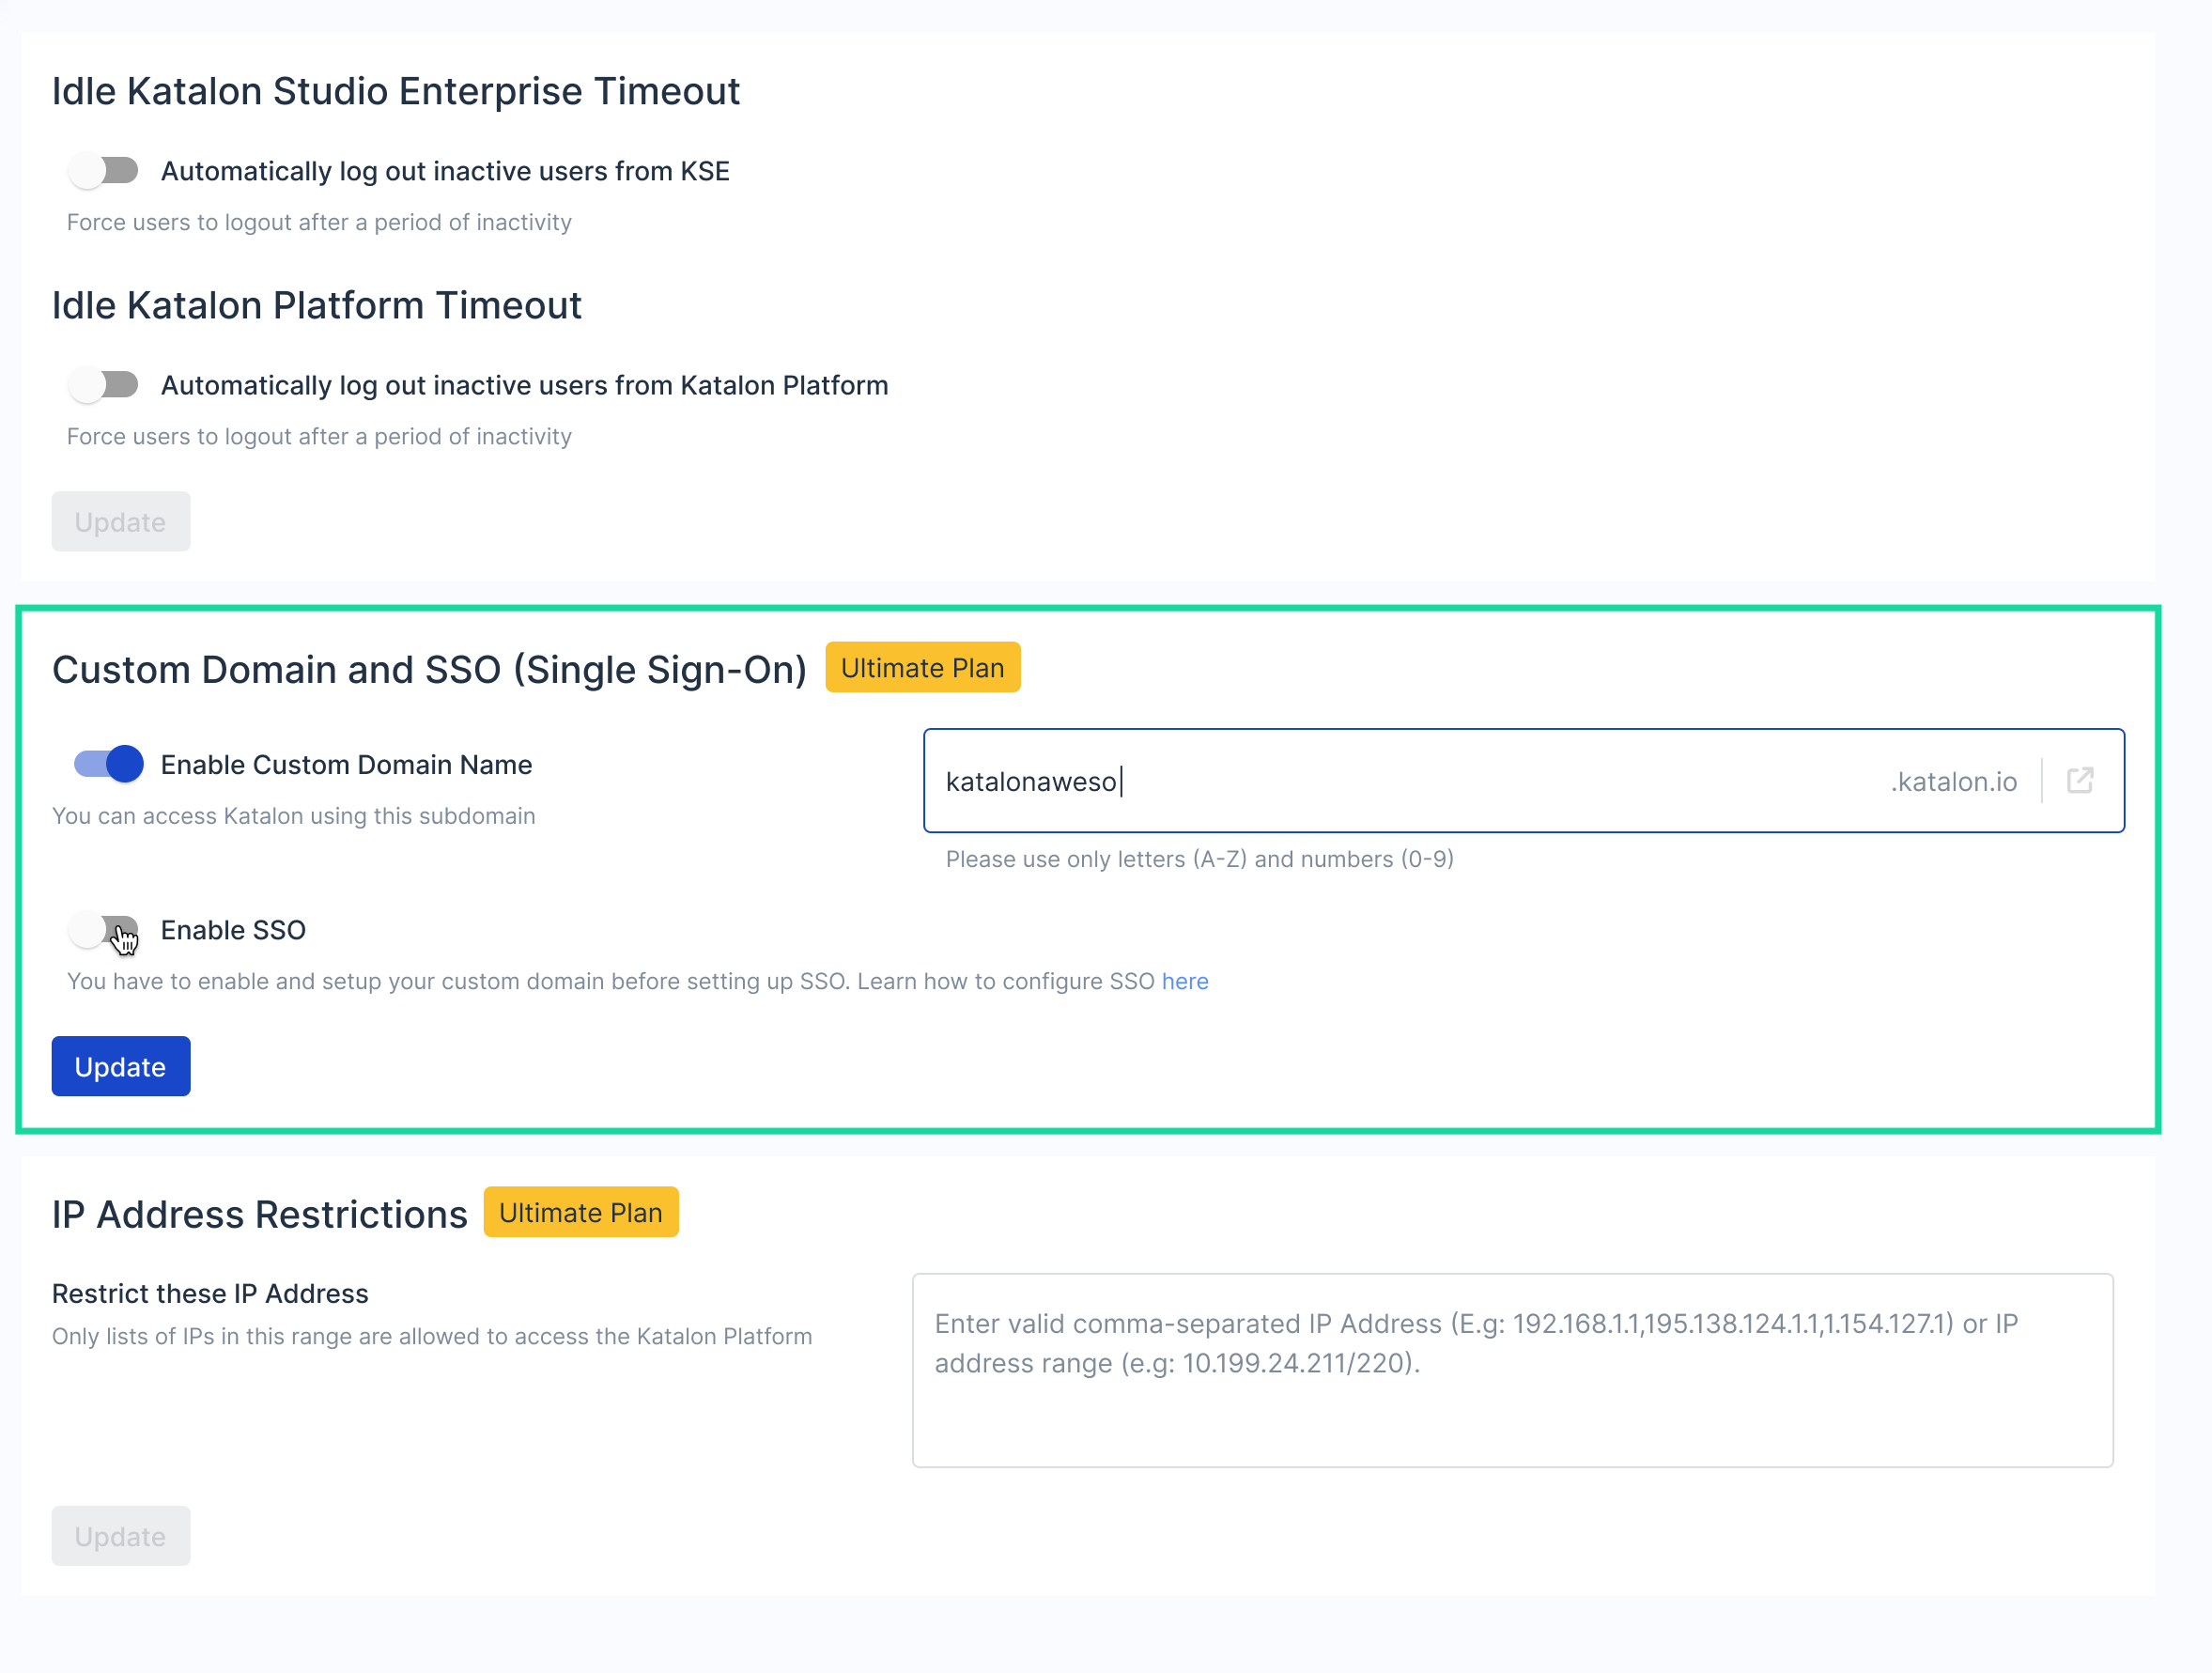
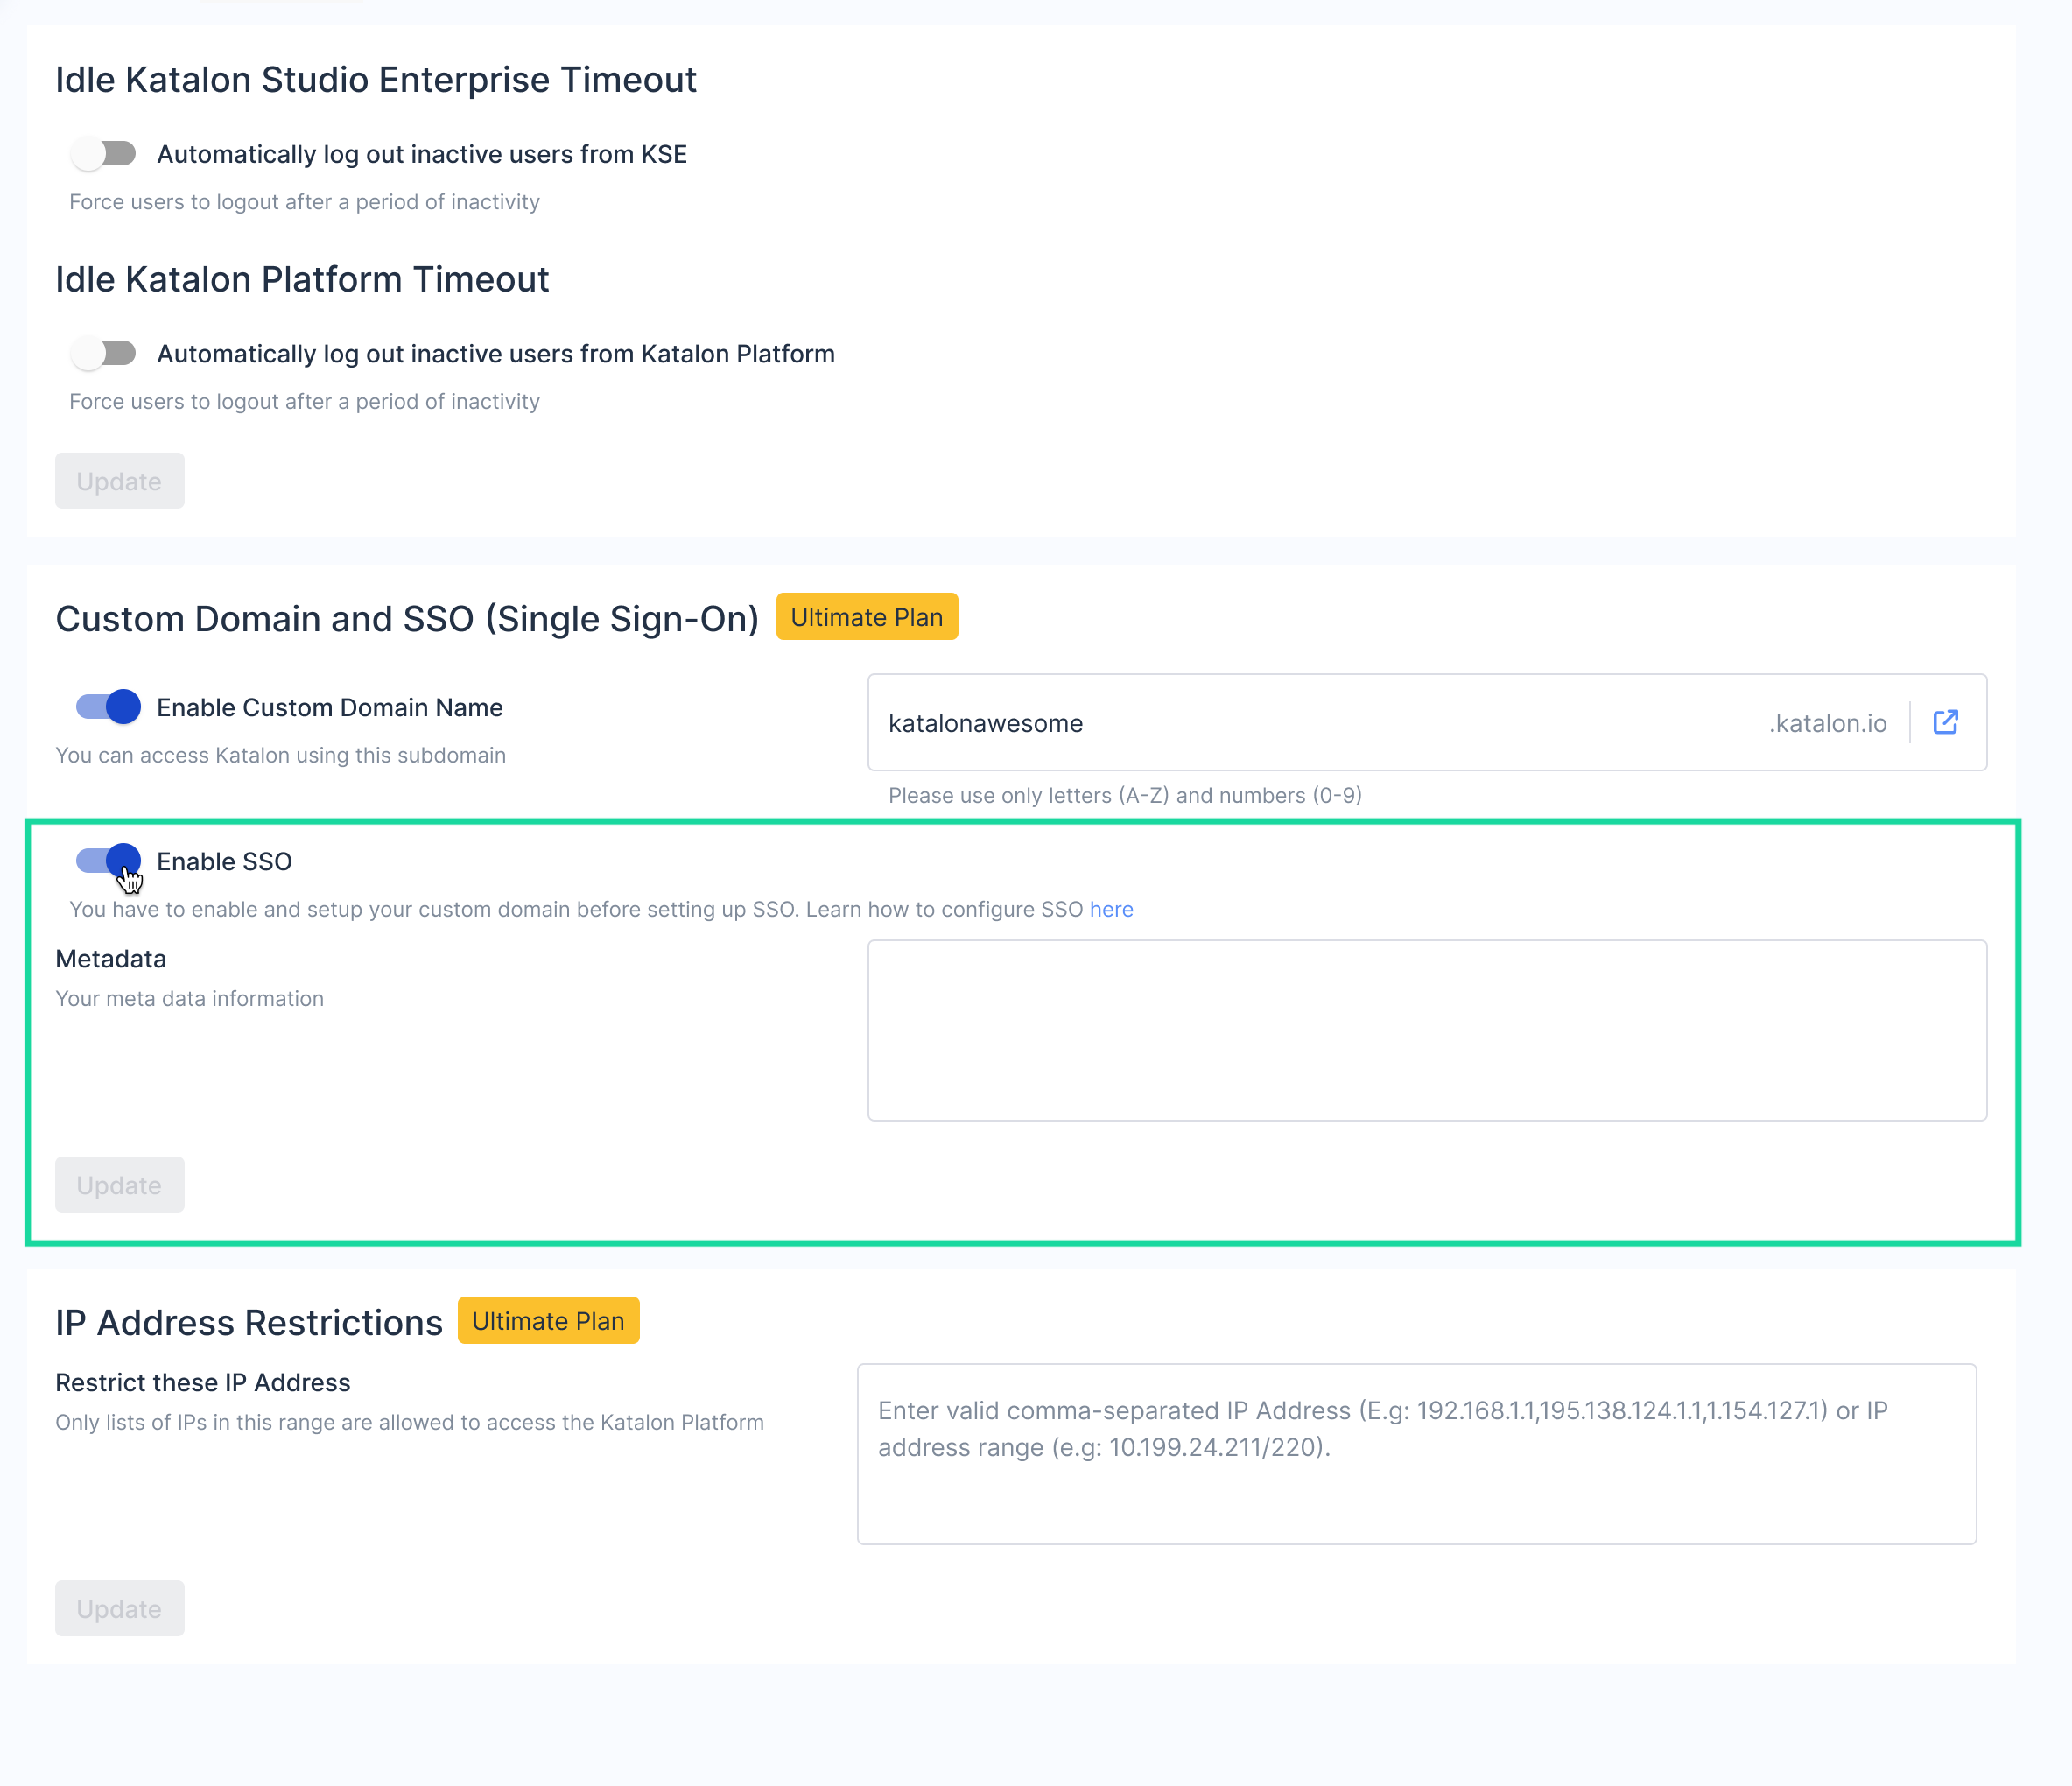
As an Owner or Admin, you can configure SSO by following these steps:
Once you have successfully set up your SSO Settings, the login settings for all existing users is set to enable login with SSO and disable login with username/password by default.
Enable SSO for new users and existing users
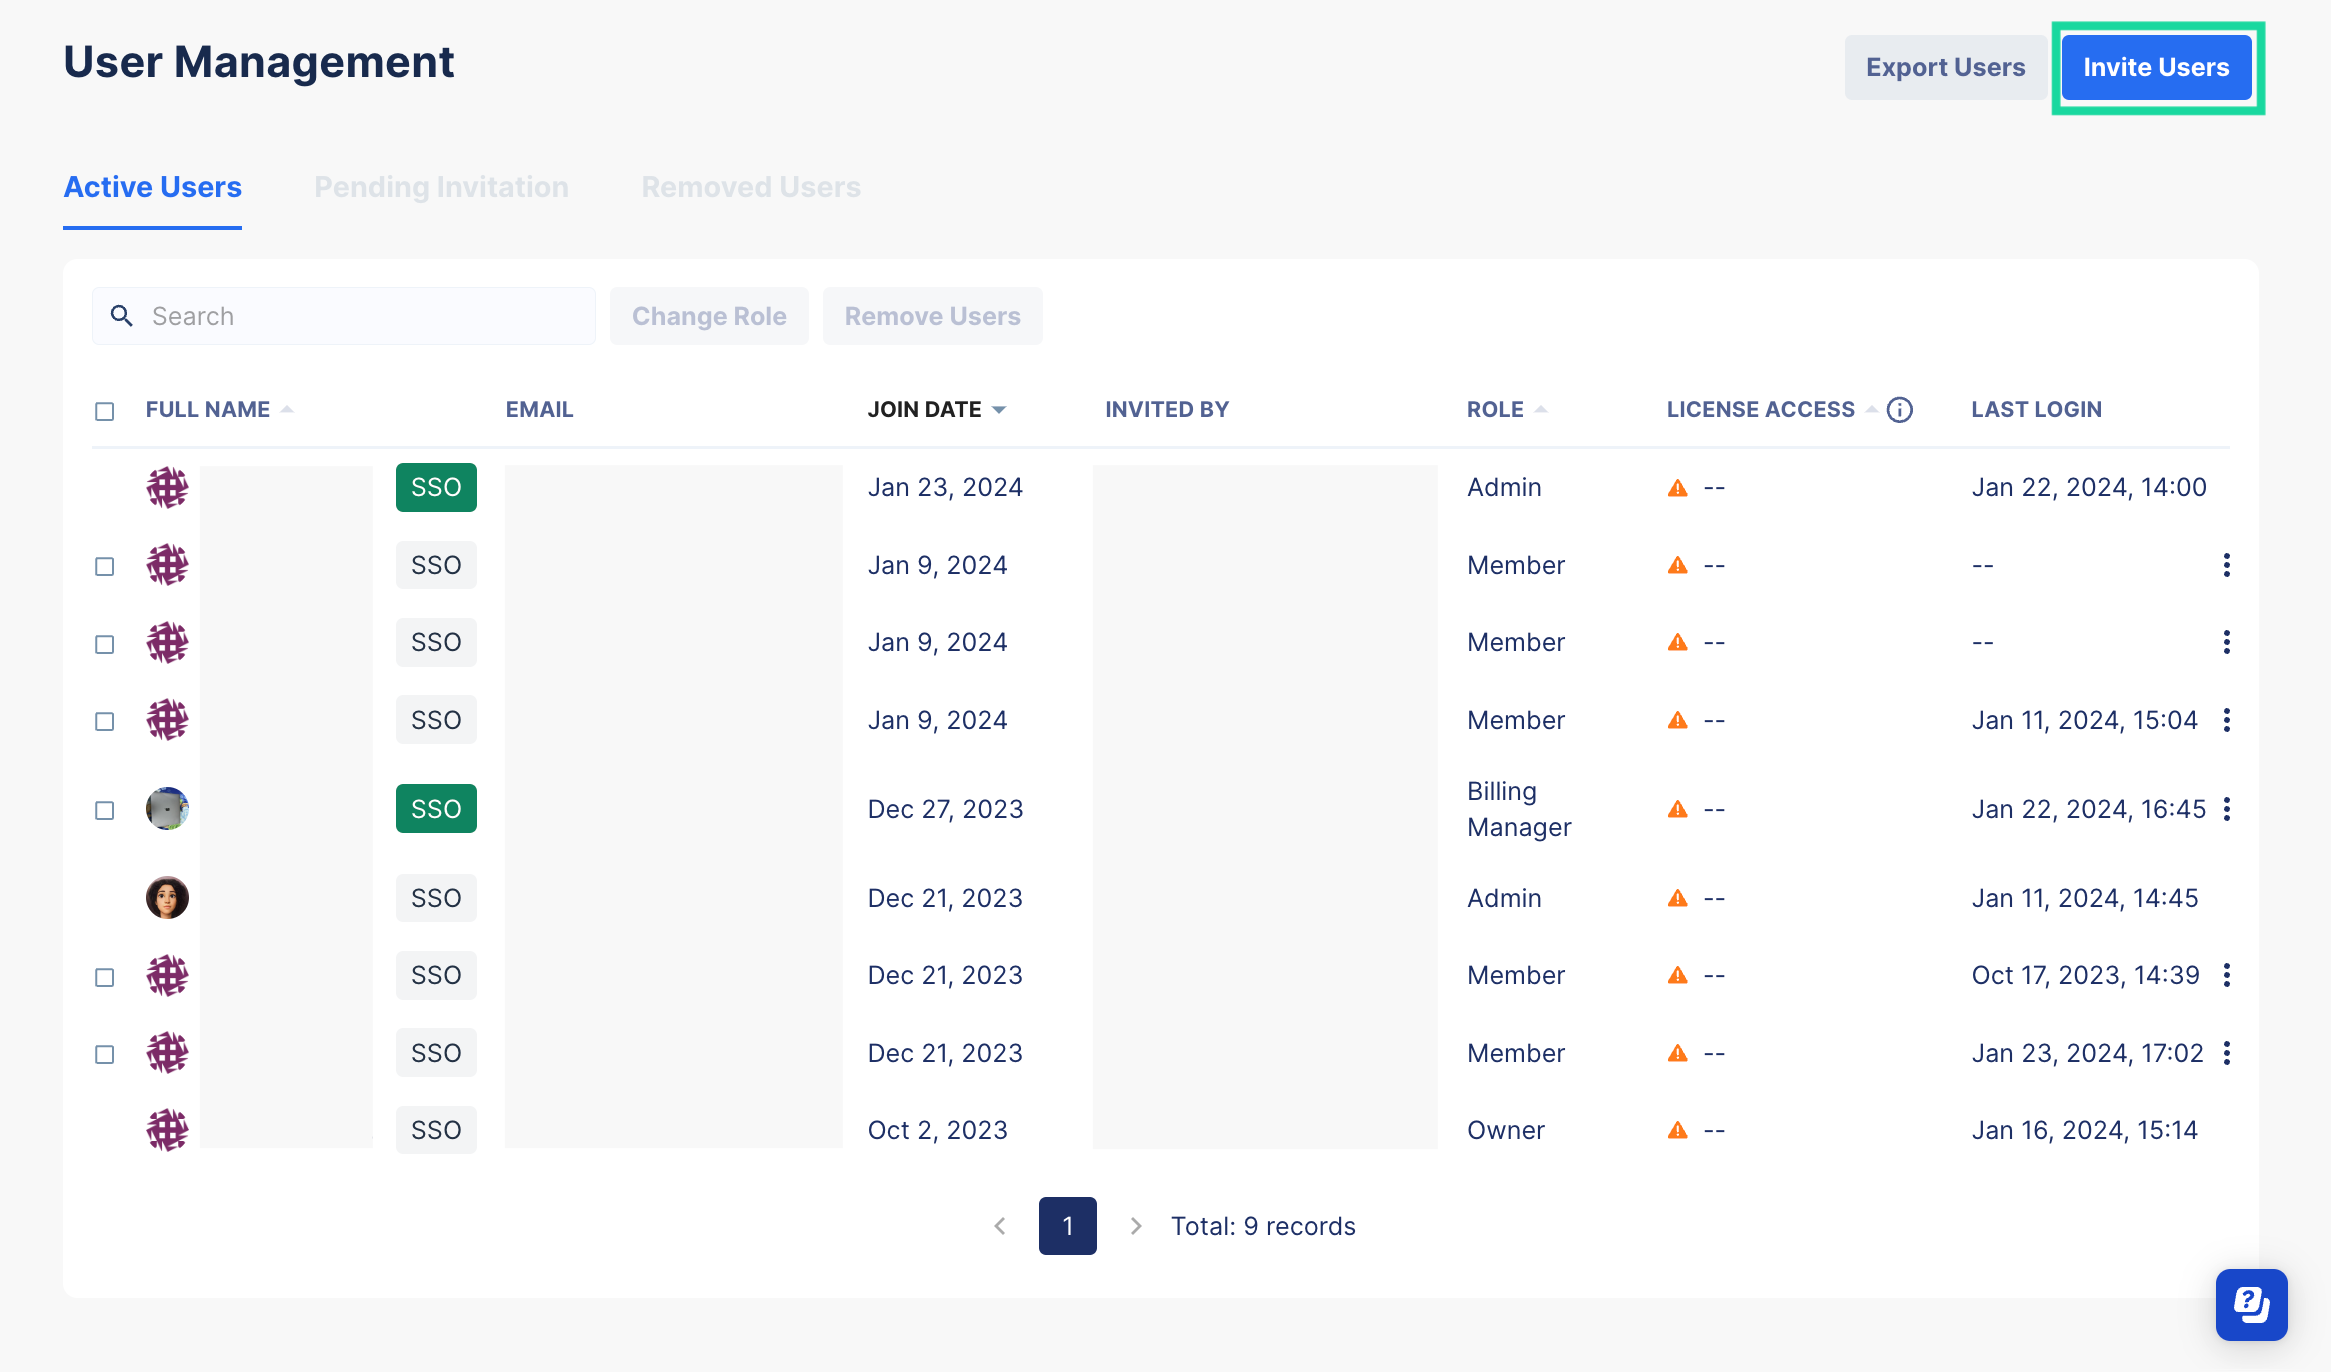
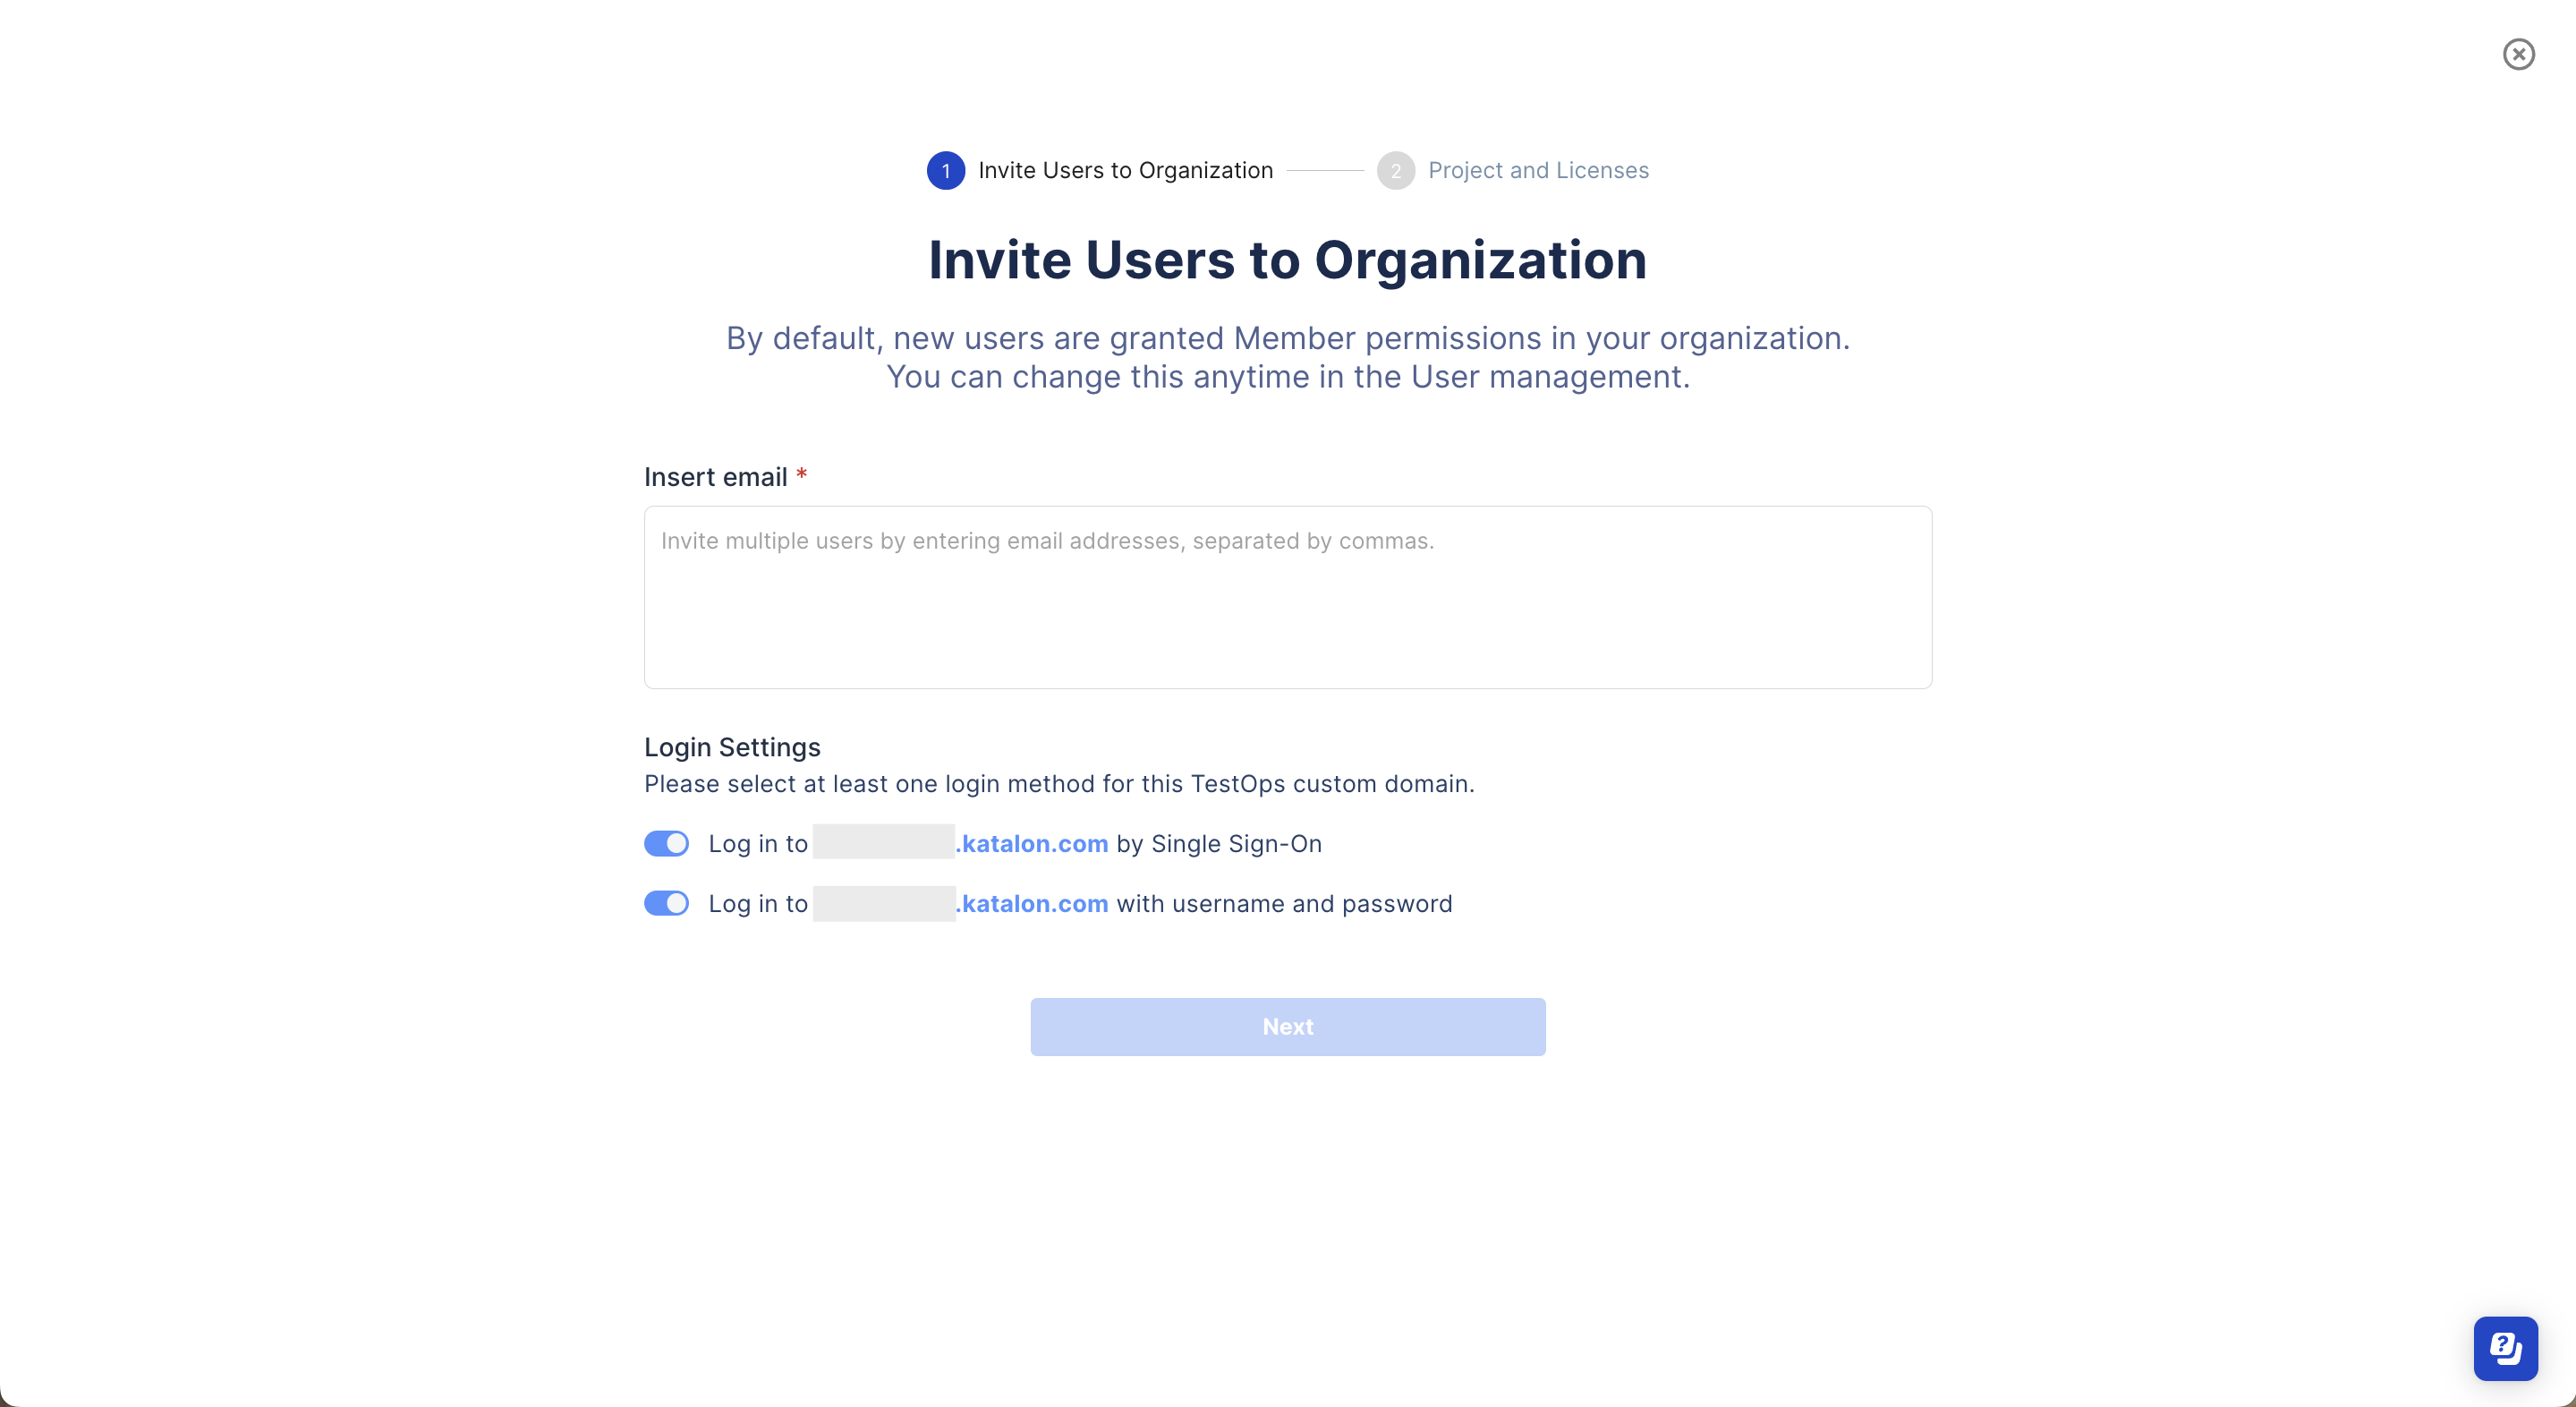
After configuring SSO, you can enable SSO for new users when inviting them to your Organization.
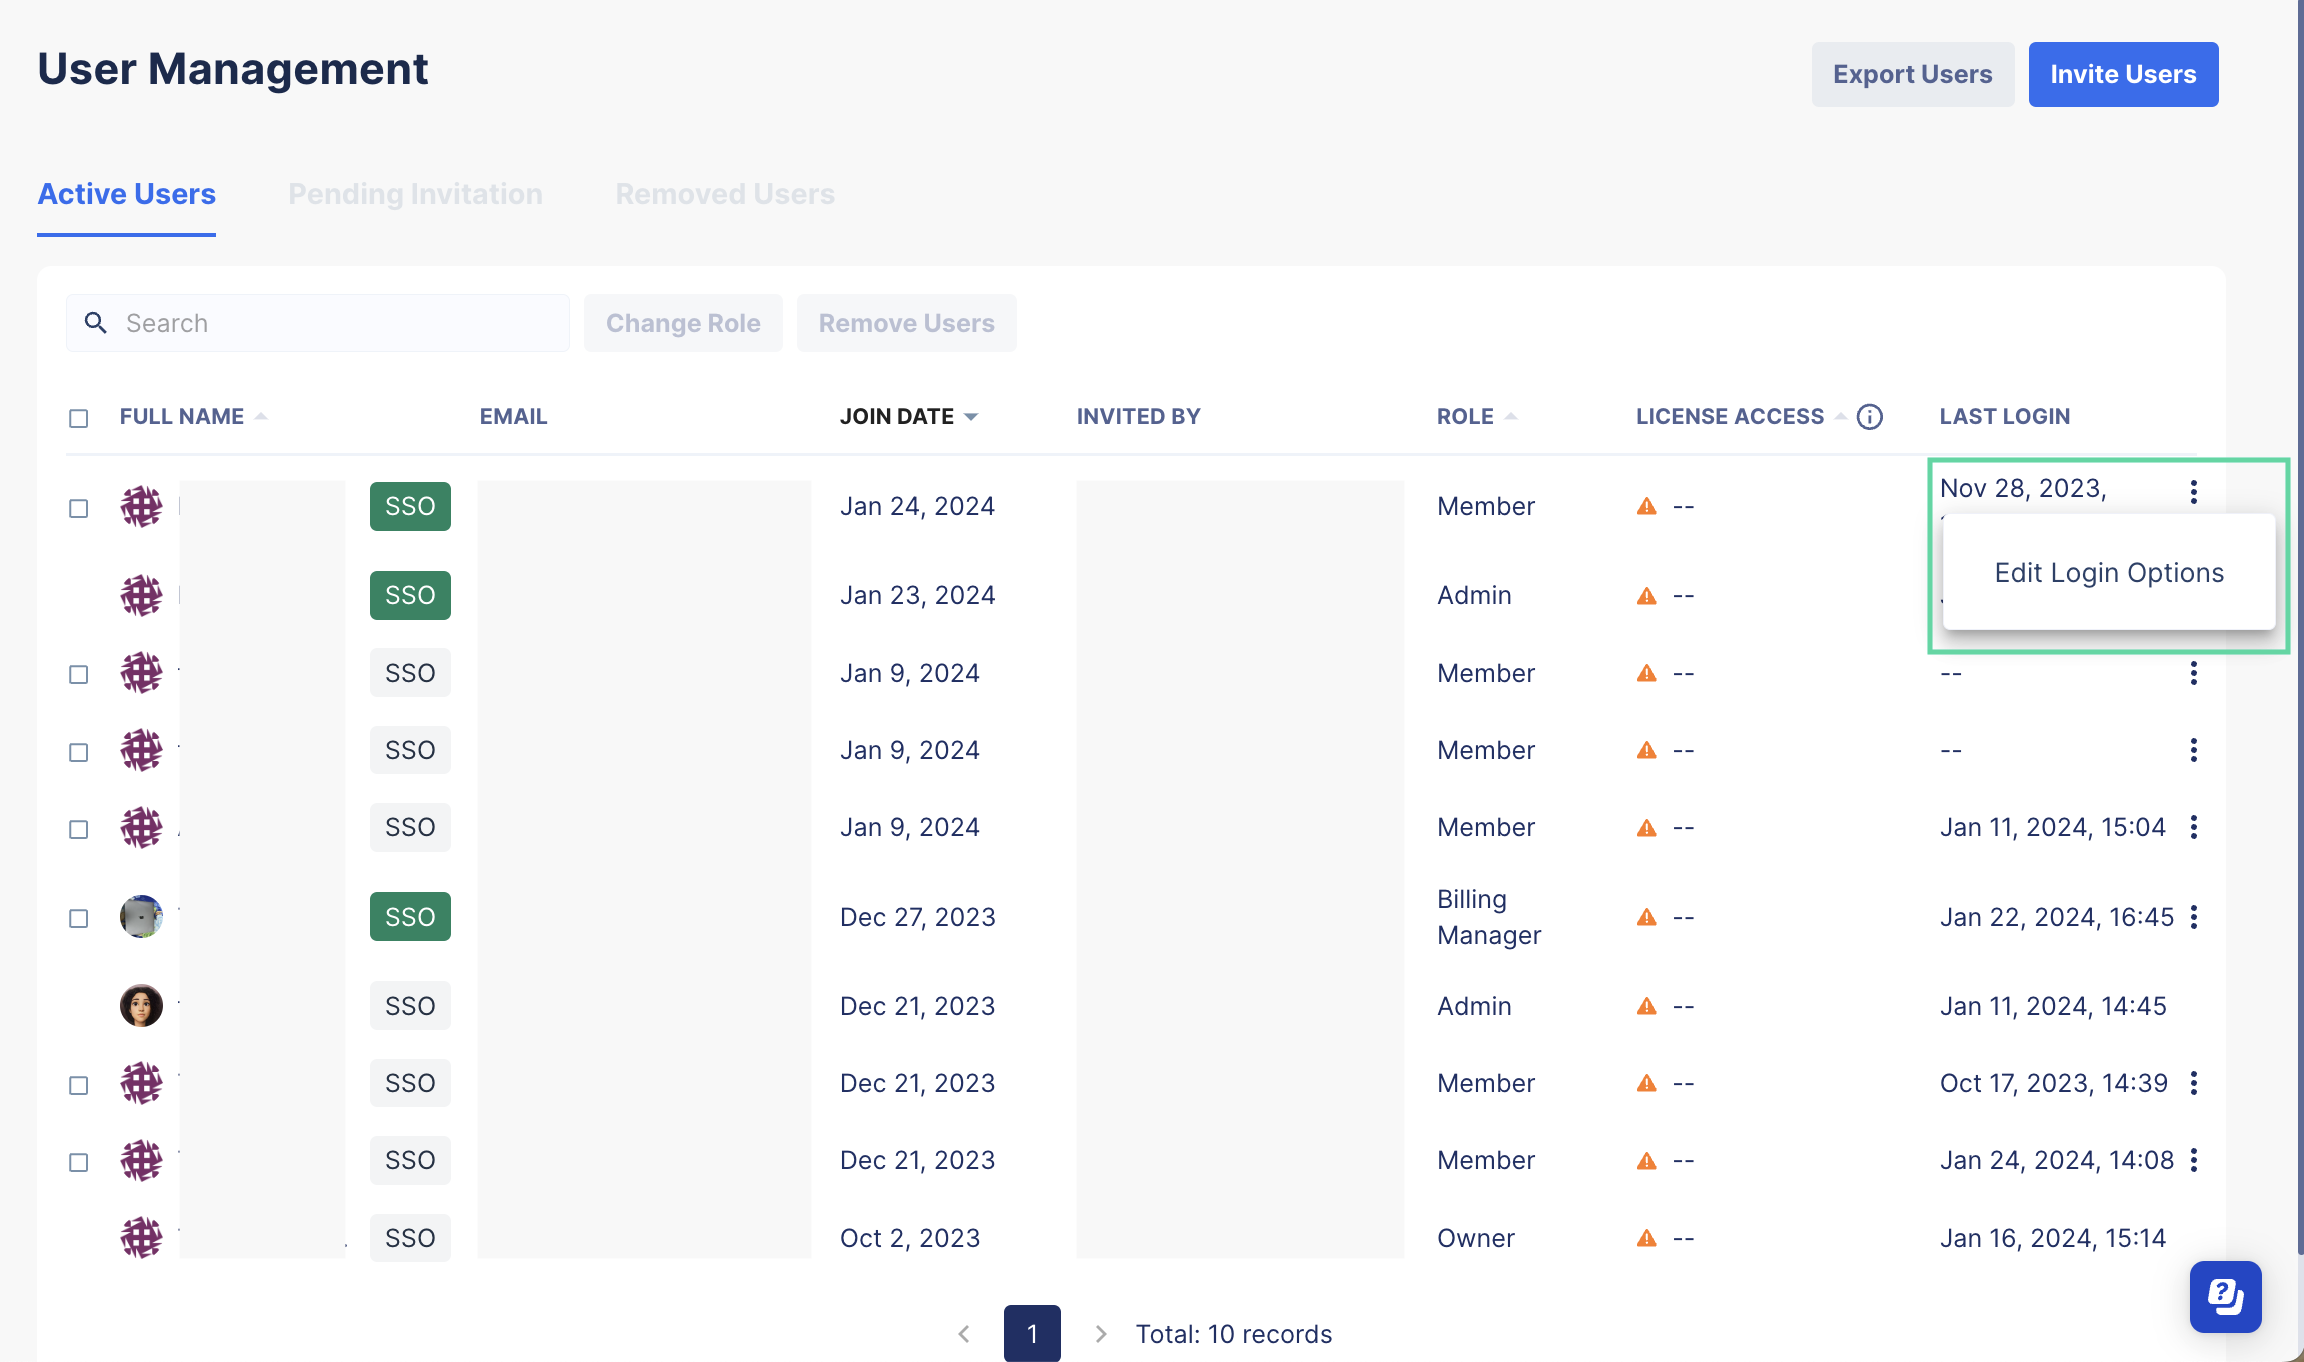
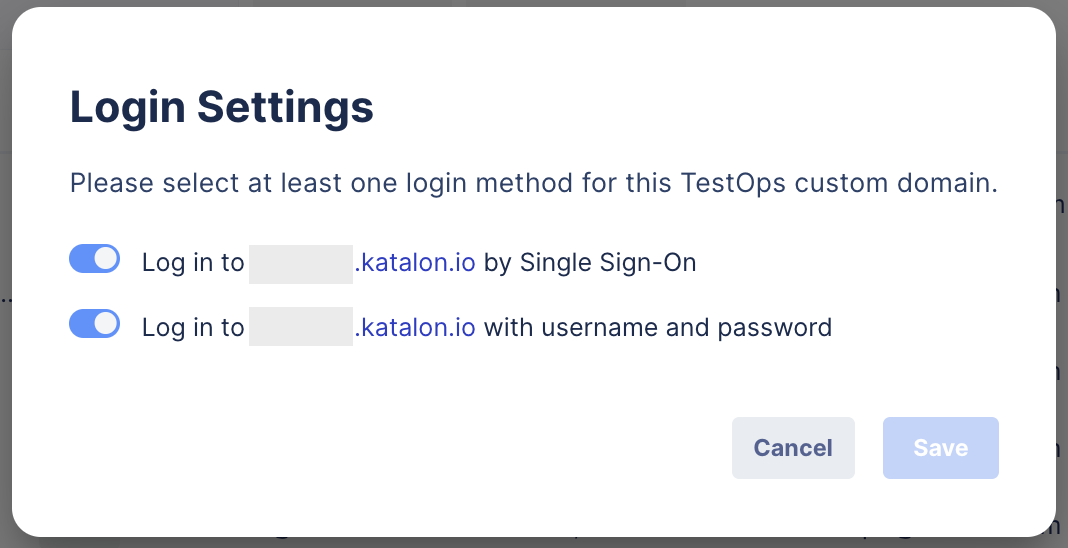
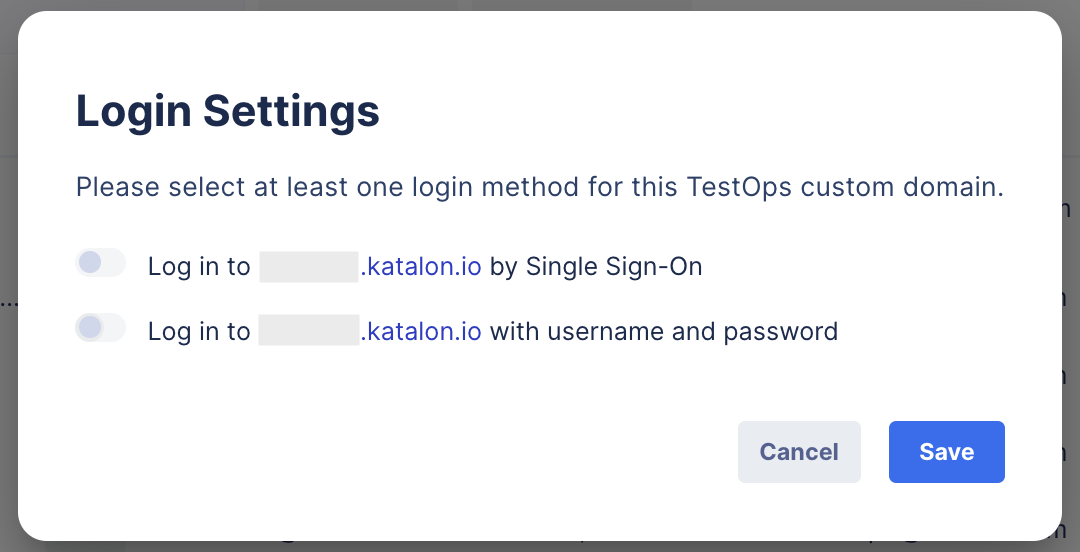
You can also edit the login settings for the existing users of your Organization.
To learn more about User Management in TestOps, refer to this guide: User Management.
For a new user
To enable SSO for a new user, follow these steps:
After a new user is invited to the organization, they must first sign in with their username and password to accept the invitation. Then, they will be able to use SSO.
For an existing user
To enable SSO for an existing user, follow these steps:
A request email is then sent to the selected user. To learn how to enable SSO as a user, see: Enable SSO as a user.
Users now can log in to the custom domain with SSO.
View SSO invitation status
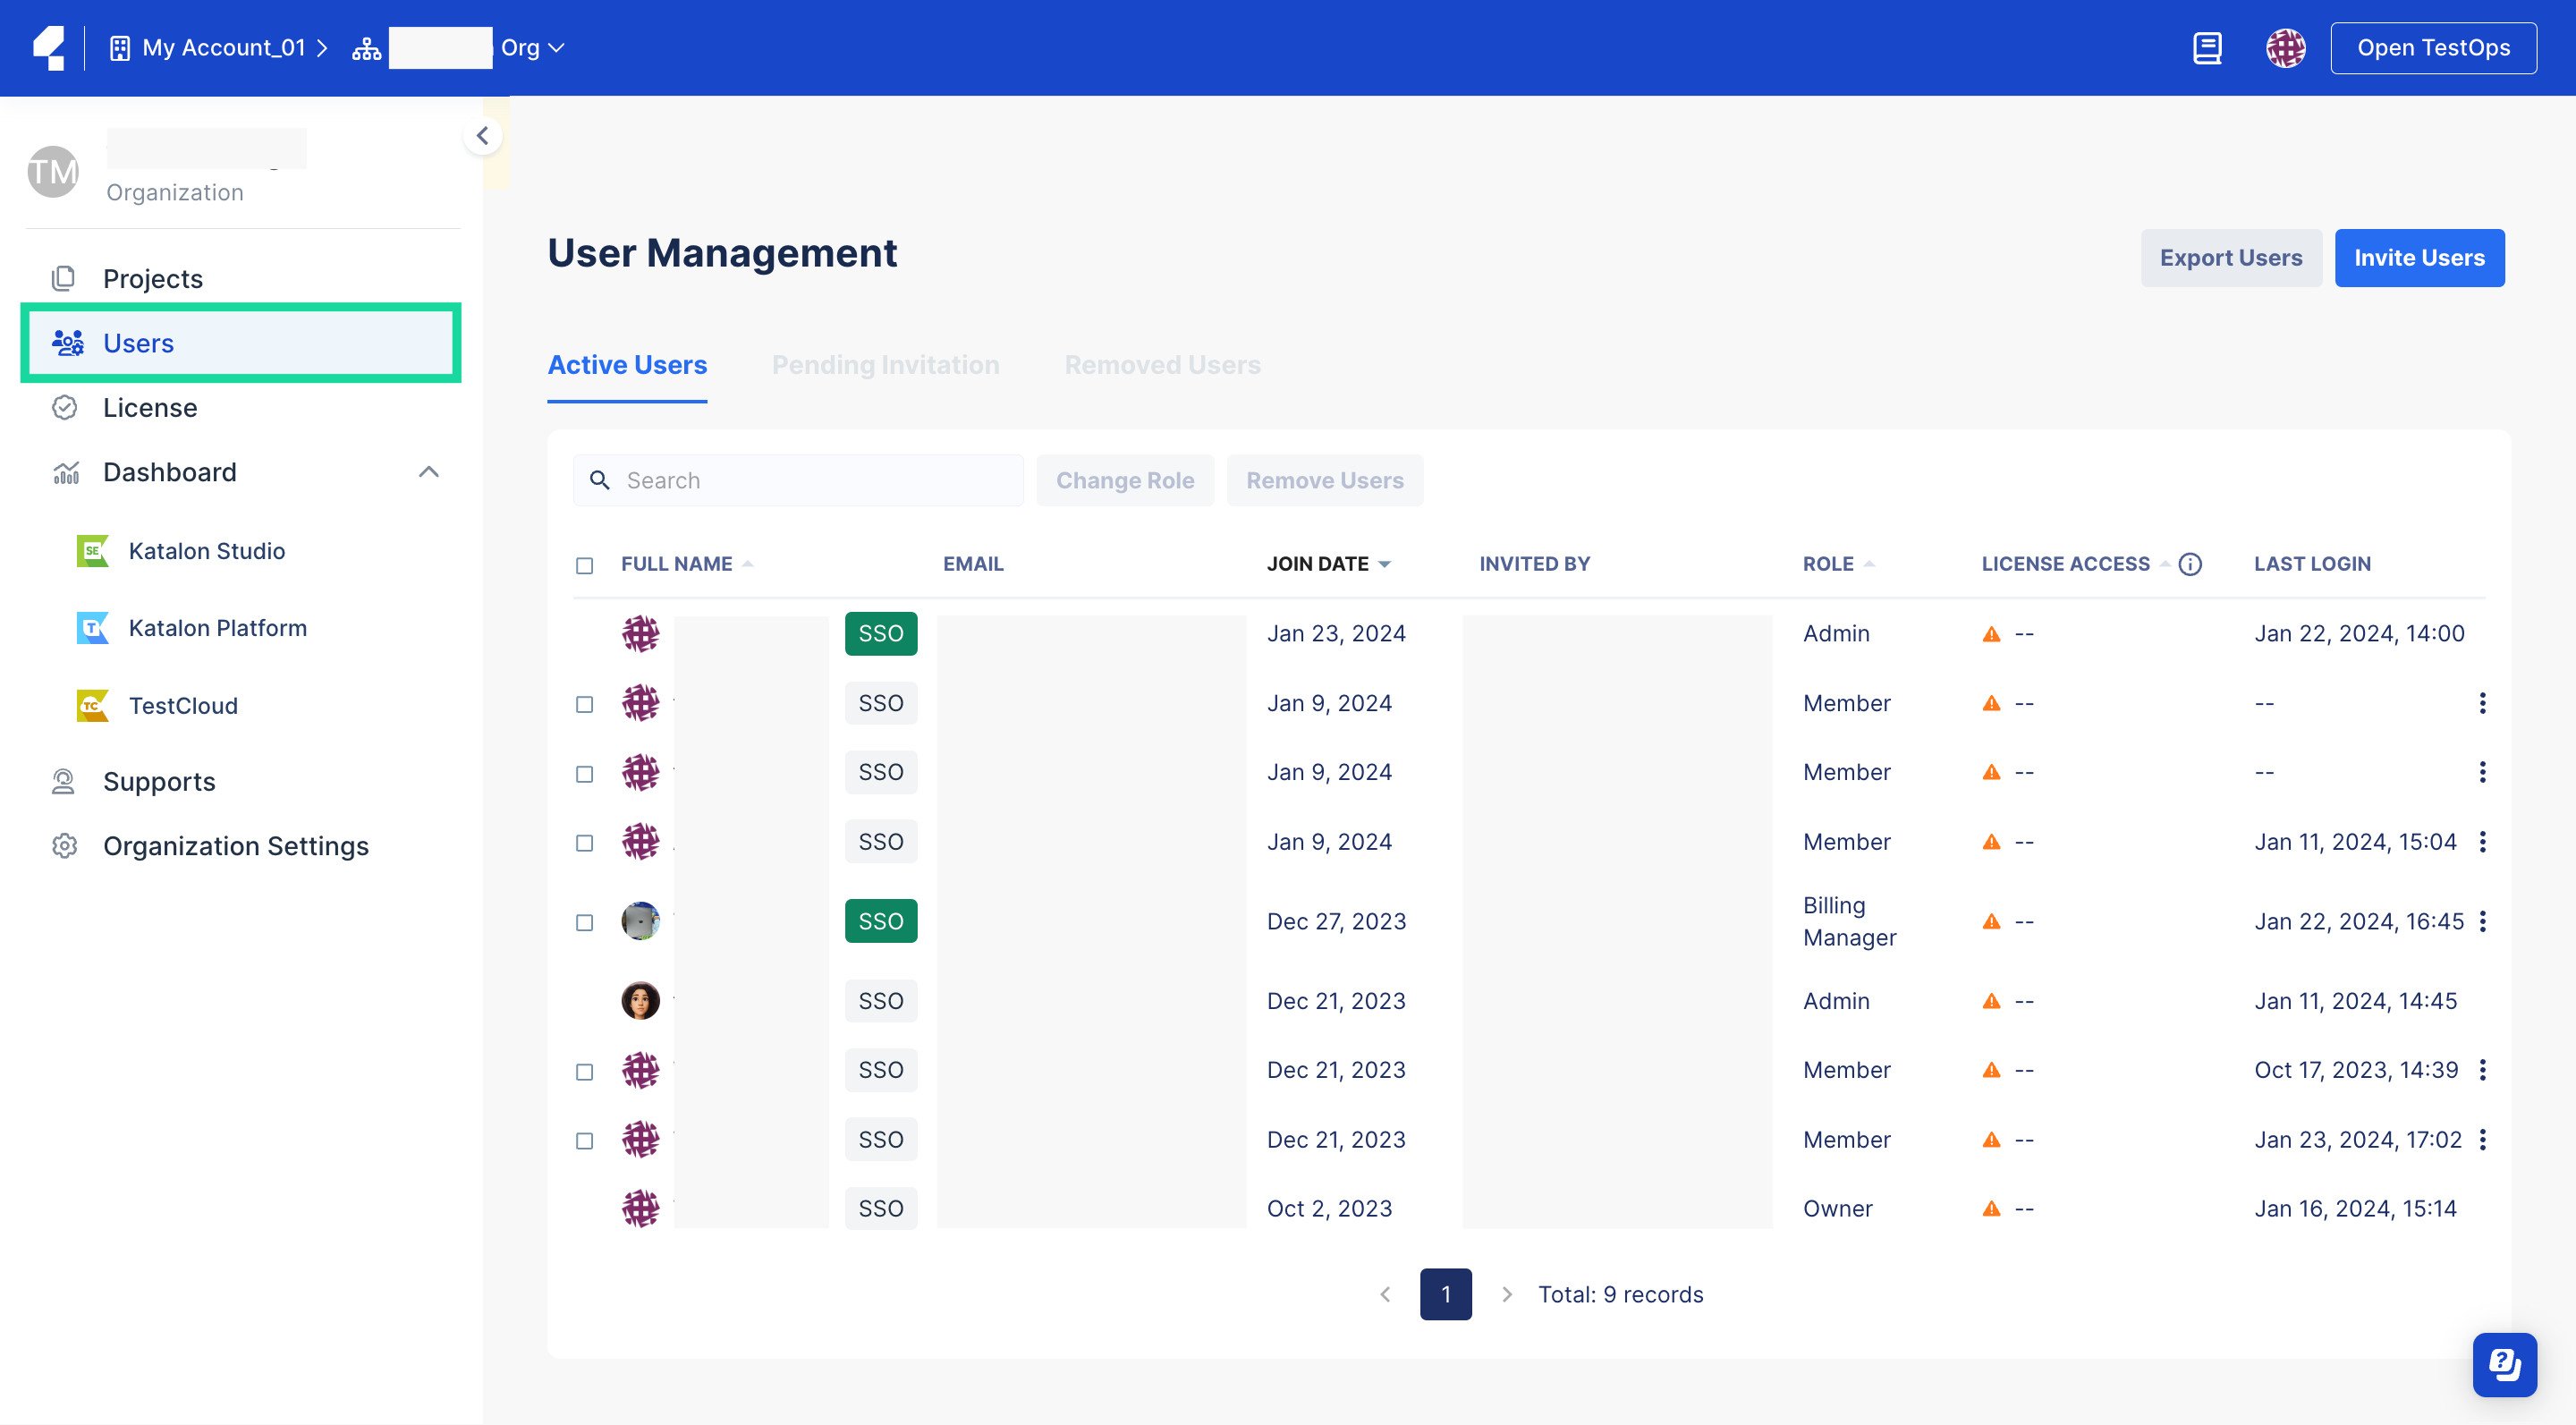
To view the SSO invitation status, go to User Management > Active Users.
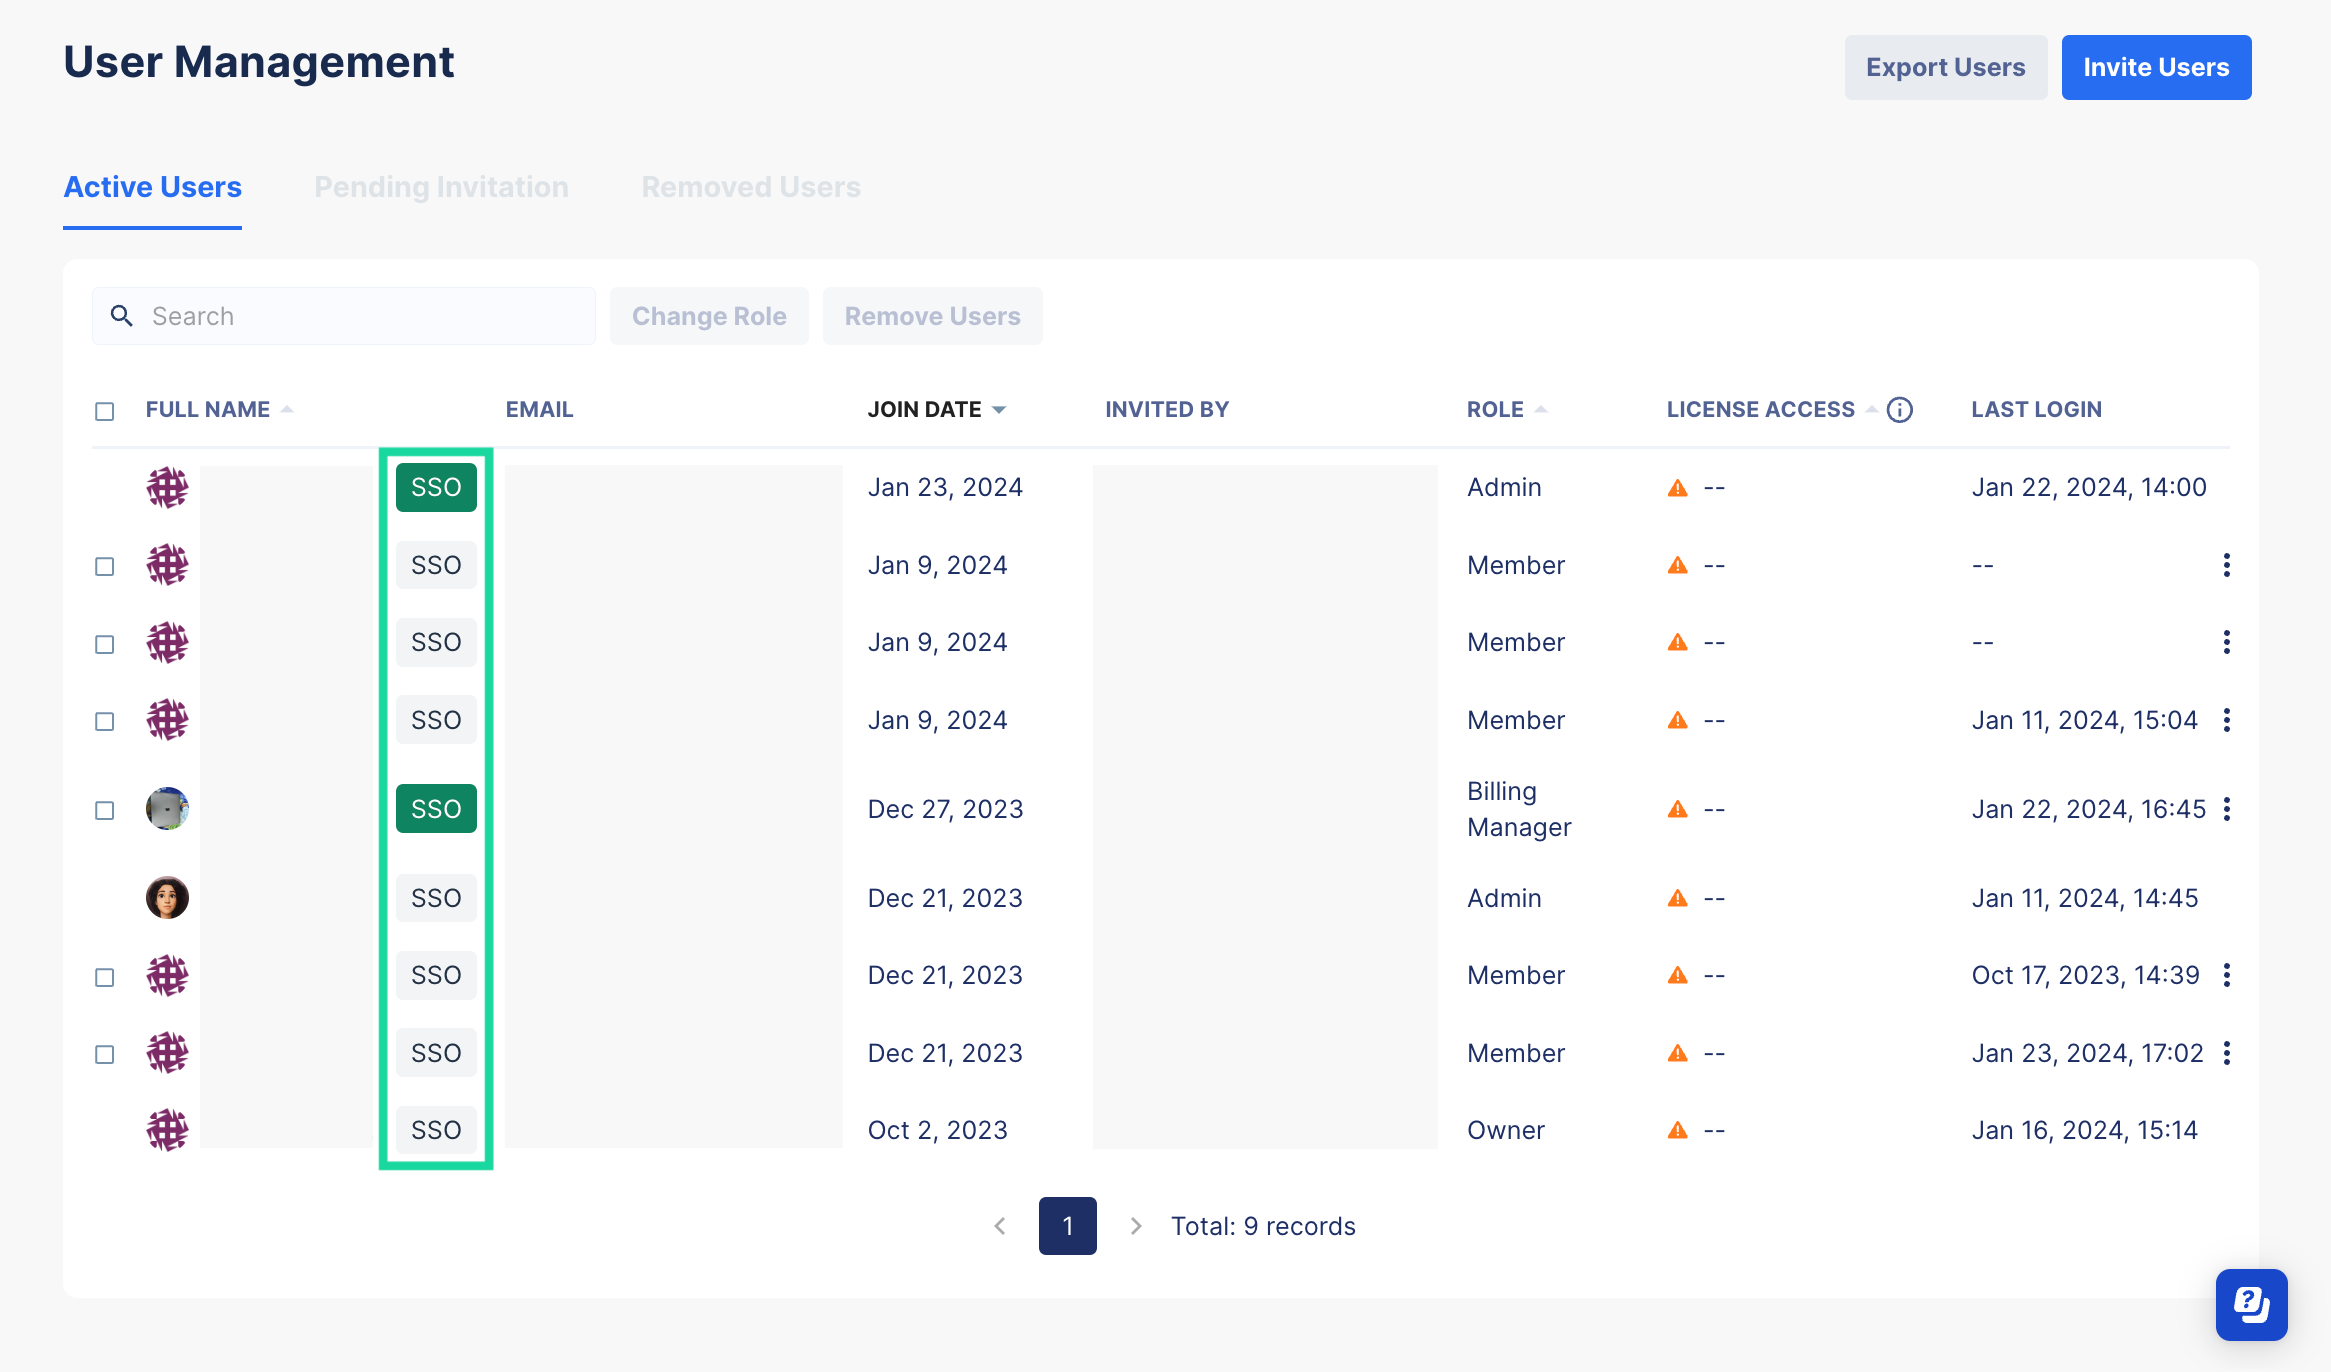
Green SSO tag: This user has enabled SSO as they have accepted the SSO request.
Grey SSO tag: This user has not enabled SSO as they have not yet responded to the SSO request.
Enable SSO as a user
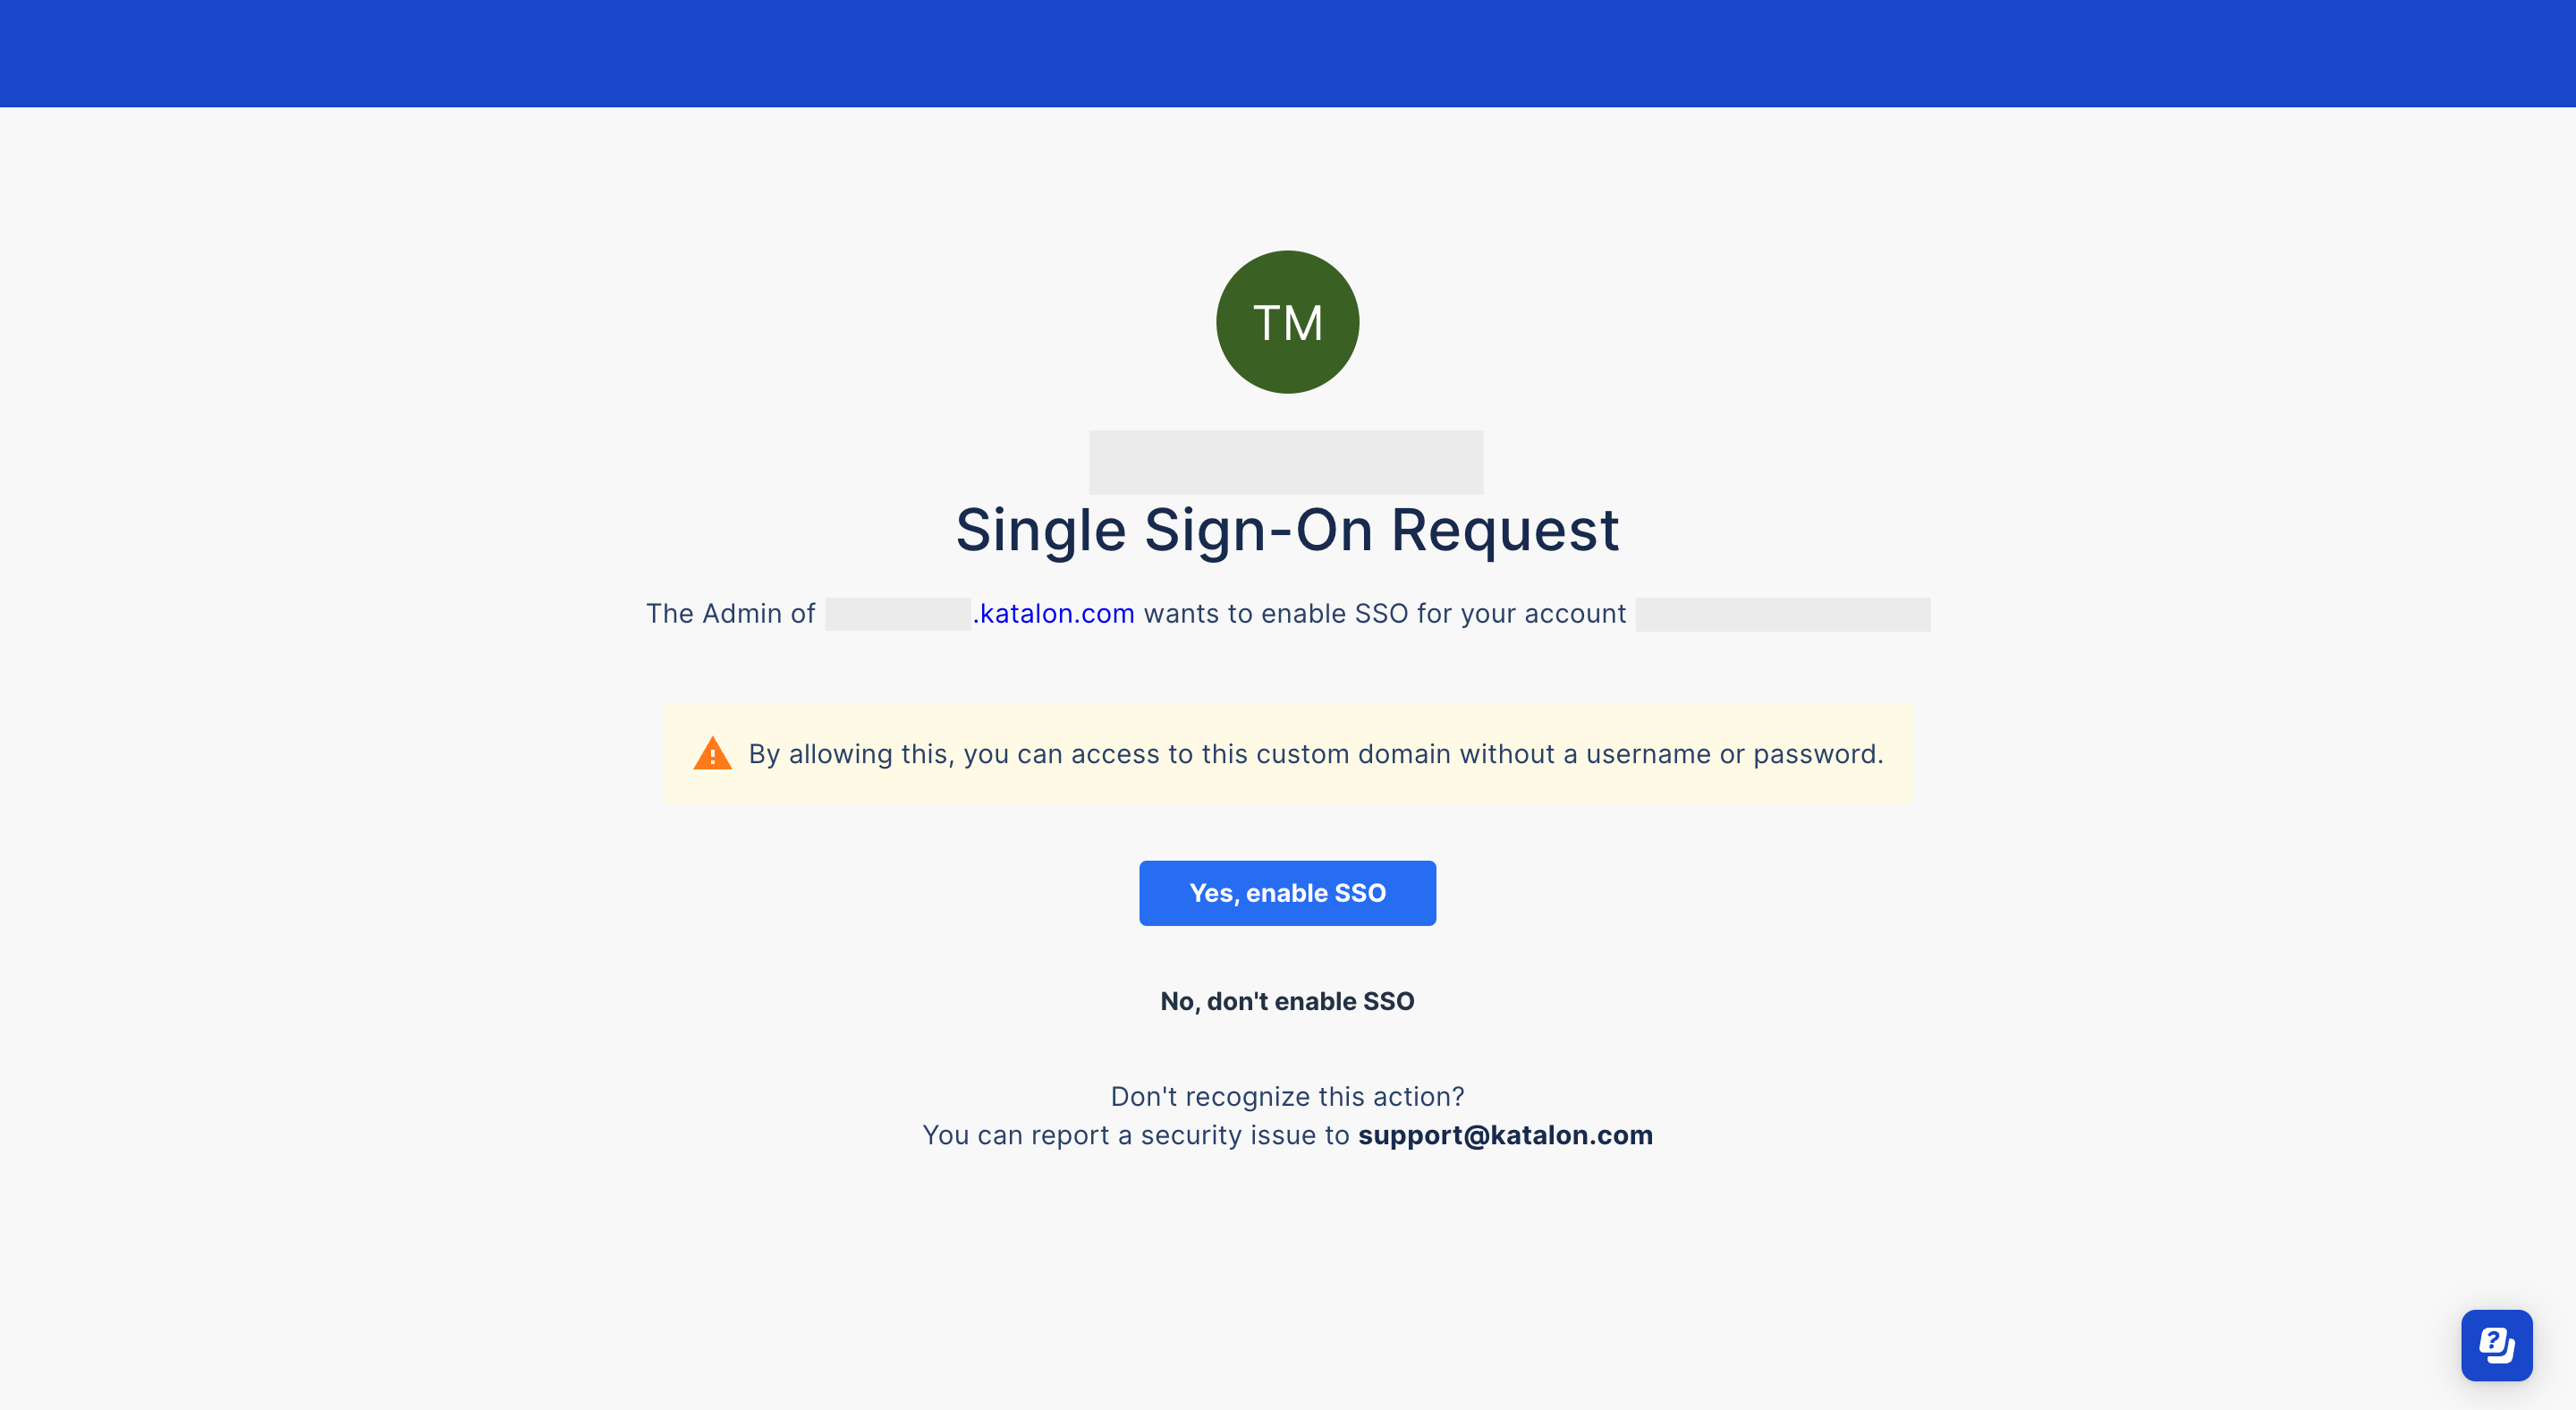
If you are a new user, you must first accept the invitation to join an Organization. Then you will receive the SSO request email.
Follow these steps to accept the request to enable SSO.
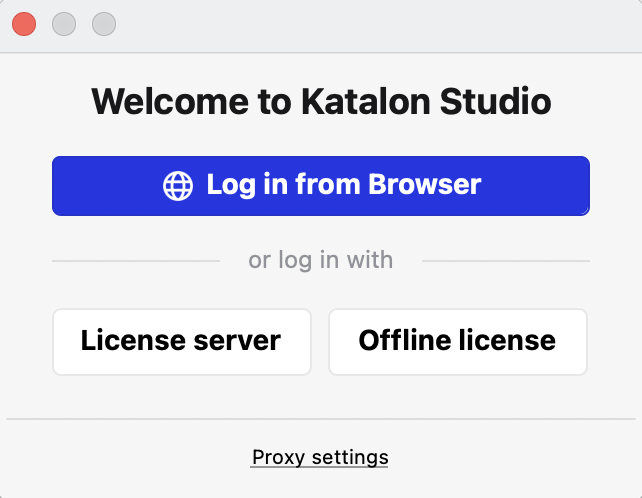
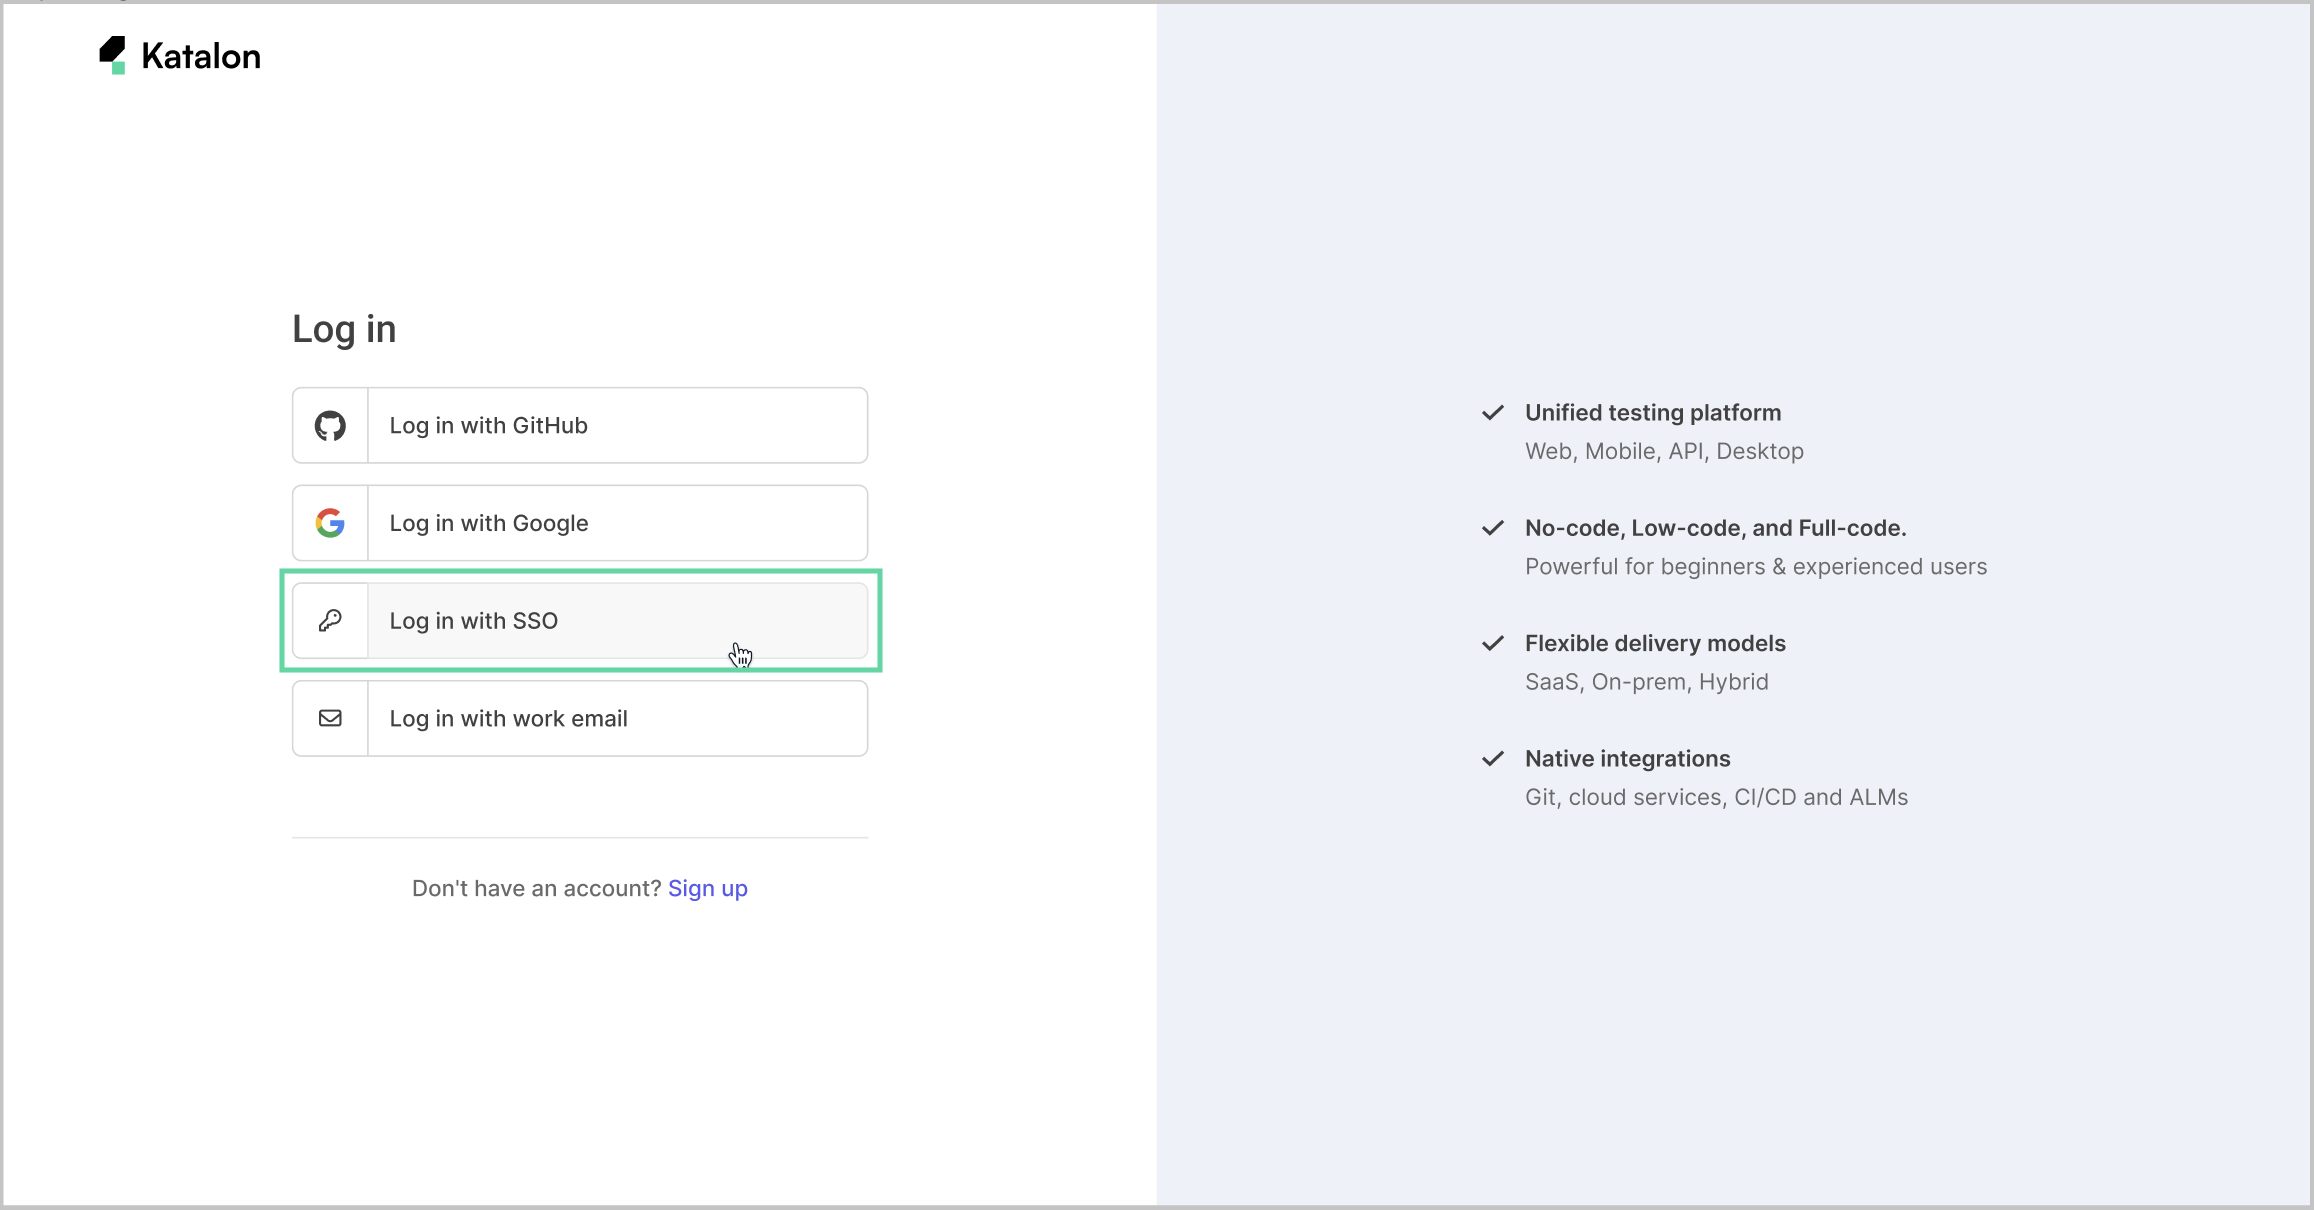
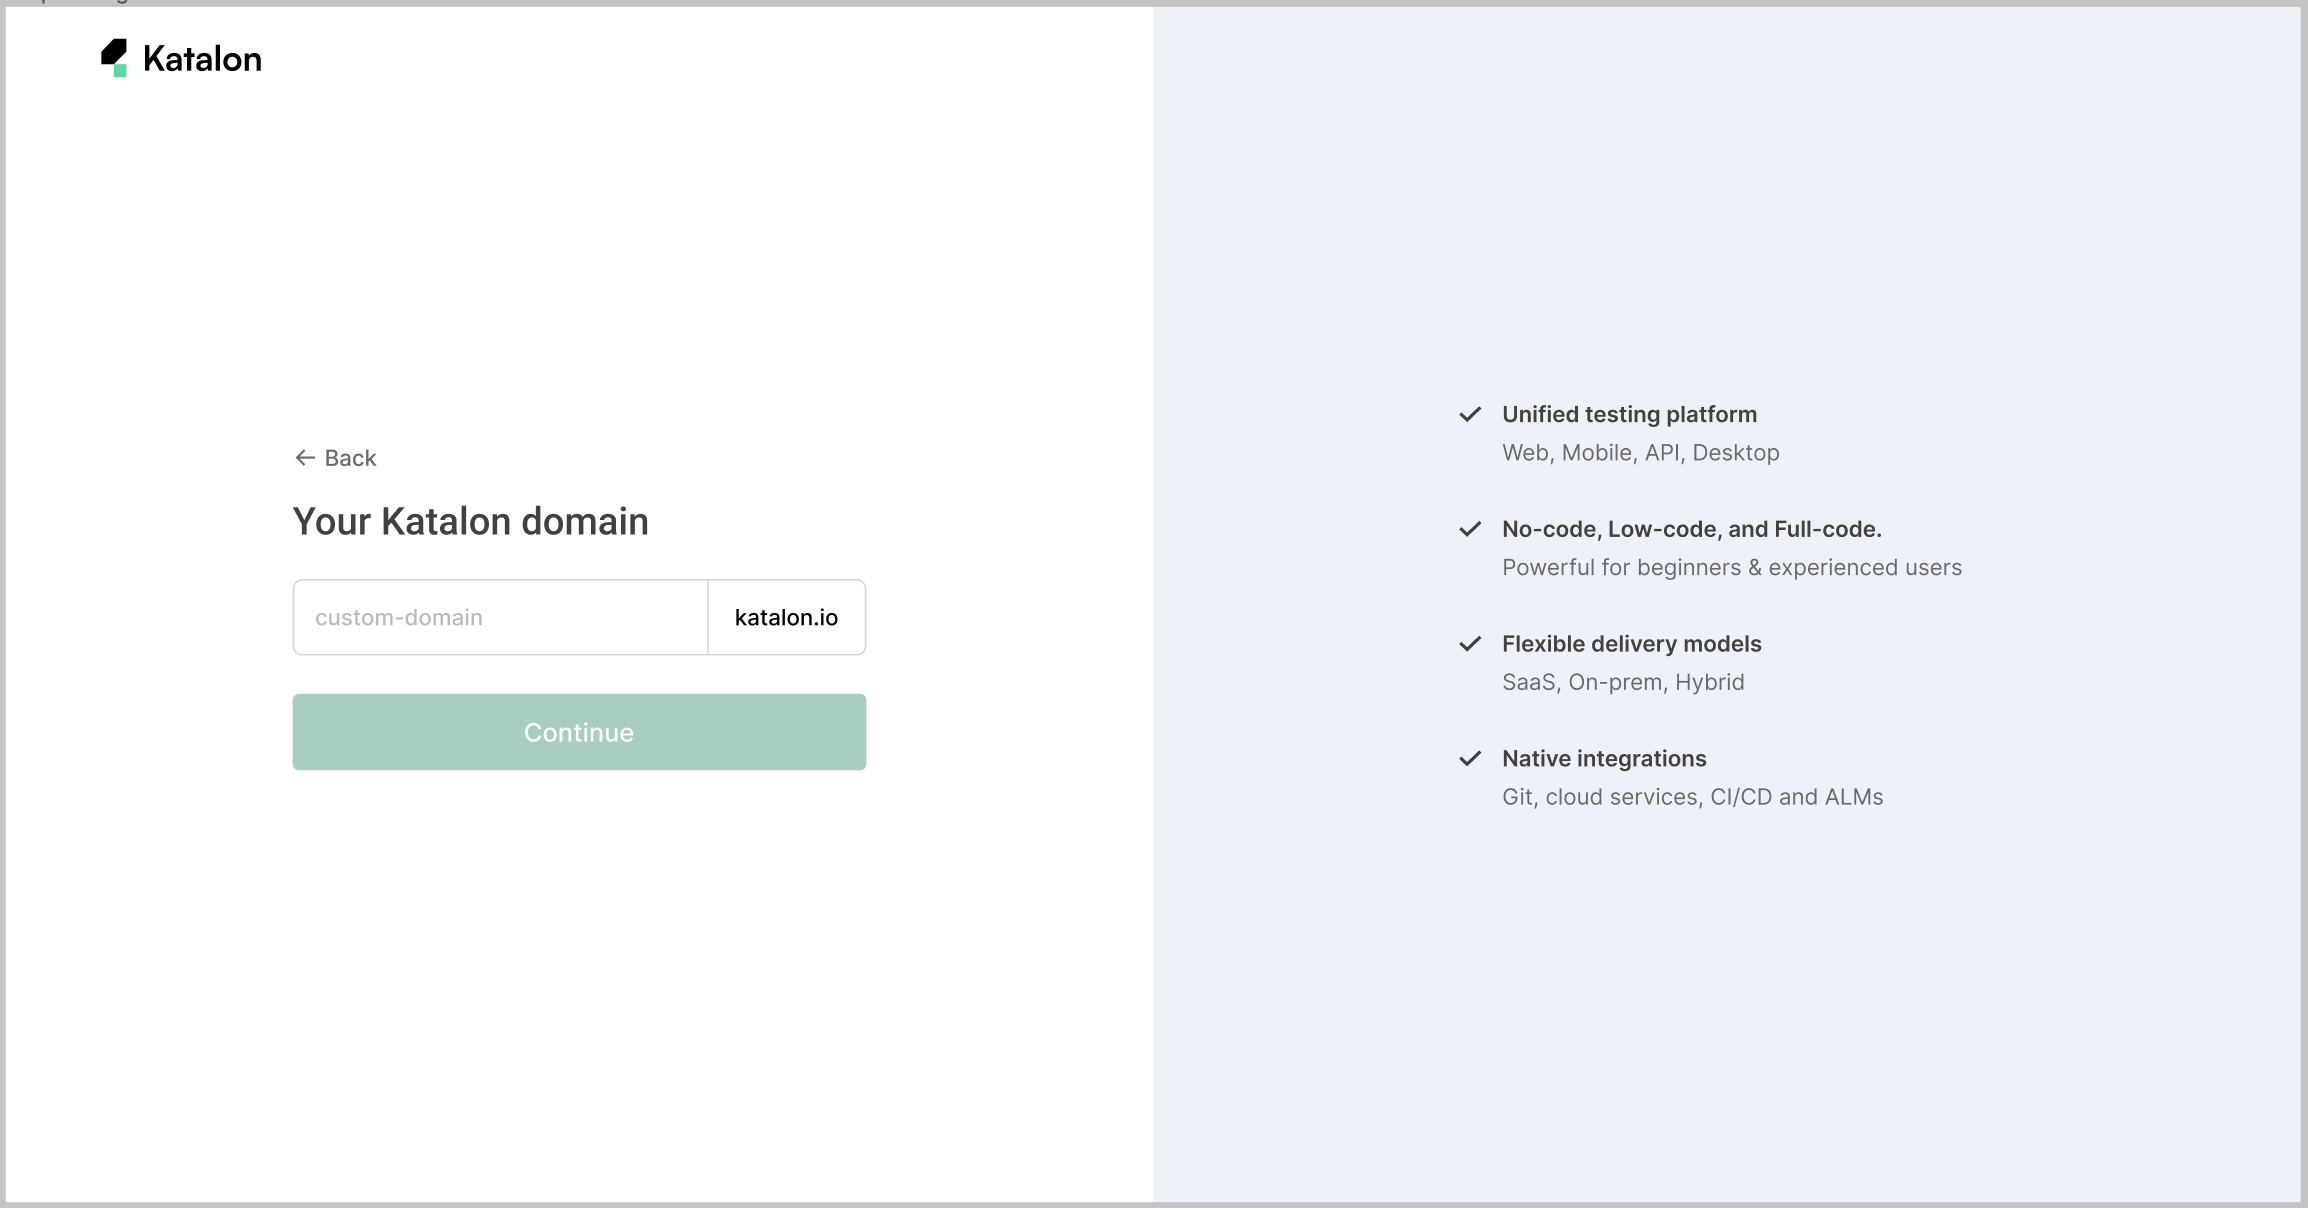
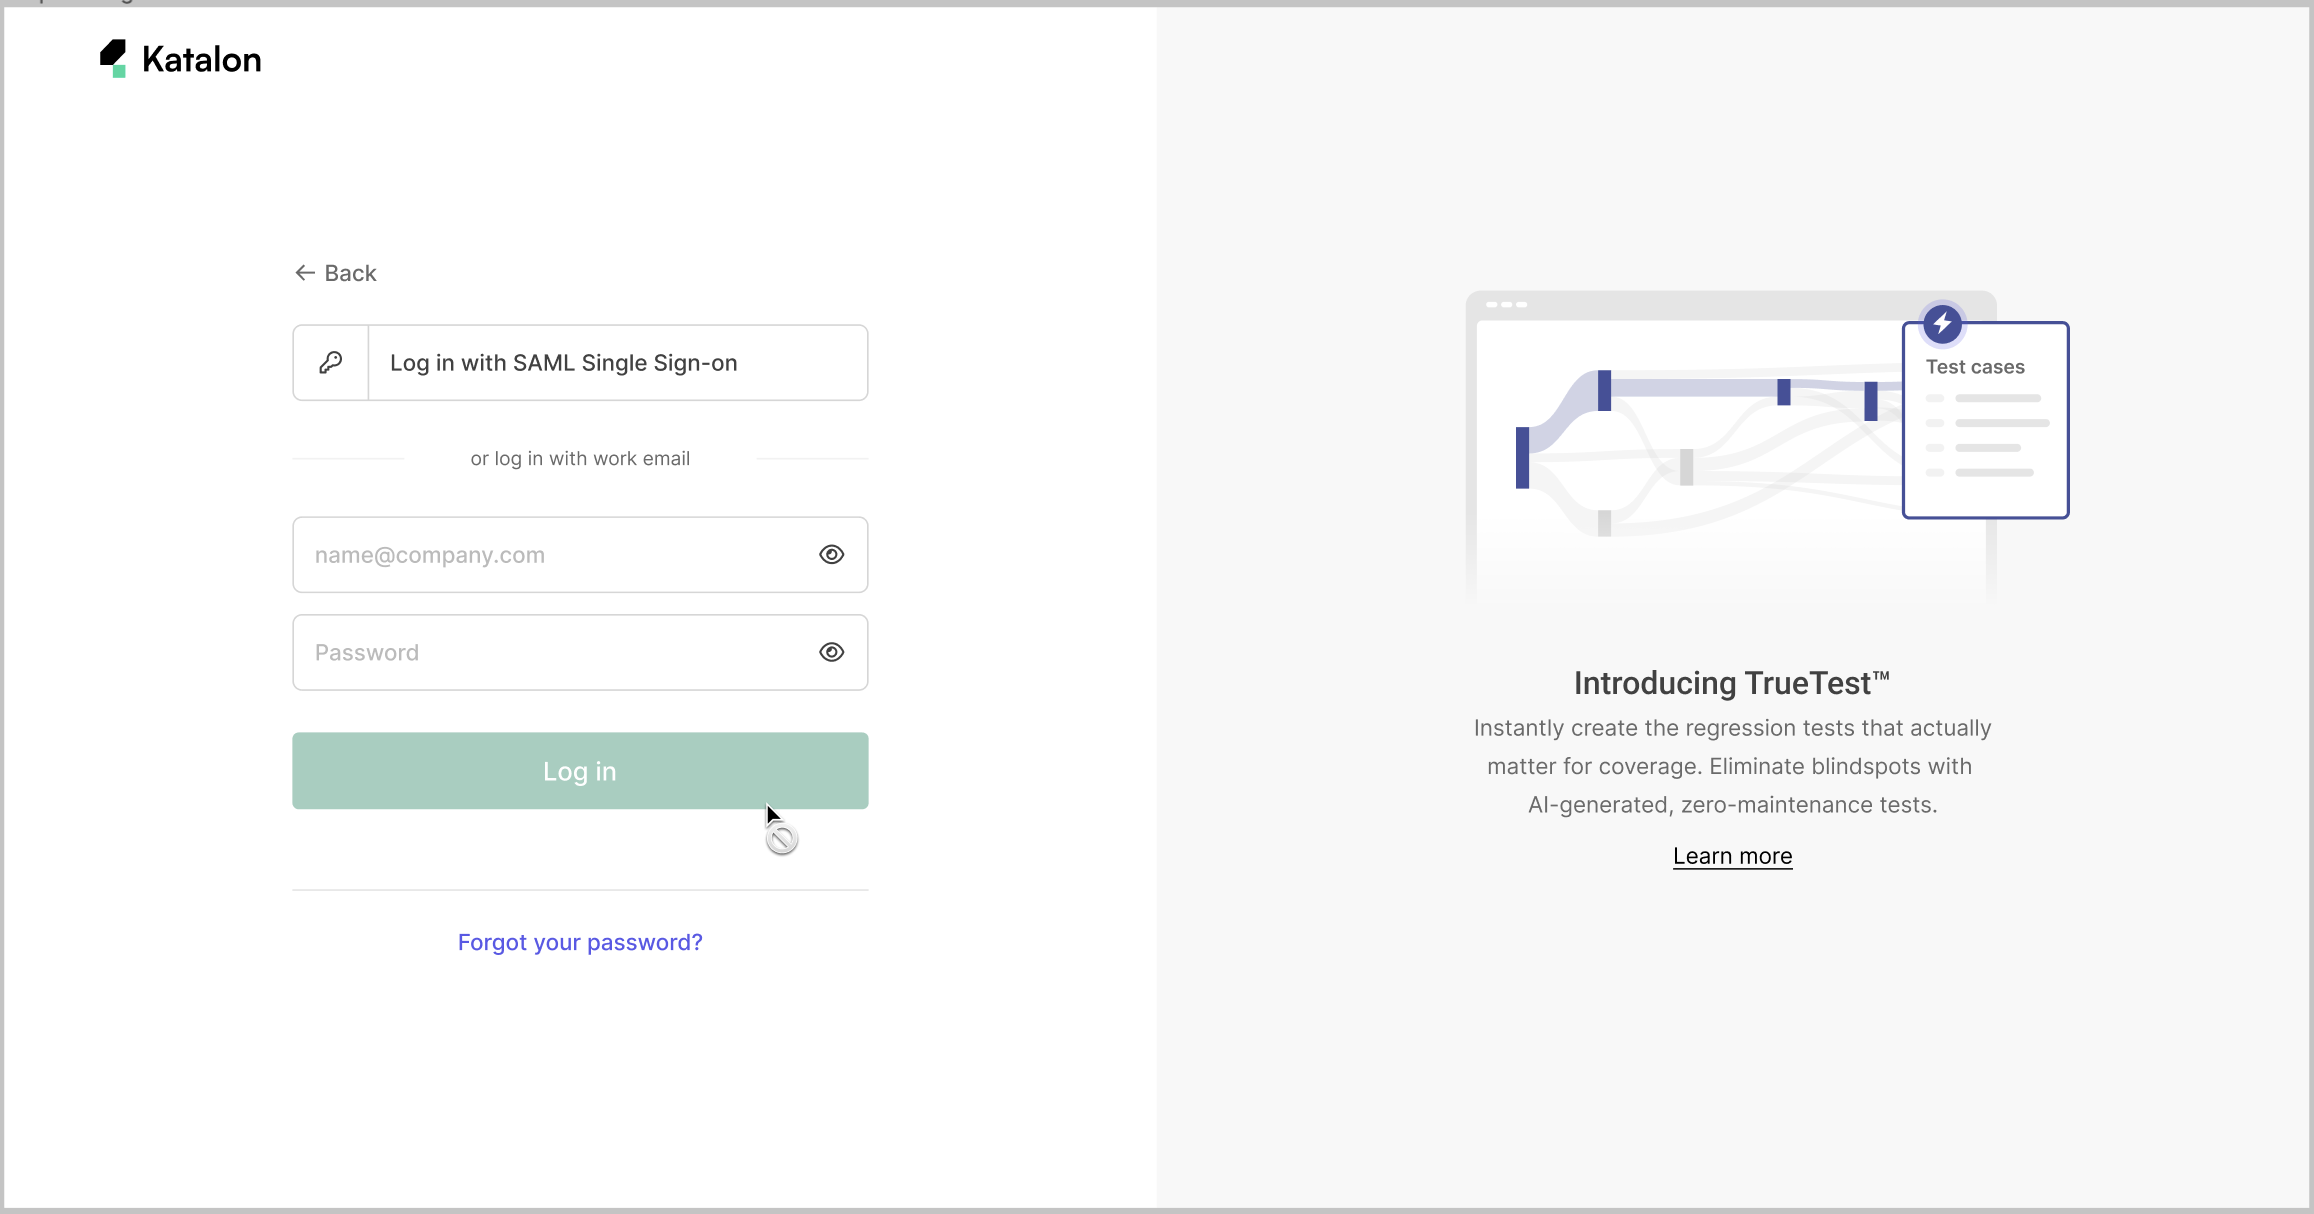
Log in to Katalon Studio with SSO
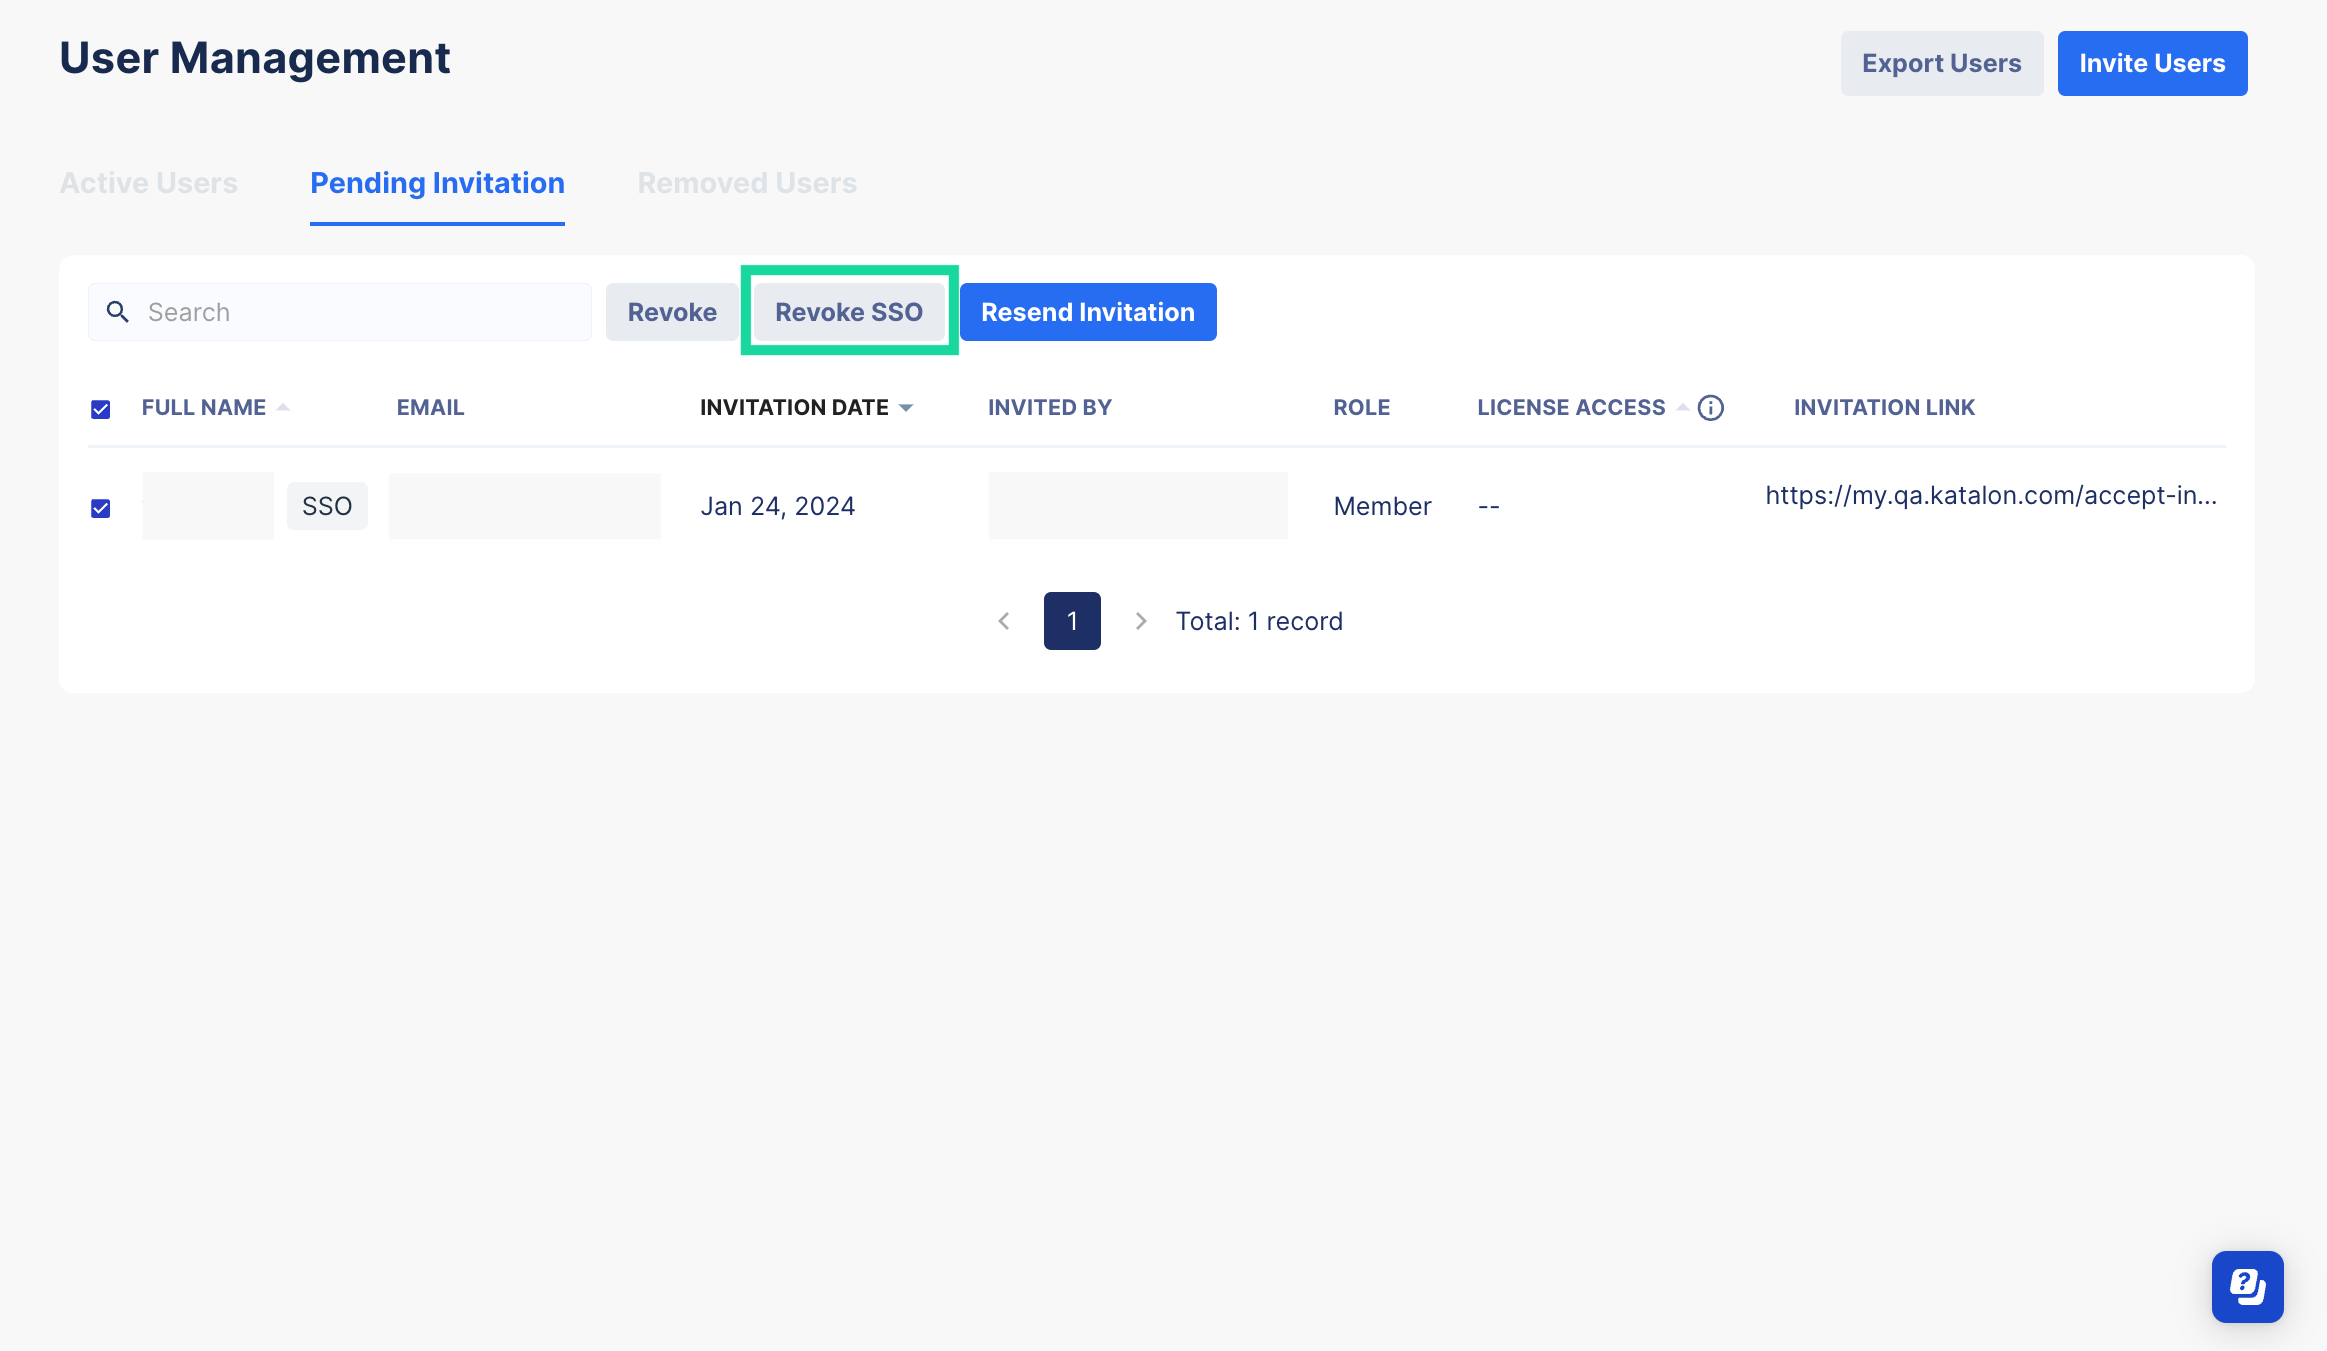
Revoke pending SSO invitations
As an Owner or Admin of your Organization, you can revoke pending SSO invitations.
For new users
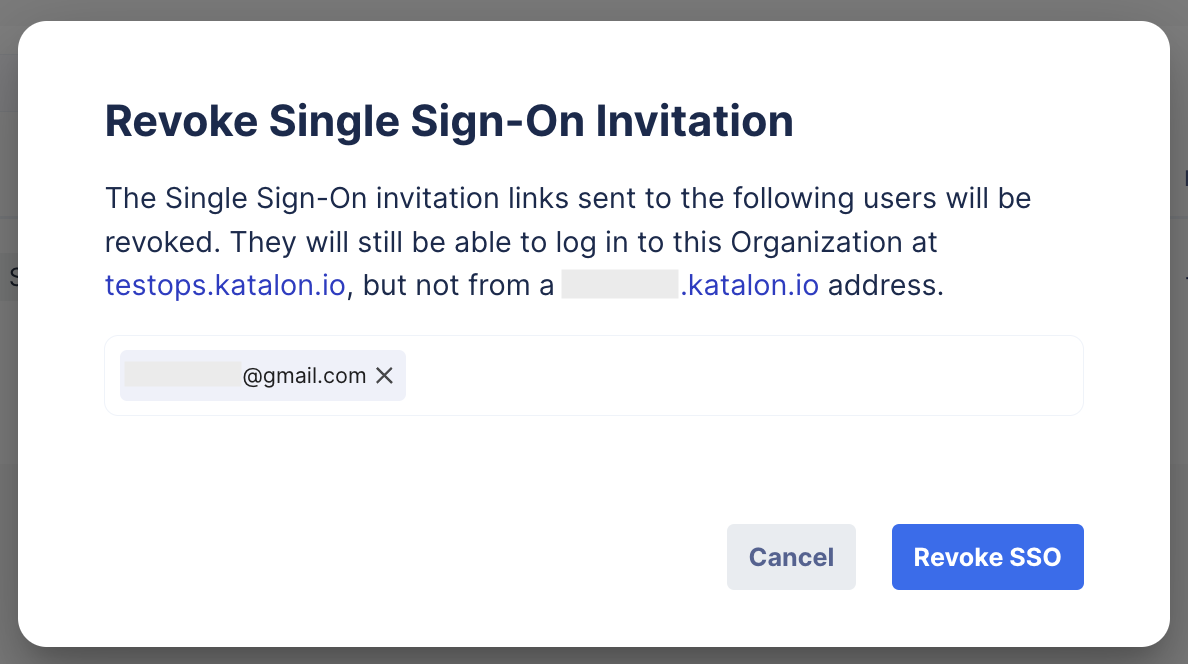
To revoke pending SSO requests for users who have not joined the Organization, follow these steps:
For existing users
To revoke pending SSO invitations for users who is already in your Organization, follow these steps:
