Create an Account and Organization
To use Katalon TestOps, you need to set up an Account to manage your Katalon subscriptions, and an Organization to manage your Katalon projects and members.
By default, TestOps creates an Account, an Organization, and a Project when you first sign up.
This document shows you how to manually create an Account and Organization in Katalon TestOps.
Create an Account
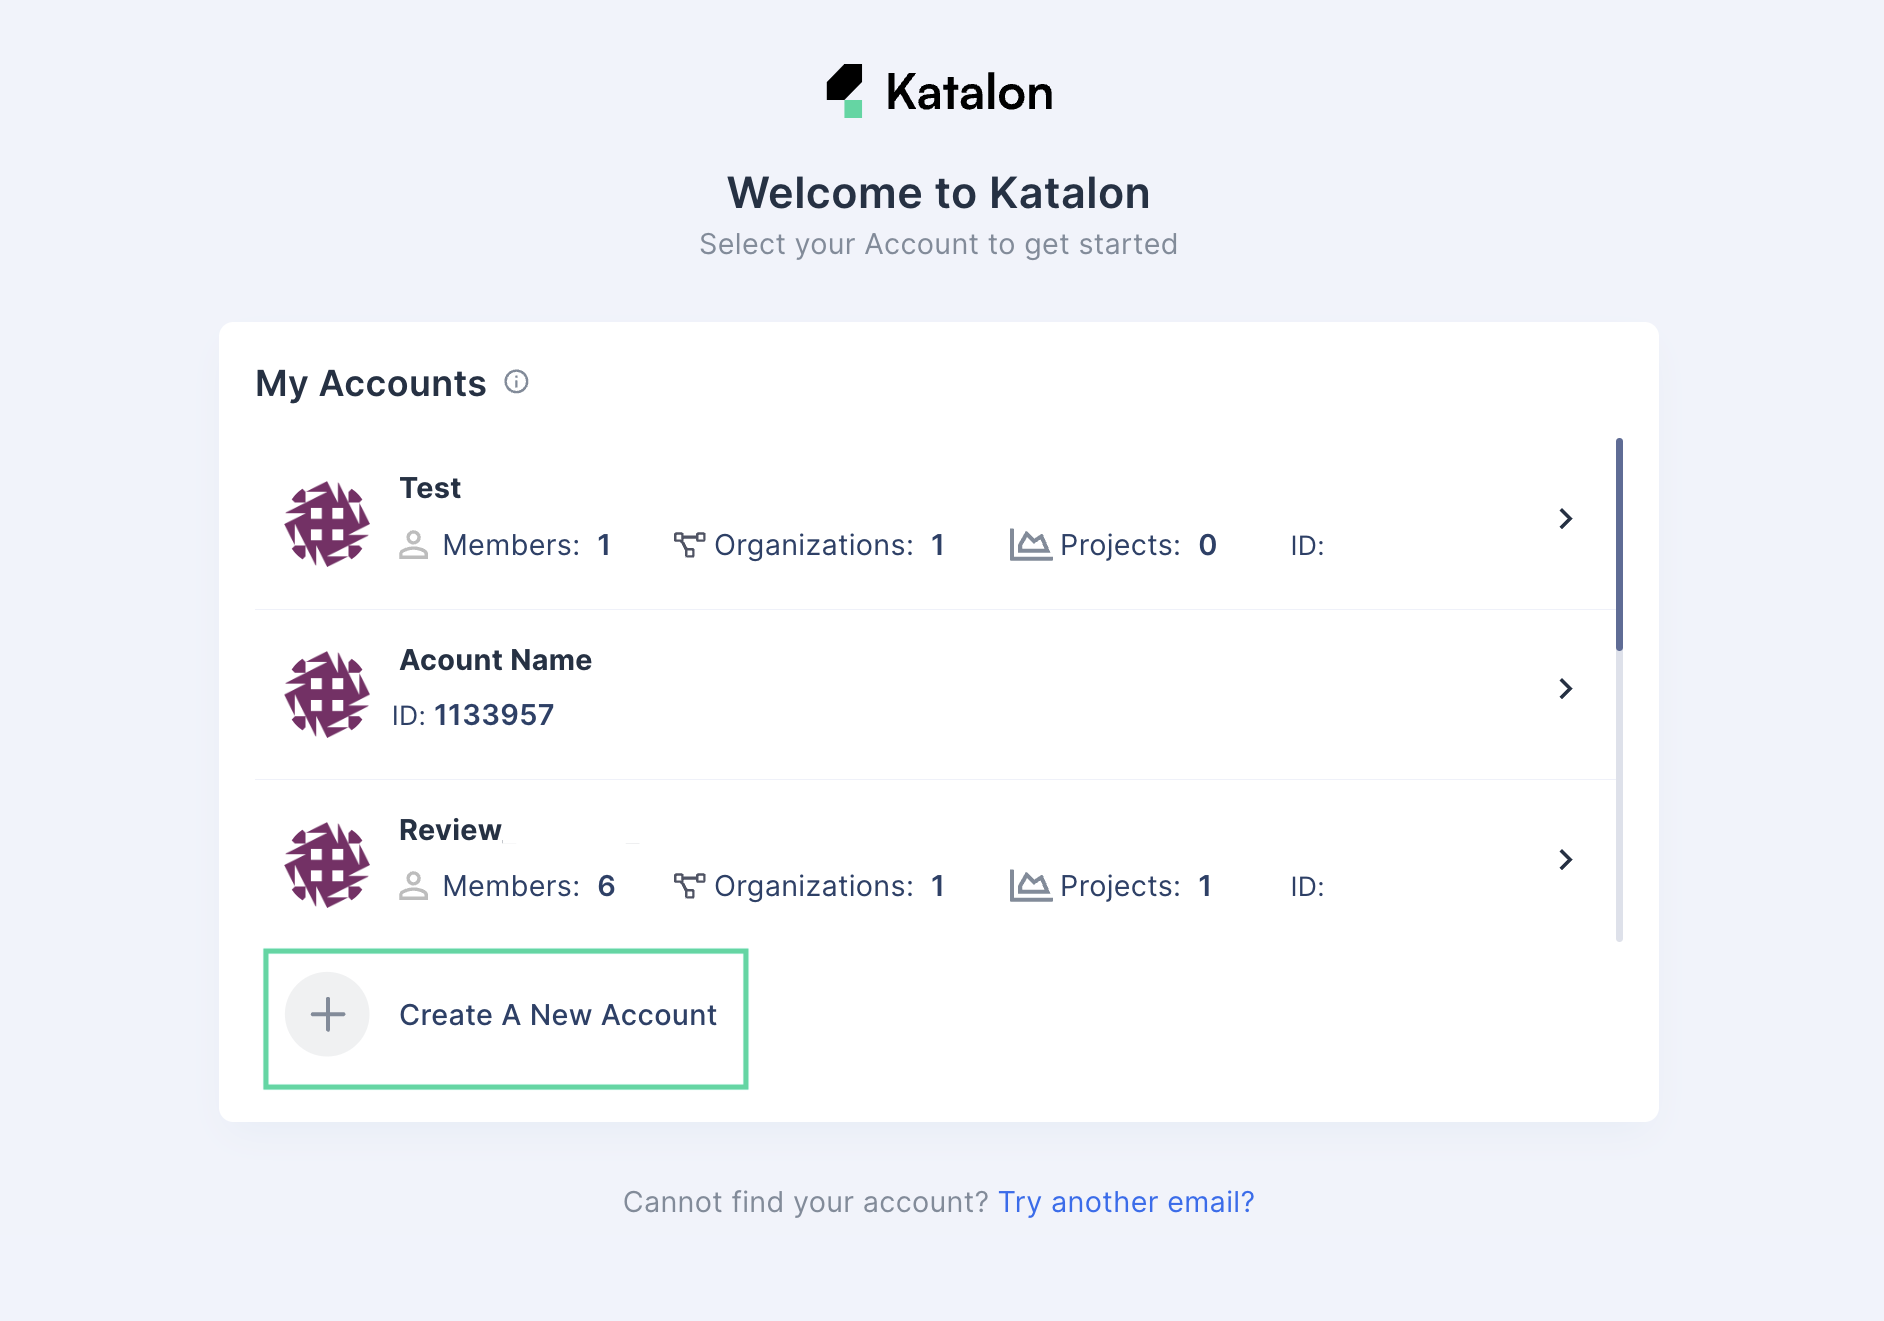
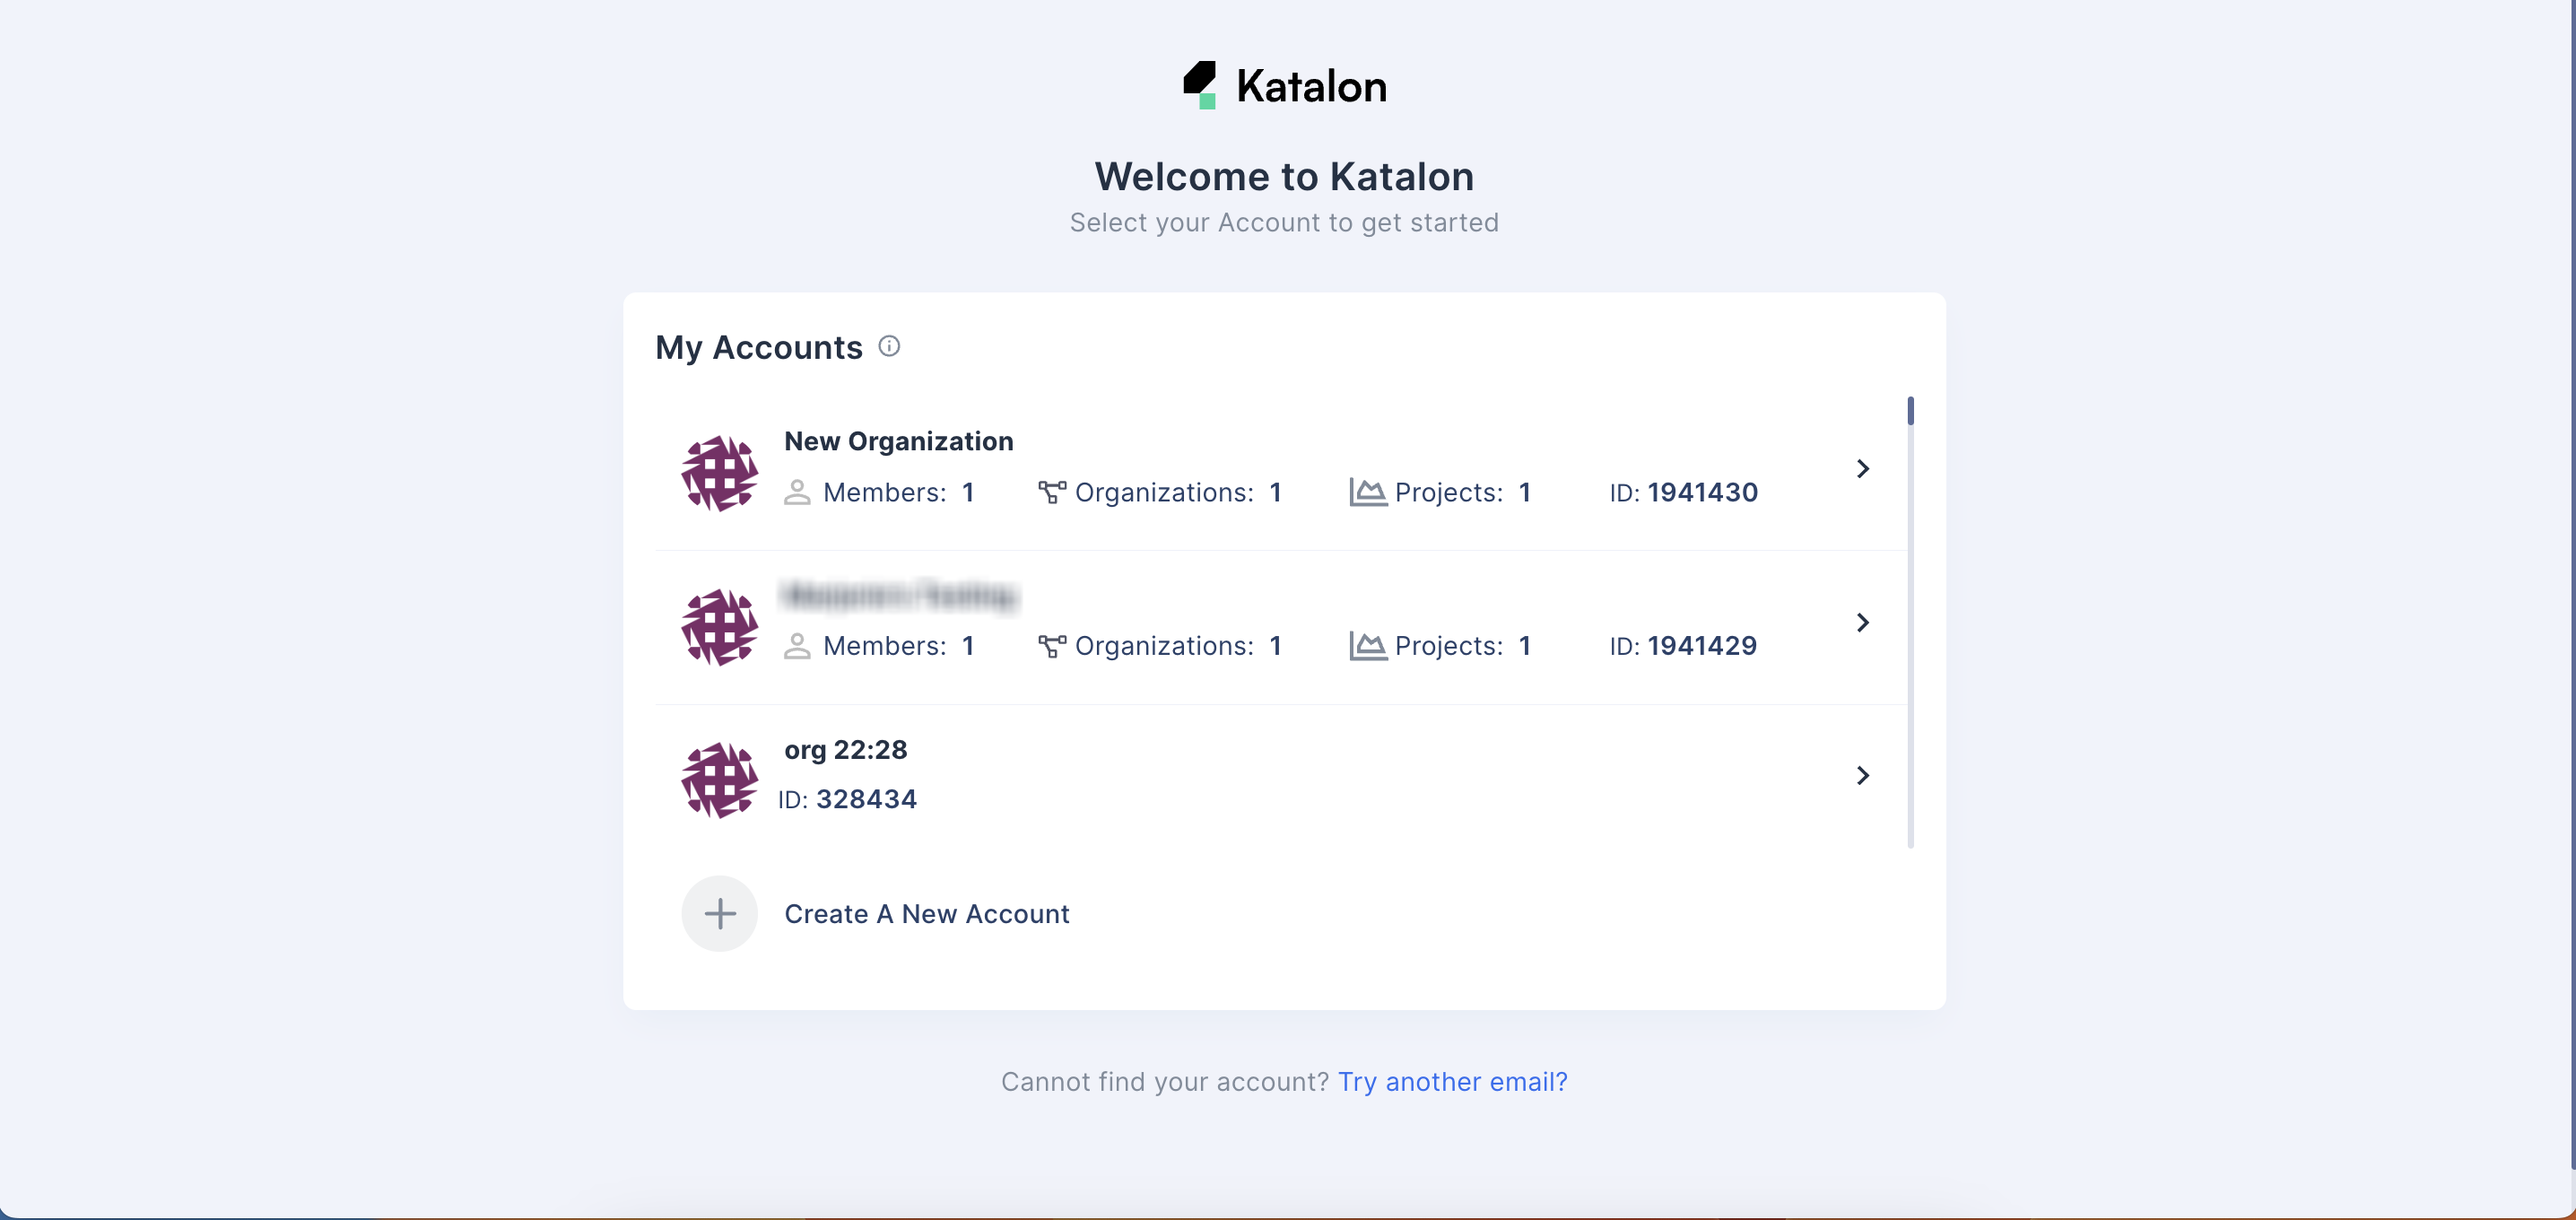
By creating an Account, you become an Account owner which has highest level of permission.- Sign in to Katalon TestOps. You are redirected to the Katalon Welcome Page.
You can also access to Katalon Welcome Page by clicking this link.
- Click + Create A New Account.
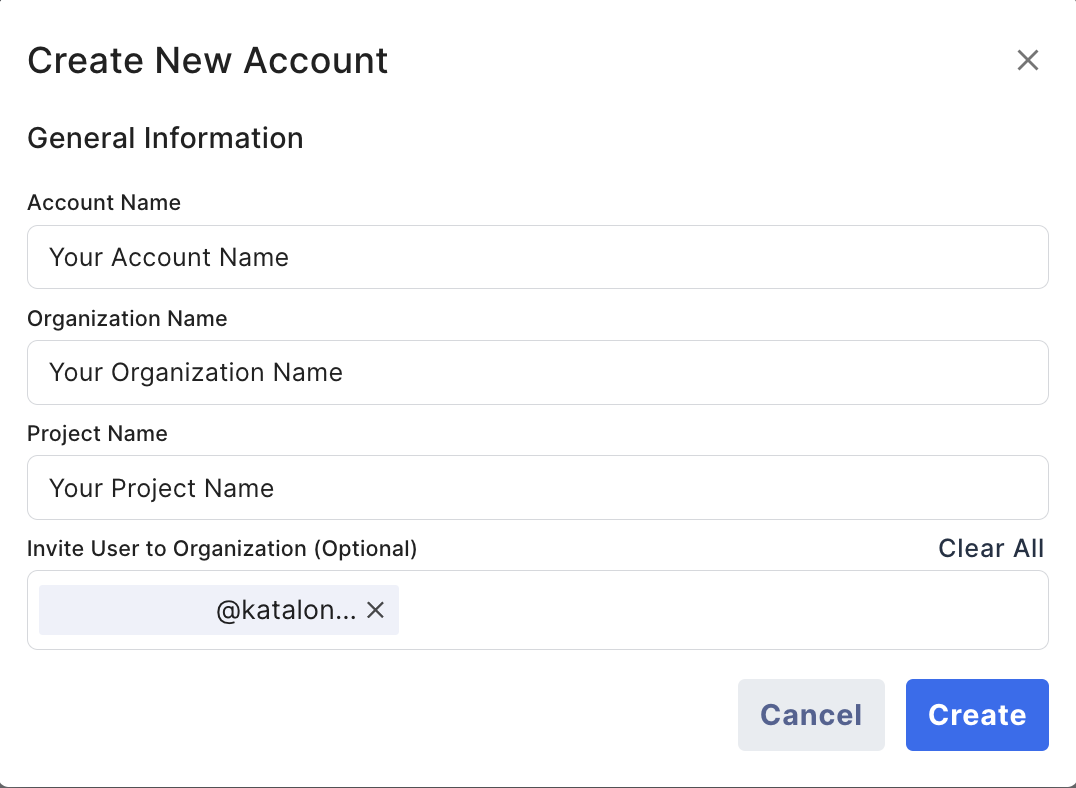
- A Create New Account dialog pop up.
- Enter your desired Account, Organization, and Project name.
You can invite multiple users to your Organization by entering your users' email addresses (separate by space) under the Invite User to Organization (Optional) section.
- Click Create.
Manage an Account
The following guide shows you how to manage your Account information.
View and update Account information
Important: - You must be the Owner or Admin of your Account.
To view and update your Account's name, follow these steps:
- Log in to TestOps Admin and select your Account.
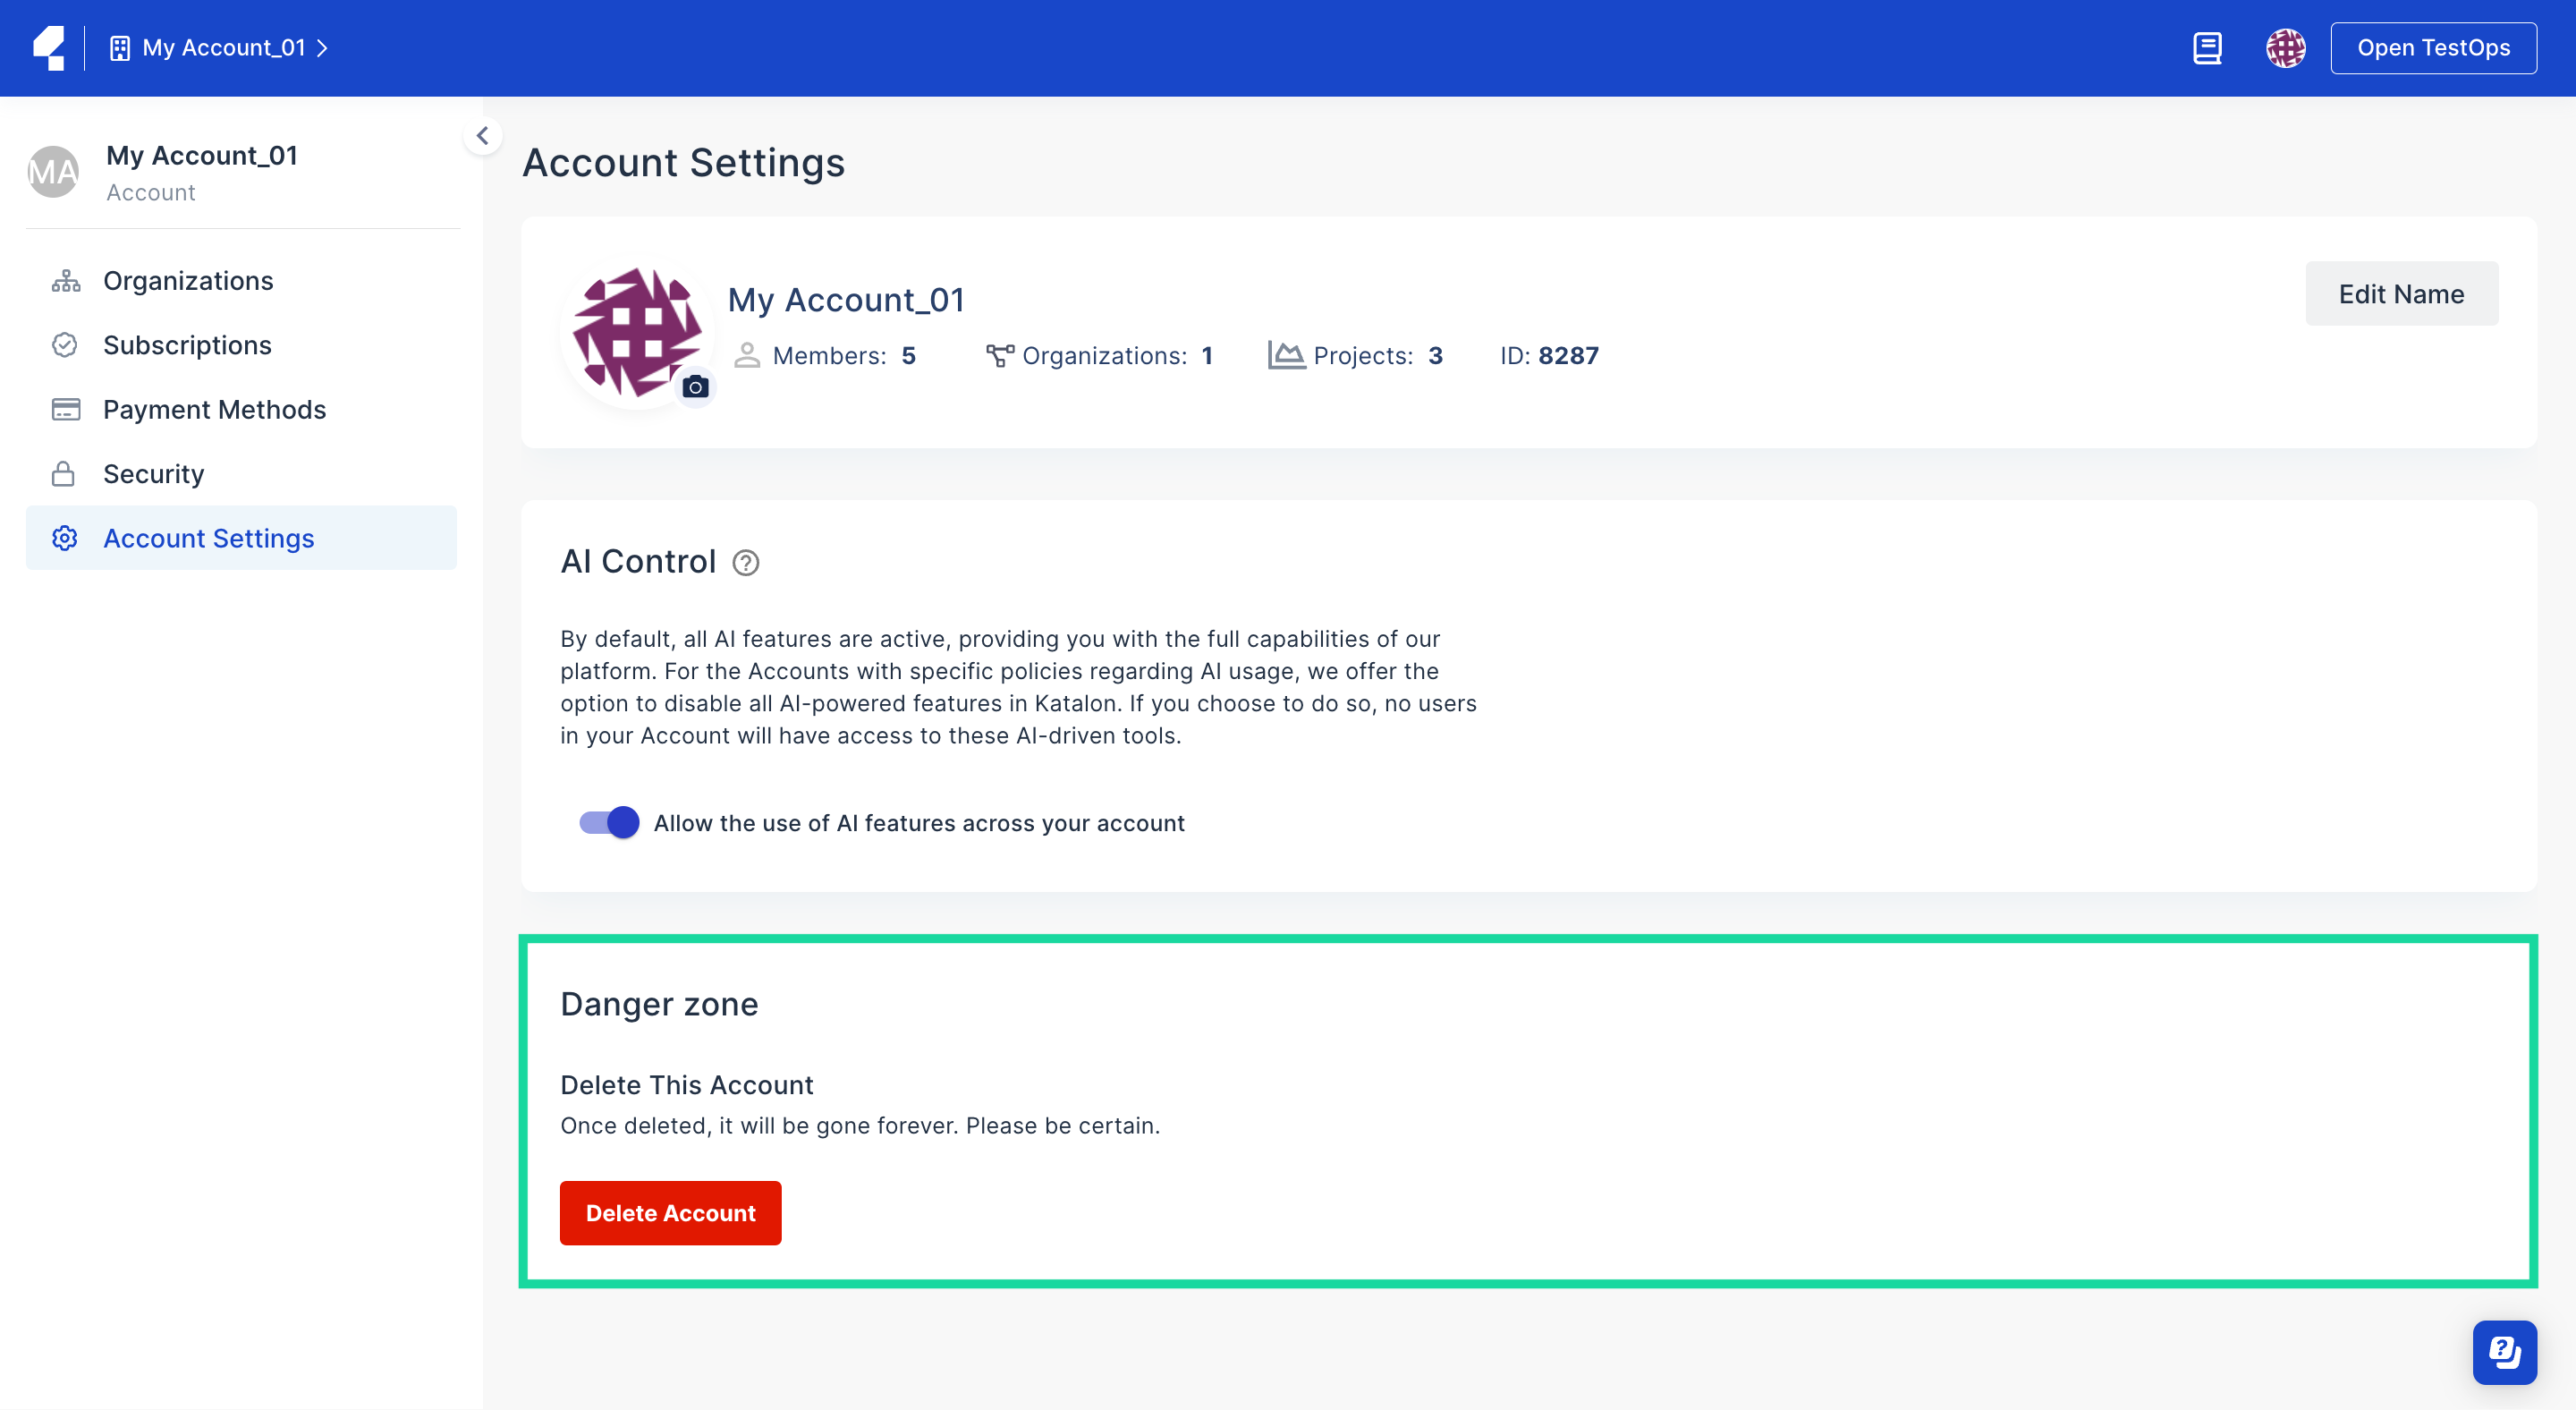
- On the Account admin page, select the Account Settings section on the sidebar.
In Account Settings, you can find the following information:
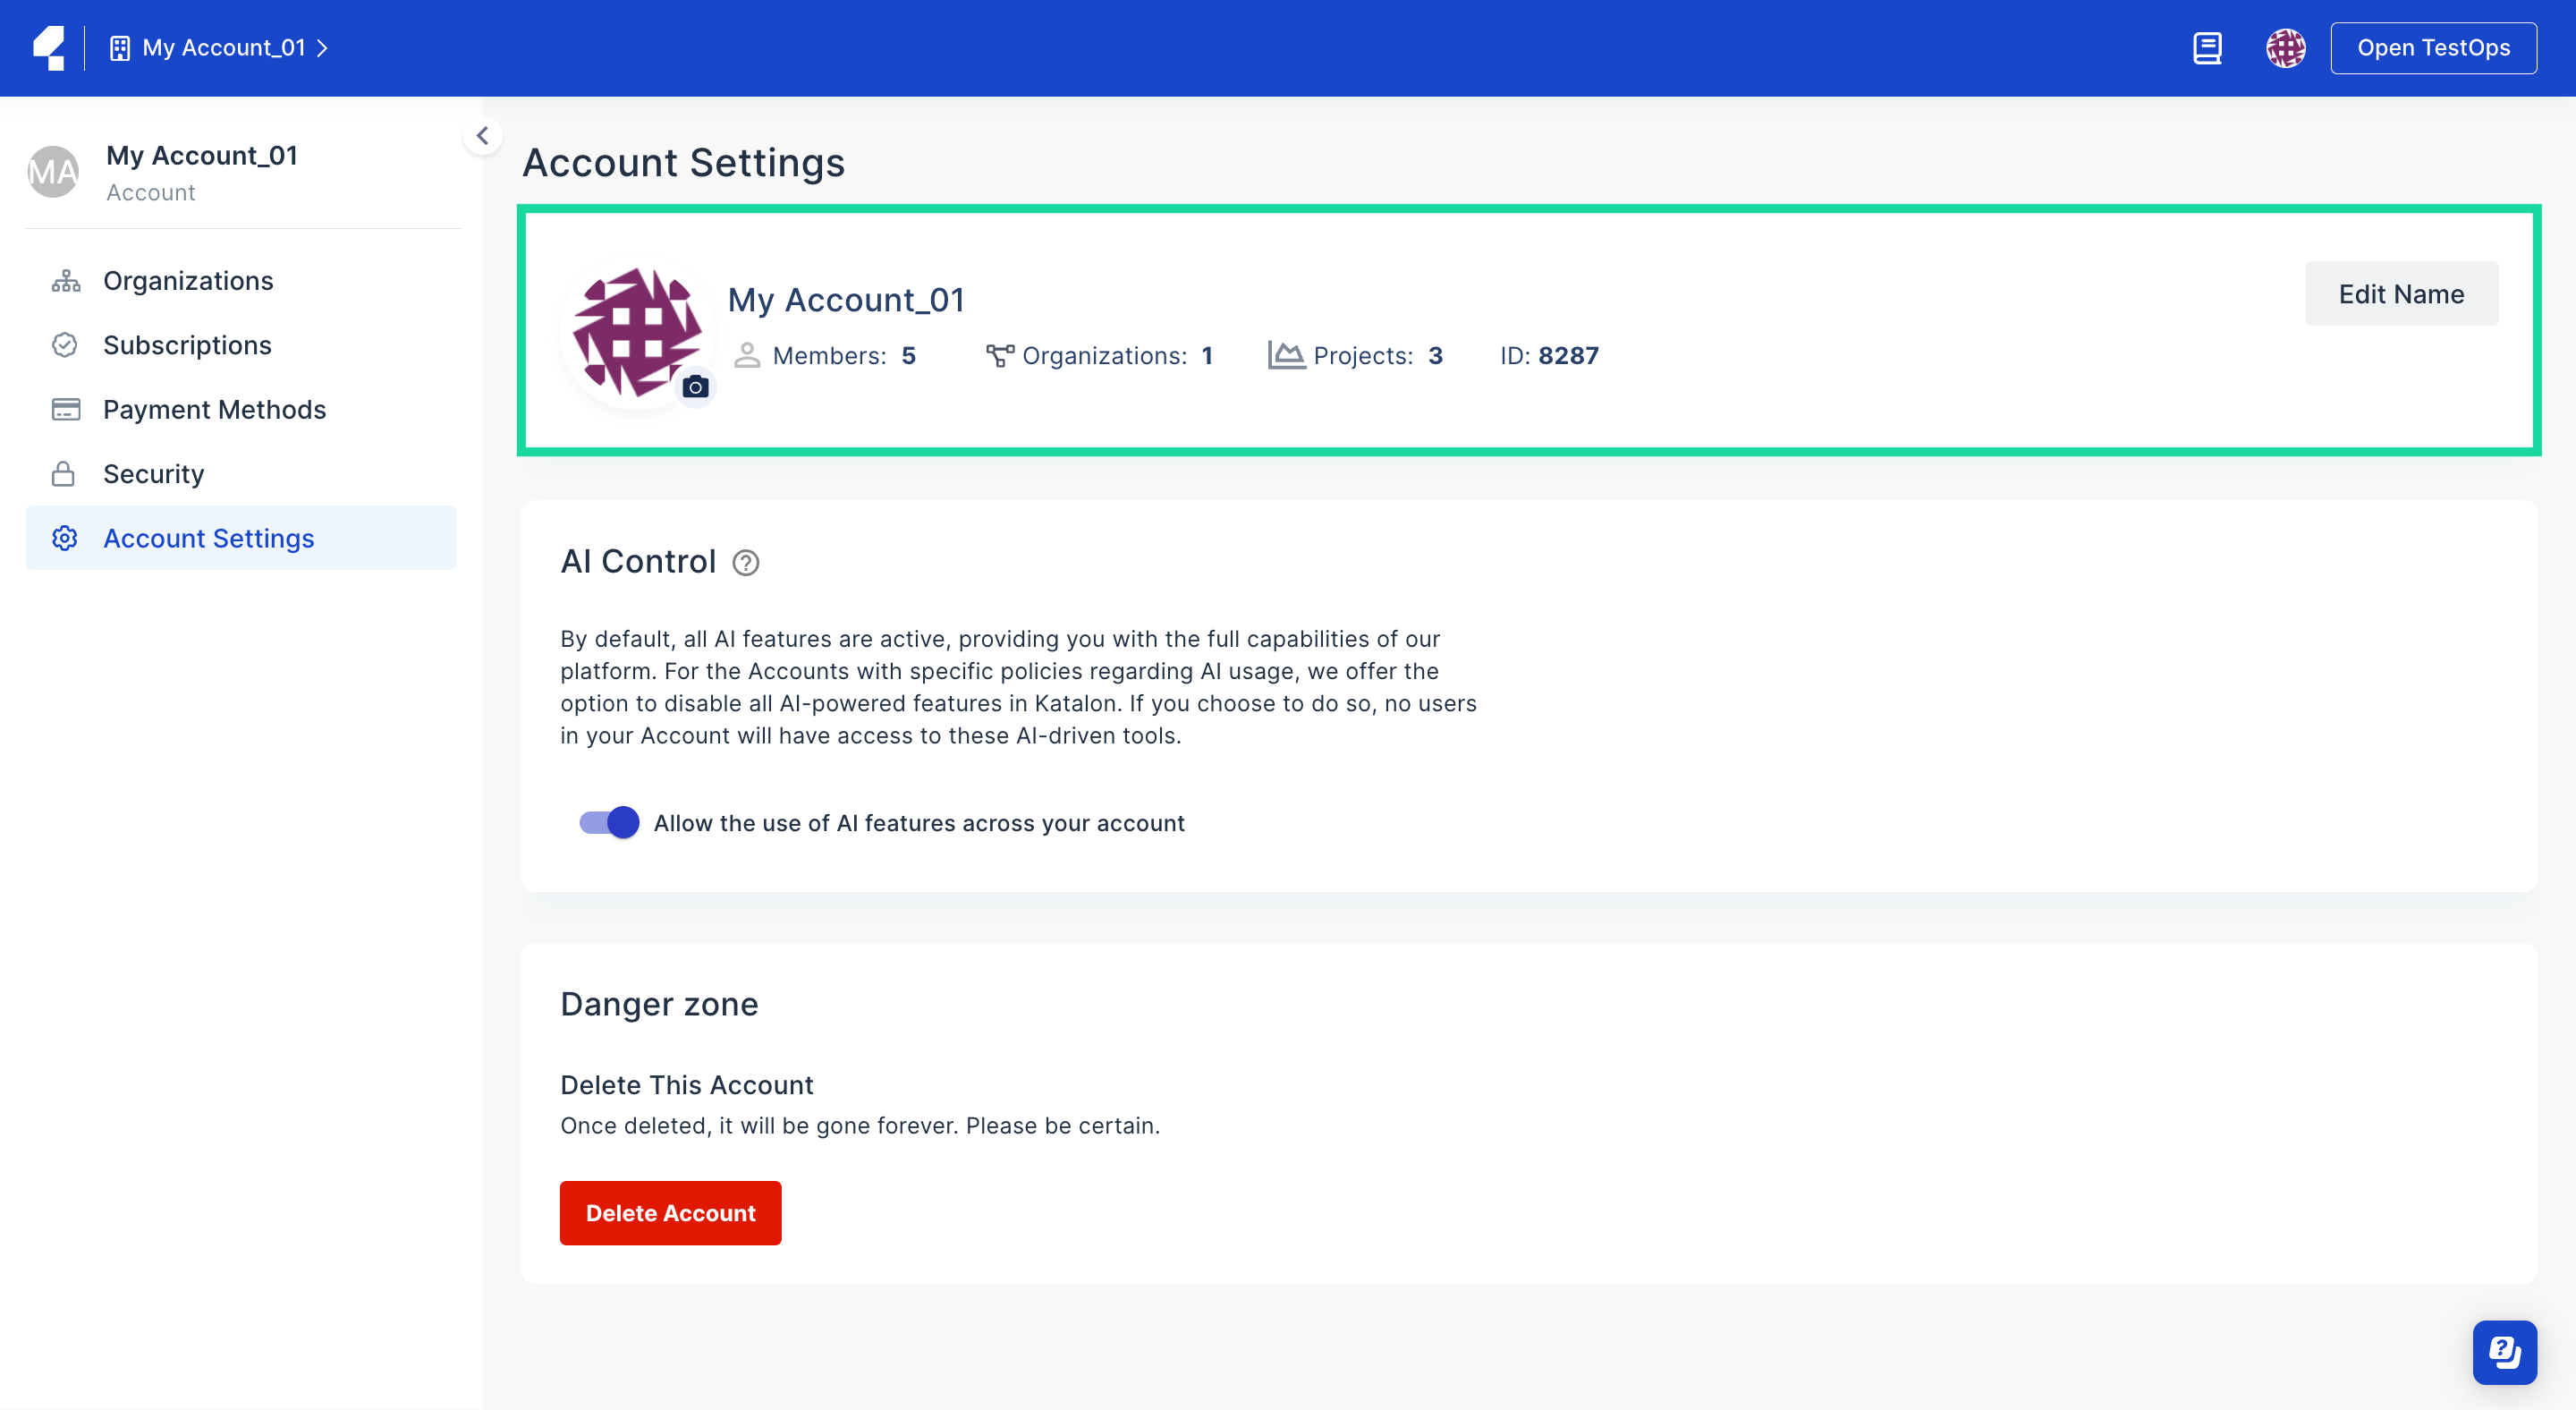
- You can click Edit Name to change your Account's name.
Delete an Account
This document will guide you on the steps necessary to remove your Account permanently from the Katalon Platform.
Warning: This action will permanently delete your Account including your Organization, test plans, licenses, and remove all Projects associations. Proceed with caution as this cannot be undone.
Follow these steps to delete an Account.
- On the Account admin page, select Account Settings section found in the bottom of the sidebar.
The Account Settings page appears.
- Navigate to the Danger zone section, then select the Delete Account button.
- A pop-up appears to confirm your decision by typing your Account's name in. Input your Account's name and press Delete this account.
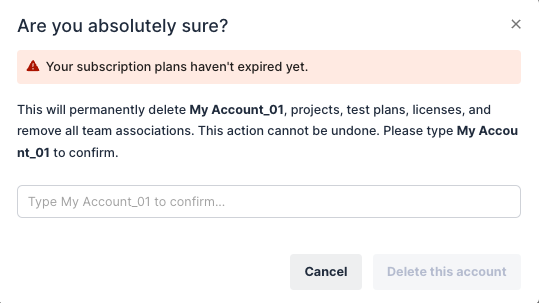
This will permanently delete your Account including your Organization, test plans, licenses, and remove all Projects associations.
You are redirected back to the homepage. Note that it may take some time before your account is completely removed. Create an Organization
By creating an Organization, members can collaborate across several projects instantly.
Follow these steps to create a new Organization:
- Sign in to TestOps Admin.
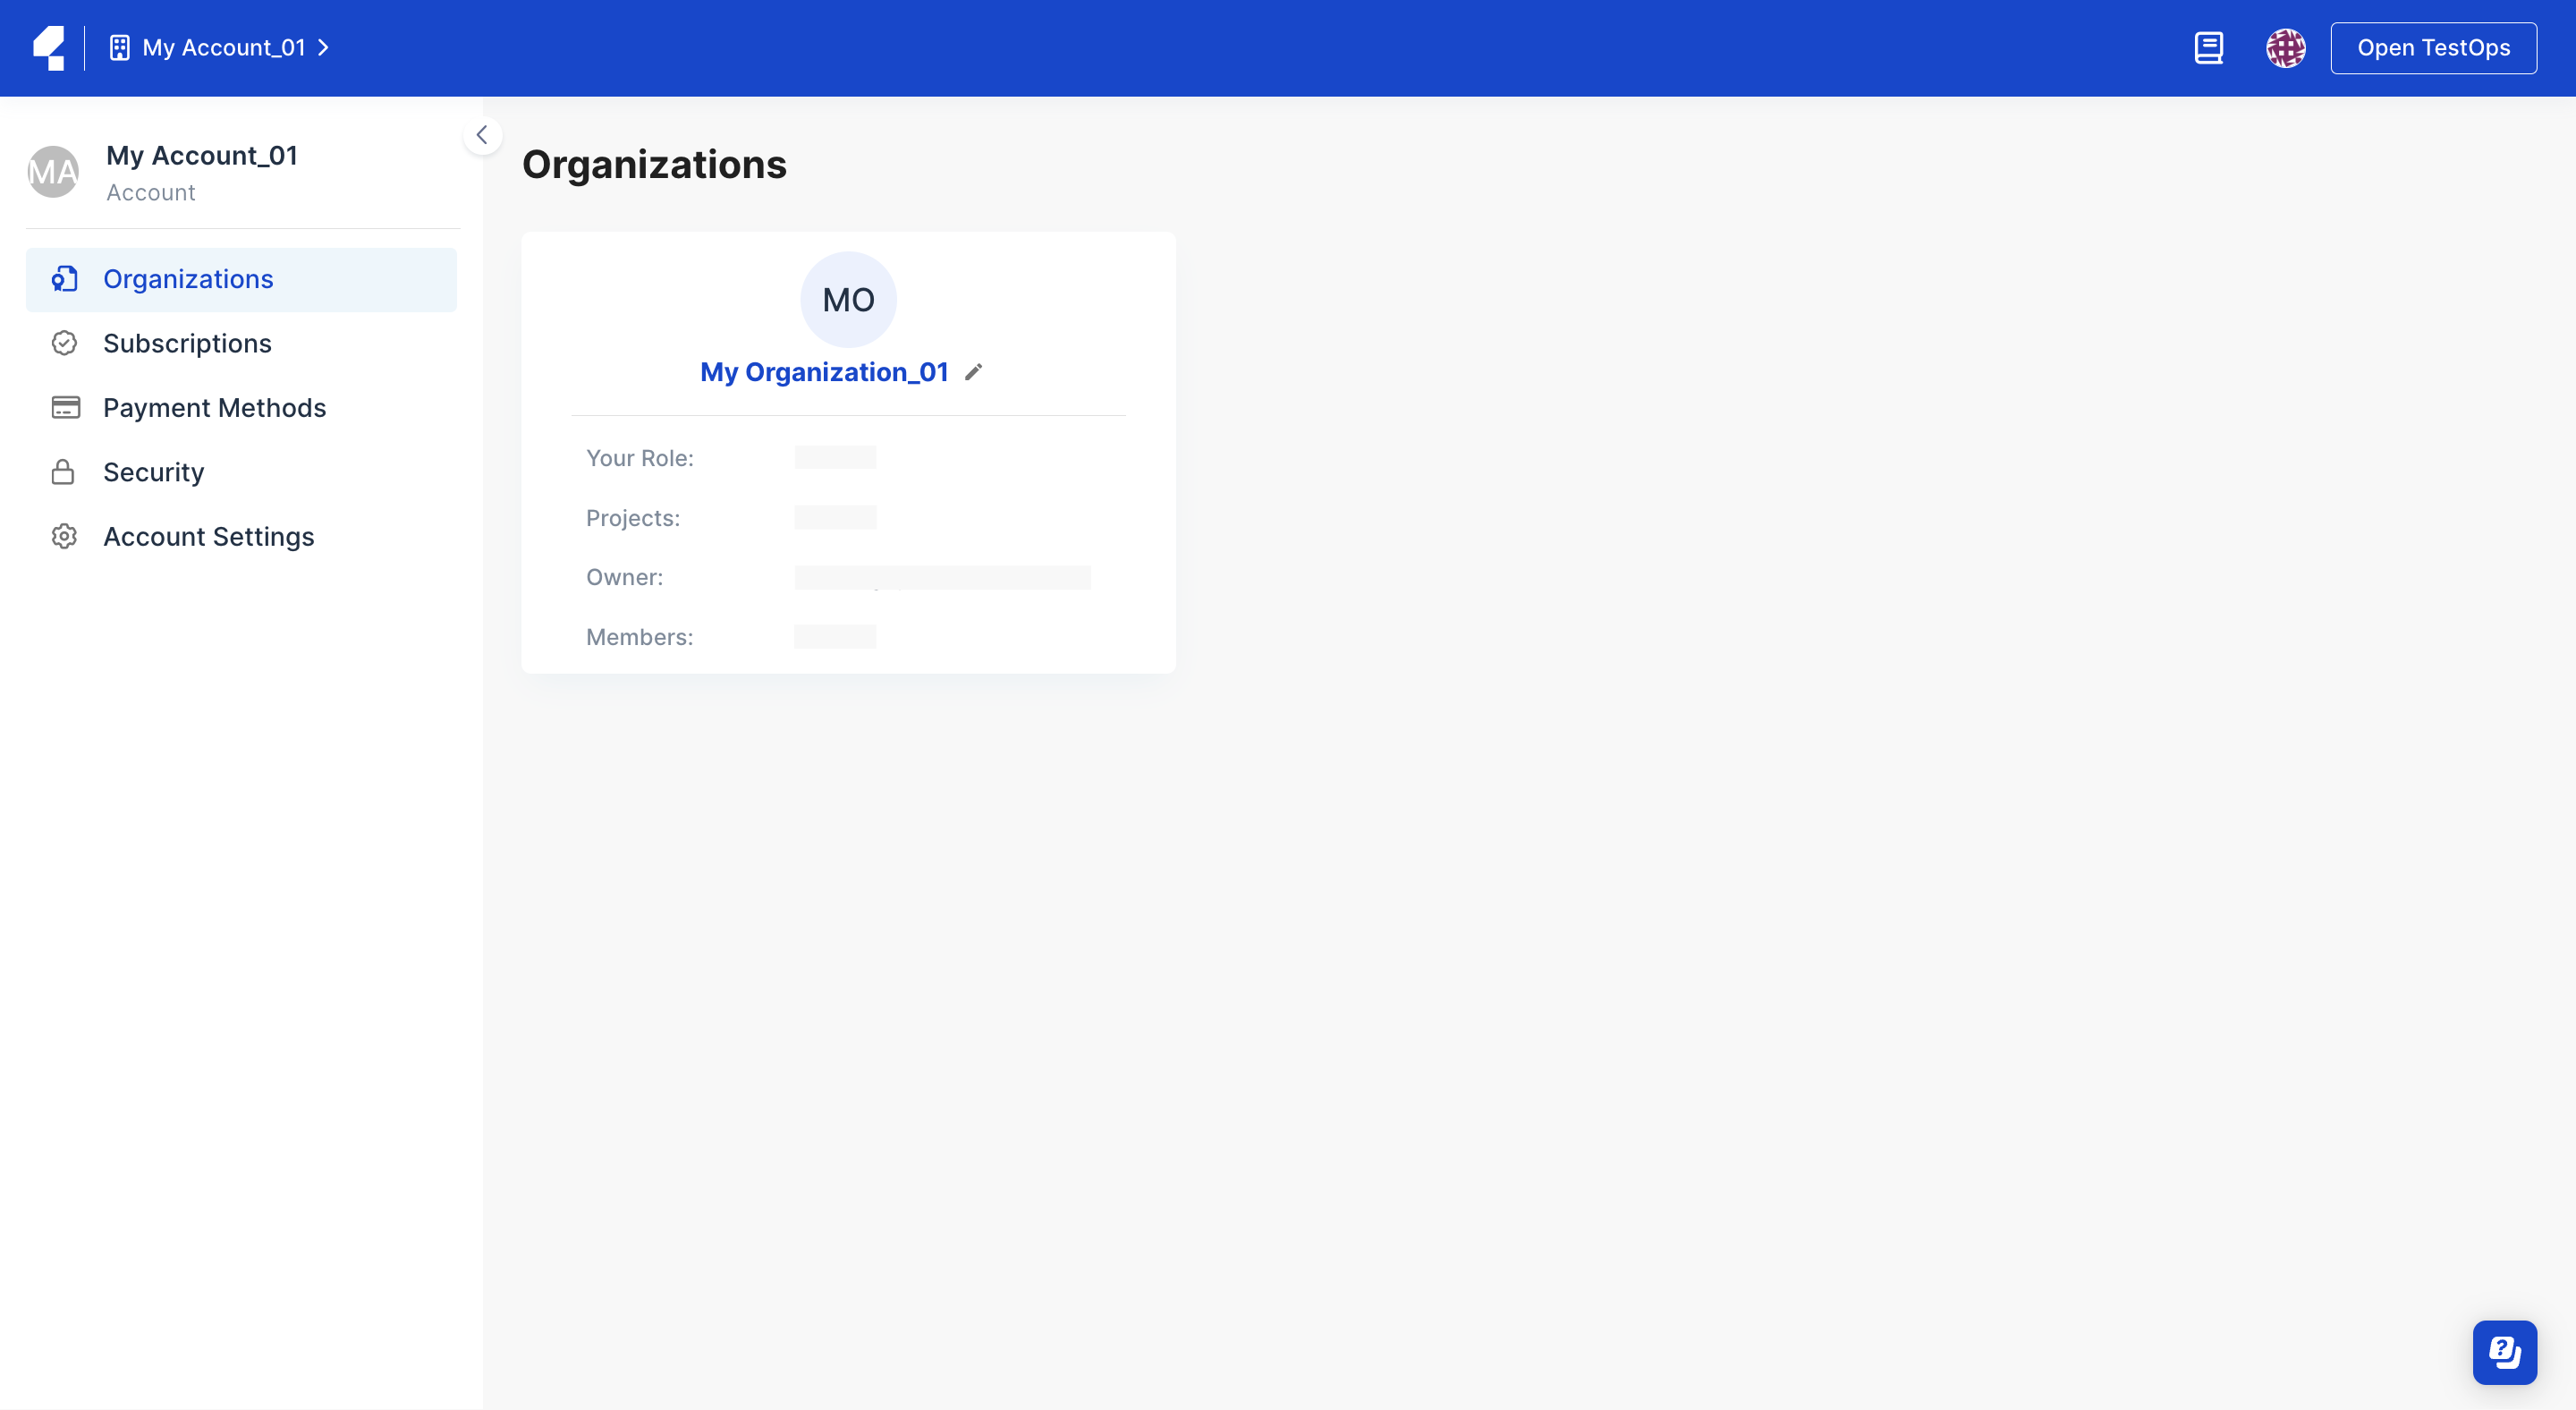
- From your Account admin page, select your Organization.
You are redirected to the Organization admin page.
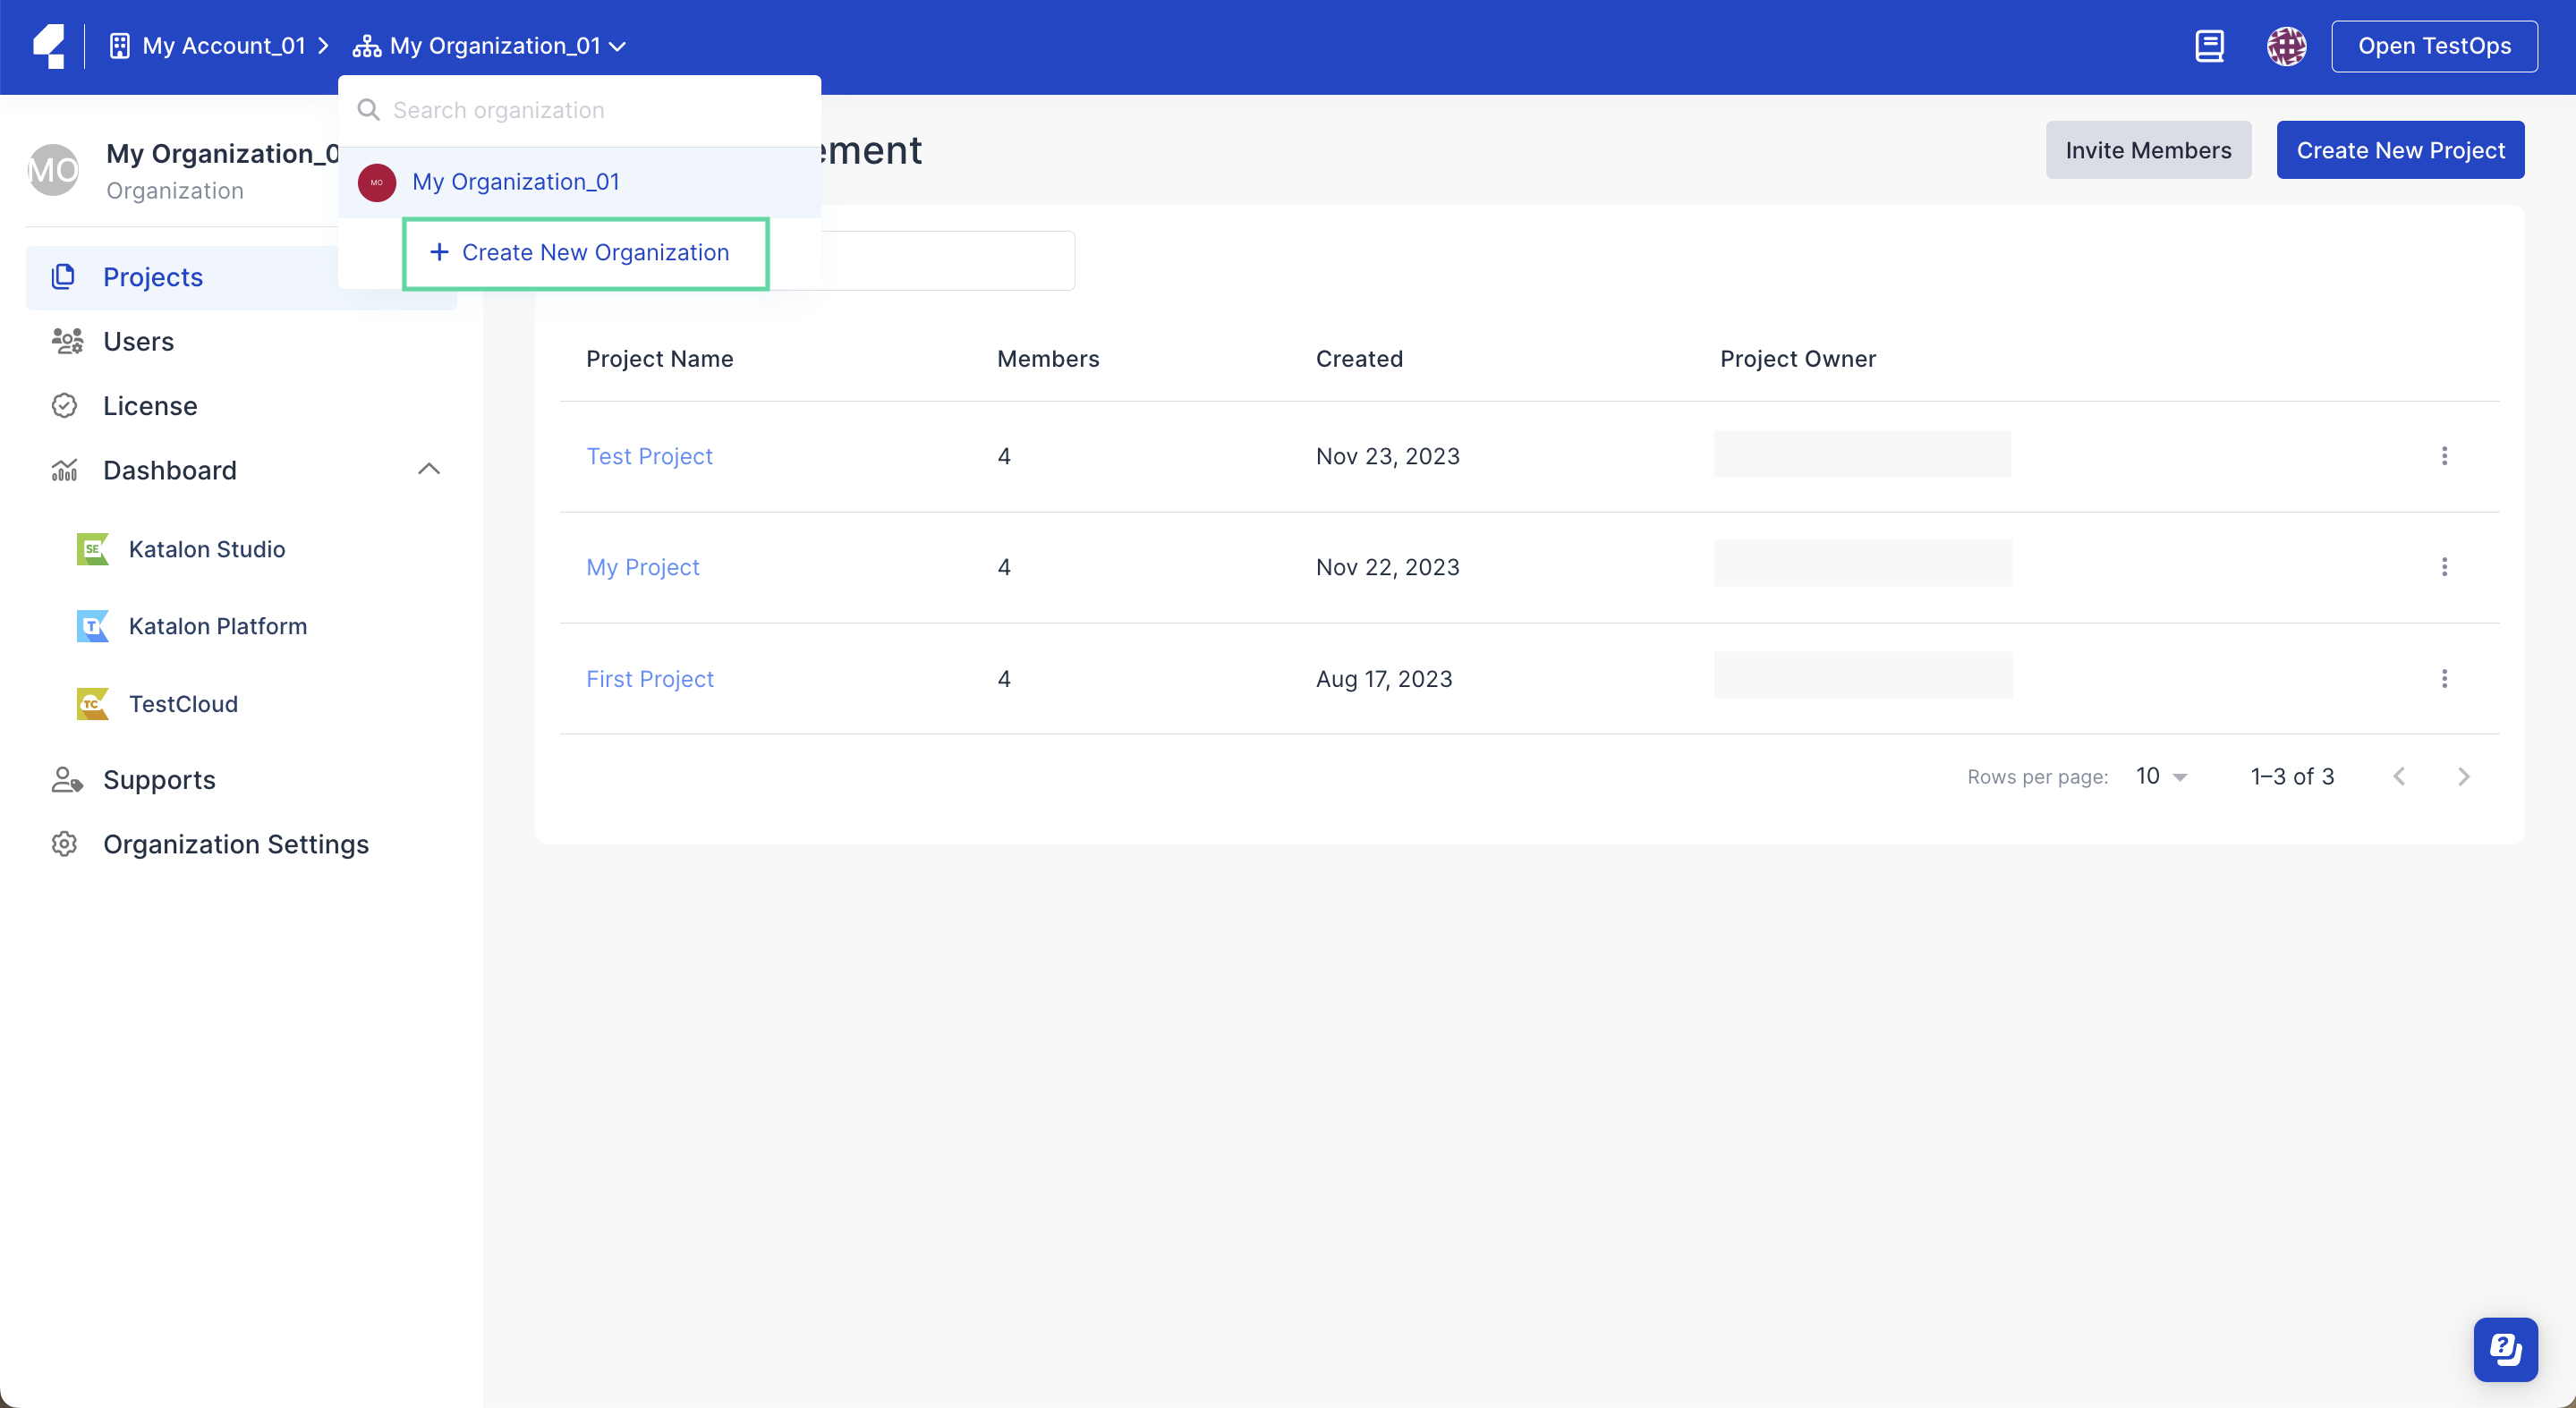
- Click on the dropdown button next to the Organization name and select Create new Organization.
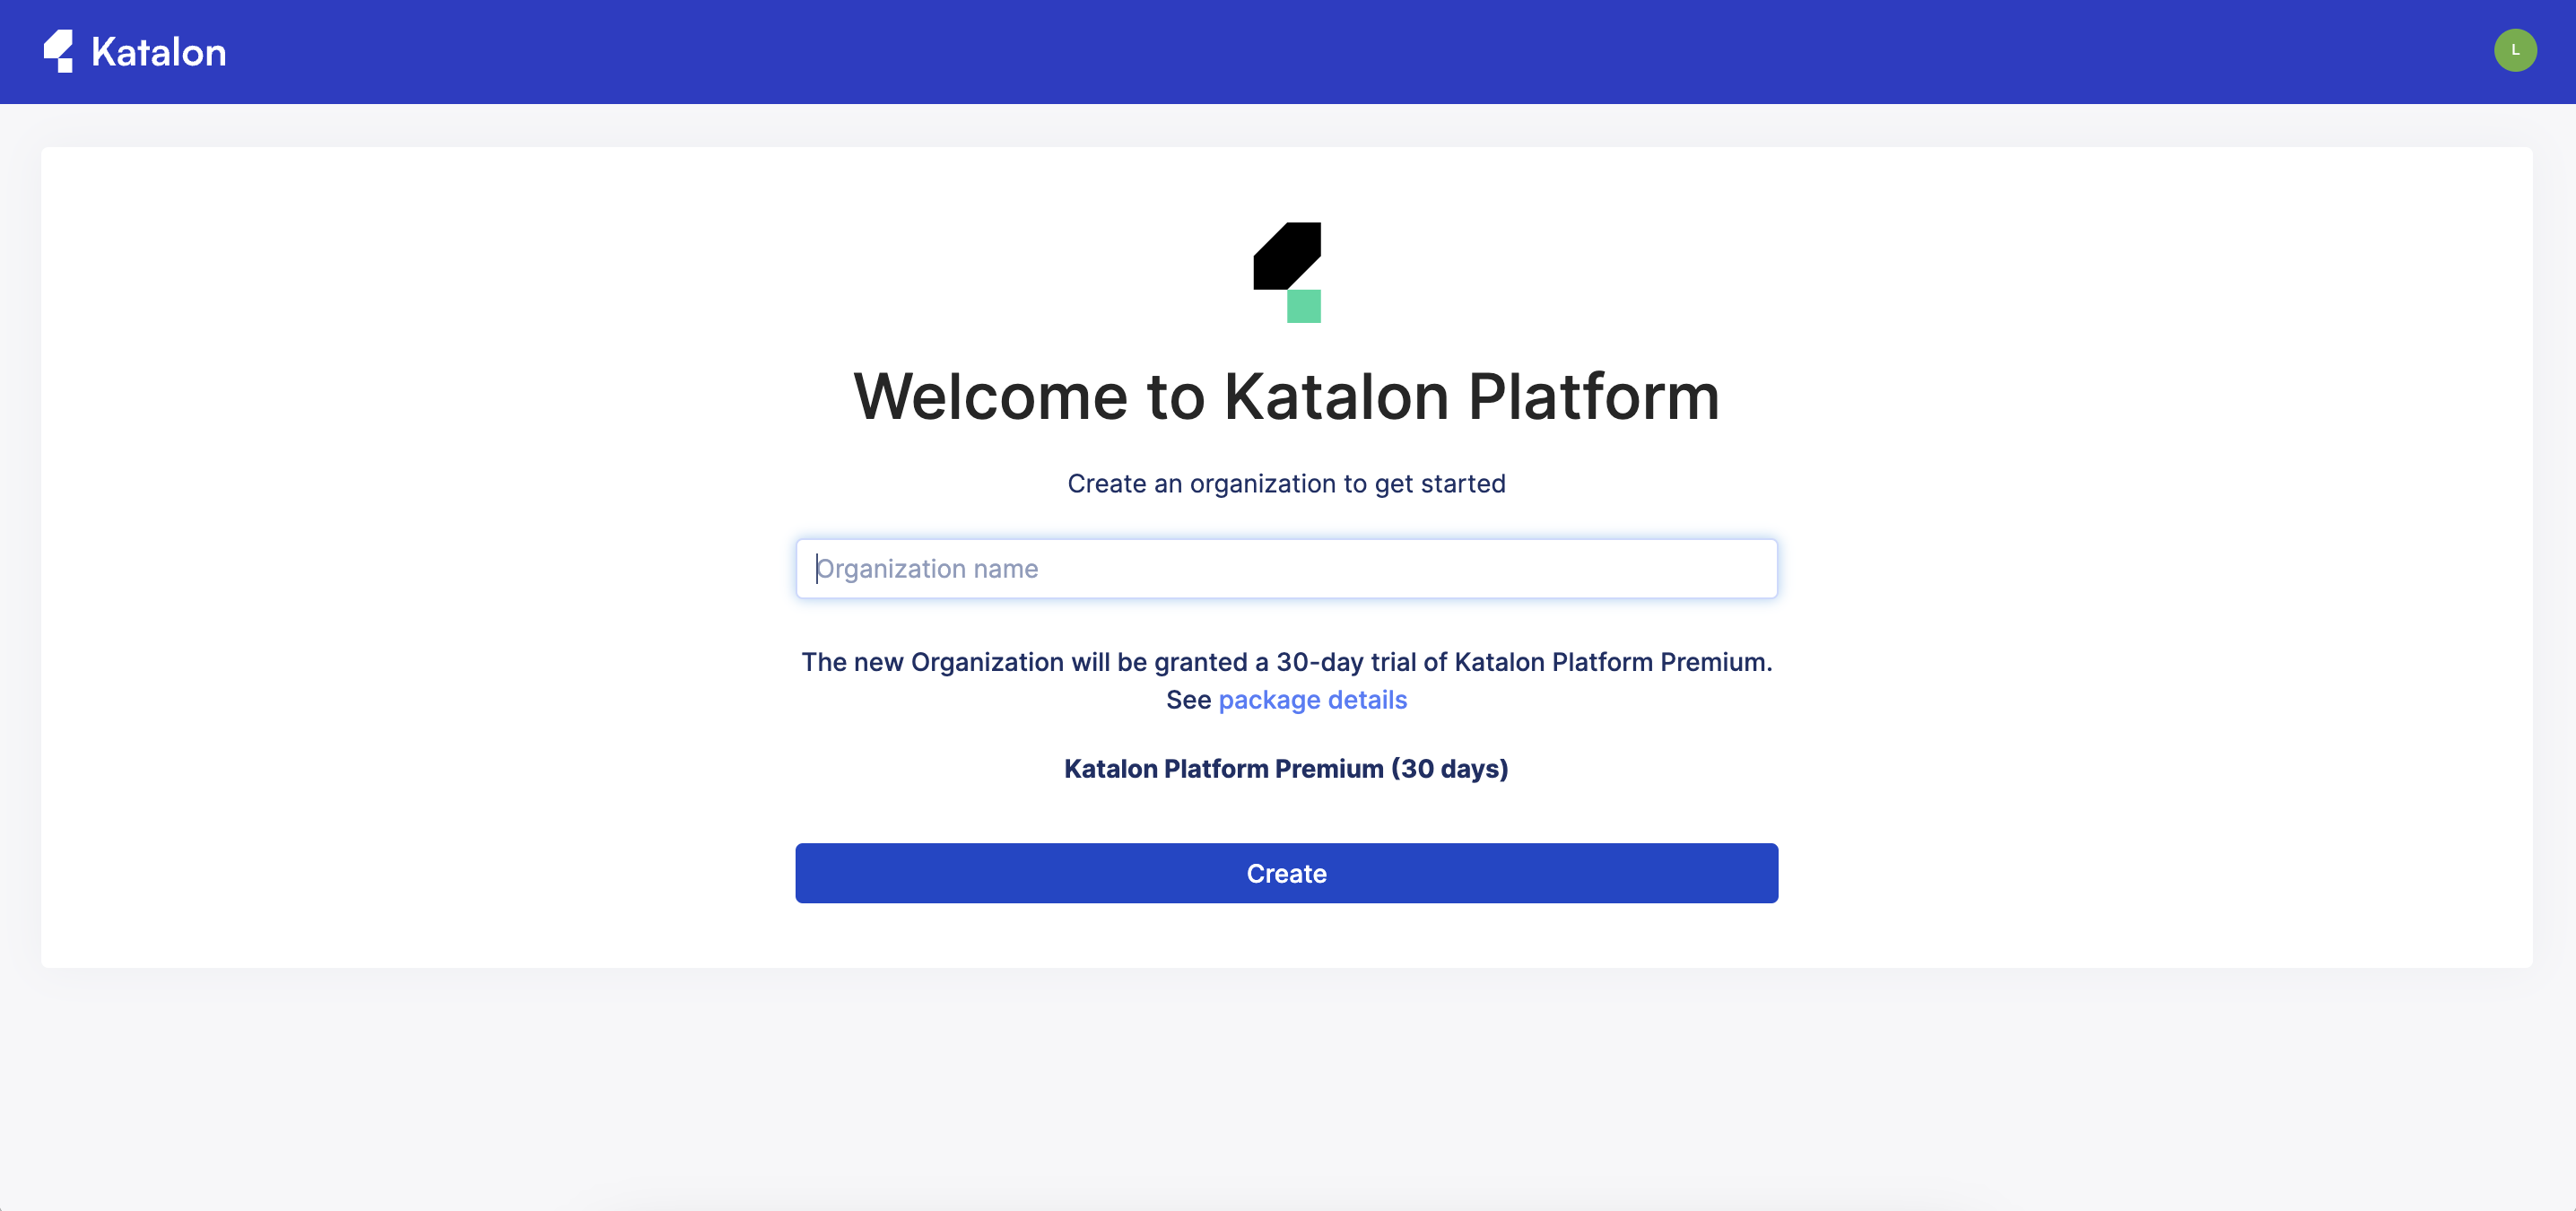
- In the welcome page, enter the name for your new Organization.
- Click Create.
You are directed to your new Organization's home page. Manage an Organization
This document gives a general overview of how you can manage your Organization's information. To begin: - Sign in to TestOps Admin and go to your selected Account by clicking on its name.
- From your Account's page, select your Organization.
You are redirected to your Organization admin page.
- Select the Organization Settings section at the bottom of the sidebar.
The
Organization Management page displays.
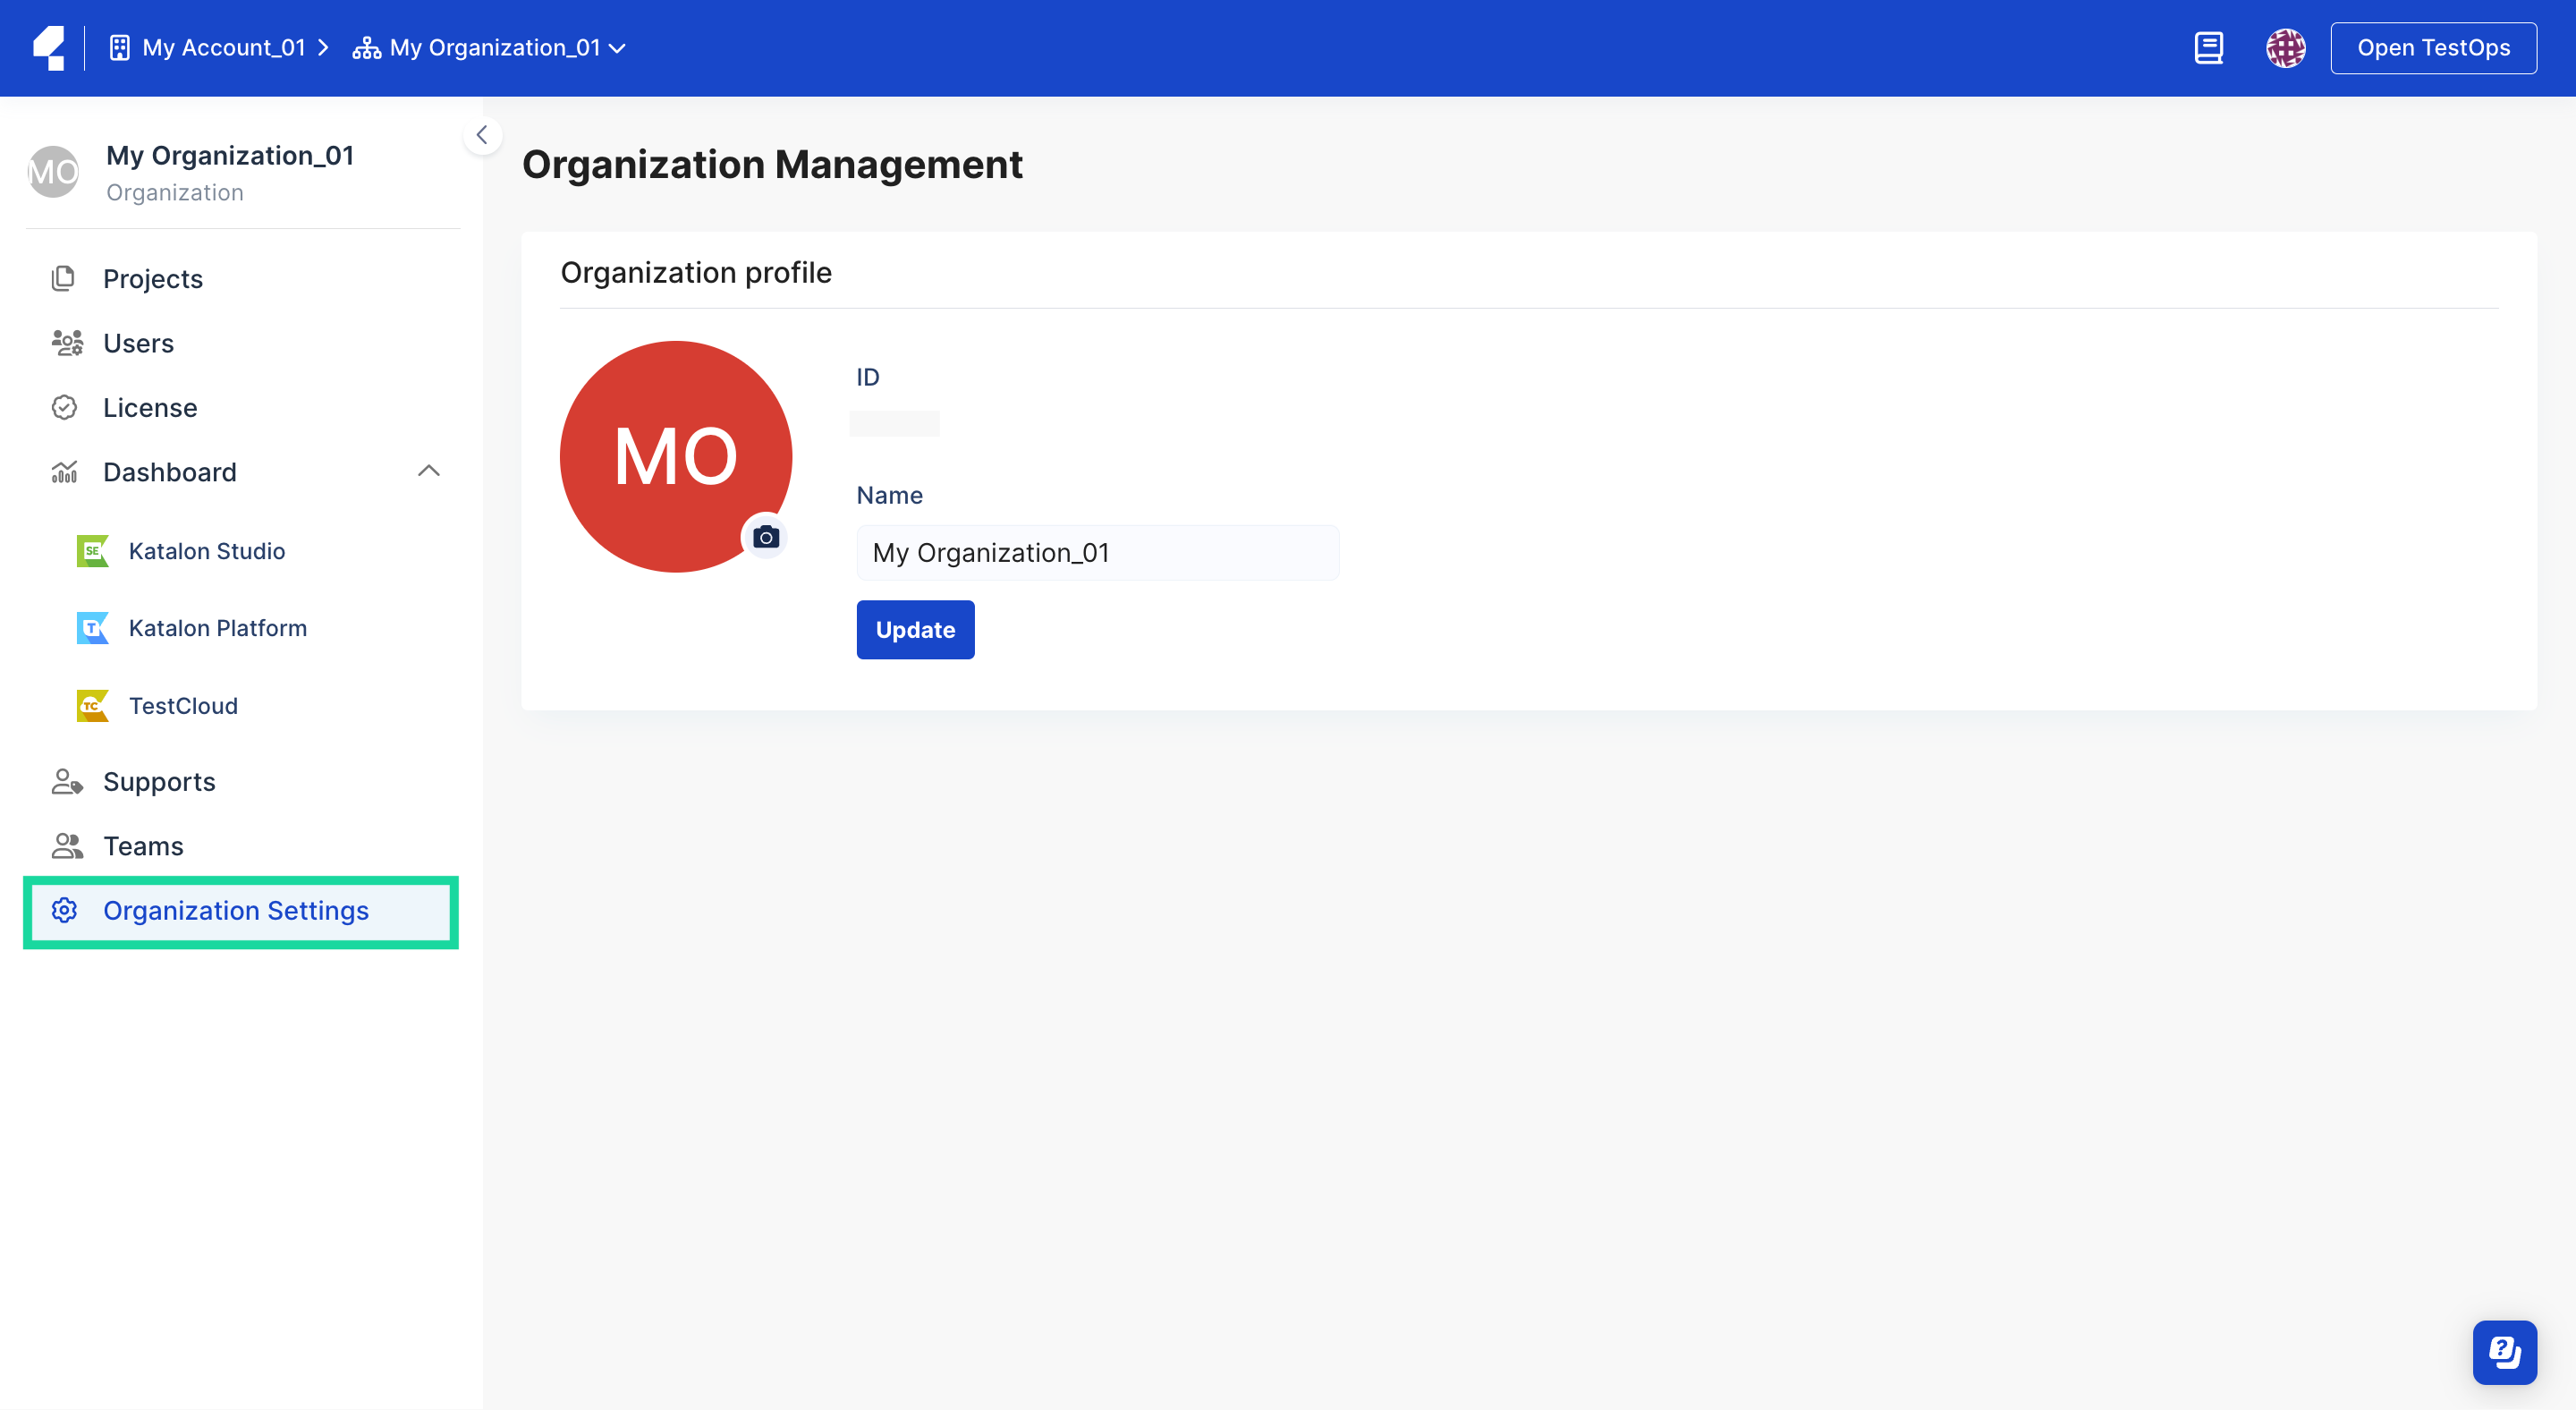
- Under the Organization Profile section, you can make changes to:
The Organization's icon: Upload an icon of your choice that represents your organization. This will replace the acronym that is used by default.
The Organization's name: In the Name section, input what you want to call your Organization. Click Update to apply the change.
